
Nothing is more frustrating than sitting down for a sewing project only to discover that your machine refuses to cooperate. This guide to common sewing machine problems and solutions will help you identify the most frequent sewing machine issues, understand what causes them, and learn the safest ways to troubleshoot them before considering professional repairs — whether you’re a beginner learning your first stitches or an experienced sewist working on a detailed project.
The good news is that many sewing machine problems aren’t caused by broken parts. Simple mistakes like incorrect threading, improper needle installation, lint buildup, or skipped maintenance are responsible for most sewing machine malfunctions. Learning how to recognize these warning signs can save both time and money.
Instead of guessing what went wrong, this guide walks you through the most common symptoms, explains what they usually mean, and points you toward the right solution. You’ll also learn how proper maintenance can prevent many problems before they happen.
By the end of this guide, you’ll know how to diagnose common issues confidently, perform basic troubleshooting, and understand when it’s time to seek professional servicing.
- Why Do Sewing Machines Develop Problems?
- Common Sewing Machine Problems at a Glance
- How to Diagnose a Sewing Machine Before Trying to Fix It
- General Sewing Machine Troubleshooting Checklist
- Overview of Common Sewing Machine Problems
- Preventive Sewing Machine Maintenance Tips
- When Should You Repair or Replace Your Sewing Machine?
- Expert Tips to Keep Your Sewing Machine Running Smoothly
- Common Sewing Mistakes That Can Cause Machine Problems
- Frequently Asked Questions
- Conclusion
- Related Troubleshooting Guides
Why Do Sewing Machines Develop Problems?
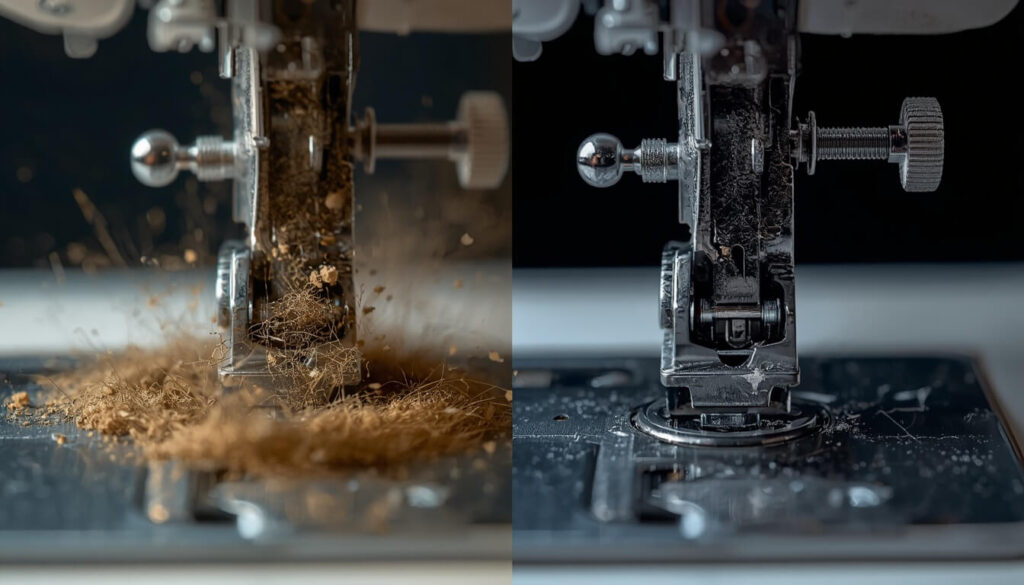
Many people assume their sewing machine has developed a serious fault the moment it starts behaving differently. In reality, most problems develop gradually because small maintenance tasks are ignored over time.
Dust, lint, loose threads, worn needles, incorrect thread tension, and skipped cleaning sessions slowly affect how different components work together. Even using the wrong fabric or poor-quality thread can increase strain on the machine.
Understanding why these issues occur makes troubleshooting much easier because you’ll know where to look before assuming something expensive is broken. The most common reasons include:
Incorrect Machine Setup
Many sewing problems begin before stitching even starts. A machine that hasn’t been threaded correctly, has the wrong needle installed, or uses incompatible thread may struggle to produce consistent stitches. Even experienced sewists occasionally miss a thread guide or insert the needle incorrectly, causing unexpected issues during sewing.
Lack of Regular Cleaning
Every sewing session creates tiny fabric fibers known as lint. These fibers collect inside the bobbin area, feed dogs, needle plate, and hook assembly. Over time, lint blocks moving parts, increases friction, and affects stitch quality. Cleaning your machine regularly is one of the easiest ways to avoid unnecessary problems.
Worn or Damaged Needles
A sewing needle works harder than most people realize. After several hours of sewing, the tip gradually becomes dull or slightly bent. While the damage may not be visible, it can affect stitch formation and place additional stress on the machine. Replacing needles regularly helps maintain consistent stitching and protects delicate fabrics. (Detailed needle troubleshooting is covered in our dedicated Needle Breaking guide.)
Poor Quality Thread
Not all sewing thread is manufactured to the same standard. Cheap thread often produces excess lint, inconsistent thickness, and weak fibers that increase friction while sewing. Choosing high-quality thread improves stitch consistency and reduces unnecessary machine stress.
Skipping Routine Maintenance
Like any mechanical device, a sewing machine performs best when it’s maintained regularly. Ignoring lubrication schedules, failing to clean internal components, or continuing to sew despite unusual noises can eventually lead to larger mechanical issues. Routine maintenance is much less expensive than major repairs.
Common Sewing Machine Problems at a Glance
Before diving into individual troubleshooting steps, it’s helpful to understand the most common issues sewing machine owners experience.
| Problem | Possible Cause | Quick Action |
|---|---|---|
| Machine won’t sew | Setup or mechanical issue | Check threading, power, needle |
| Thread keeps breaking | Multiple possible causes | Follow dedicated thread guide |
| Needle keeps breaking | Installation or fabric issue | Inspect needle and fabric |
| Fabric won’t move | Feed mechanism | Check feed dogs |
| Machine jams | Thread or lint buildup | Stop sewing immediately |
| Skipped stitches | Needle or setup issue | Replace needle and rethread |
| Thread looping underneath | Tension or threading issue | Rethread and check tension |
| Bobbin problems | Bobbin setup | Inspect bobbin area |
| Loud noises | Lack of cleaning | Clean and inspect machine |
Want a step-by-step solution? Read our complete guide on Why Is My Sewing Machine Jamming?
How to Diagnose a Sewing Machine Before Trying to Fix It
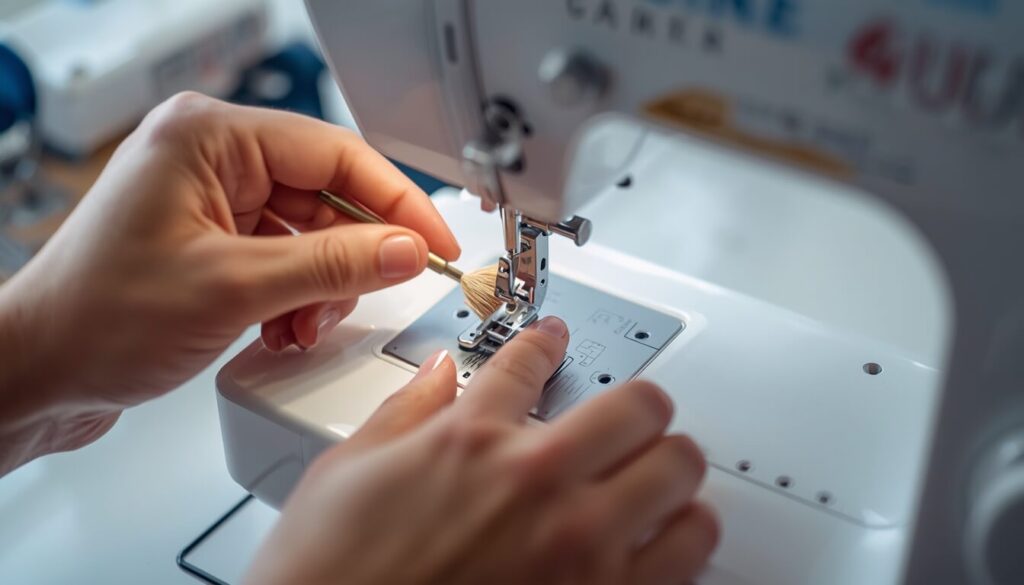
When your sewing machine suddenly stops working or starts producing poor stitches, it’s tempting to take it apart immediately. However, doing so can sometimes make the problem worse. A systematic diagnosis helps you identify the actual cause and often resolves the issue without any repairs.
Most sewing machine problems are caused by incorrect setup, routine maintenance being overlooked, or normal wear and tear — not major mechanical failures. Taking a few minutes to inspect the machine can save hours of frustration. Before troubleshooting any specific problem, go through this quick checklist.
Step 1: Turn Off the Machine Always switch off and unplug your sewing machine before inspecting or cleaning it. This reduces the risk of accidental movement and protects both you and the machine.
Step 2: Check the Needle Inspect the needle carefully. Make sure it is straight and not bent, installed correctly, fully inserted into the needle clamp, and suitable for the fabric you’re sewing. Even a slightly damaged needle can affect stitch quality and lead to multiple sewing issues.
Step 3: Verify the Threading Incorrect threading is one of the most common reasons for sewing machine problems. Completely remove the thread and rethread the upper thread path while the presser foot is raised so the thread seats correctly in the tension discs.
Step 4: Inspect the Bobbin Area Remove the bobbin and check the bobbin case for lint, tangled thread, or small fabric fibers. Clean the area with a soft brush and ensure the bobbin is inserted correctly according to your machine’s manual.
Step 5: Test on Scrap Fabric Instead of testing on your project, use a scrap piece of similar fabric. This lets you check whether the issue has been resolved without risking your final work.
General Sewing Machine Troubleshooting Checklist
If you’re unsure what’s causing the problem, use this checklist before looking into a specific issue.
| Check | Why It Matters |
|---|---|
| Machine plugged in | Ensures power supply is available |
| Foot pedal connected | Confirms the machine can operate correctly |
| Needle installed properly | Prevents stitch and feeding issues |
| Upper thread correctly threaded | Helps maintain smooth stitching |
| Bobbin inserted correctly | Ensures balanced stitch formation |
| Presser foot lowered | Allows the fabric to feed properly |
| Feed dogs raised | Moves the fabric during sewing |
| Machine cleaned recently | Reduces lint-related problems |
| Correct needle for fabric | Improves stitch quality and prevents damage |
Following these basic checks can resolve many common sewing machine issues without requiring professional repairs.
Overview of Common Sewing Machine Problems
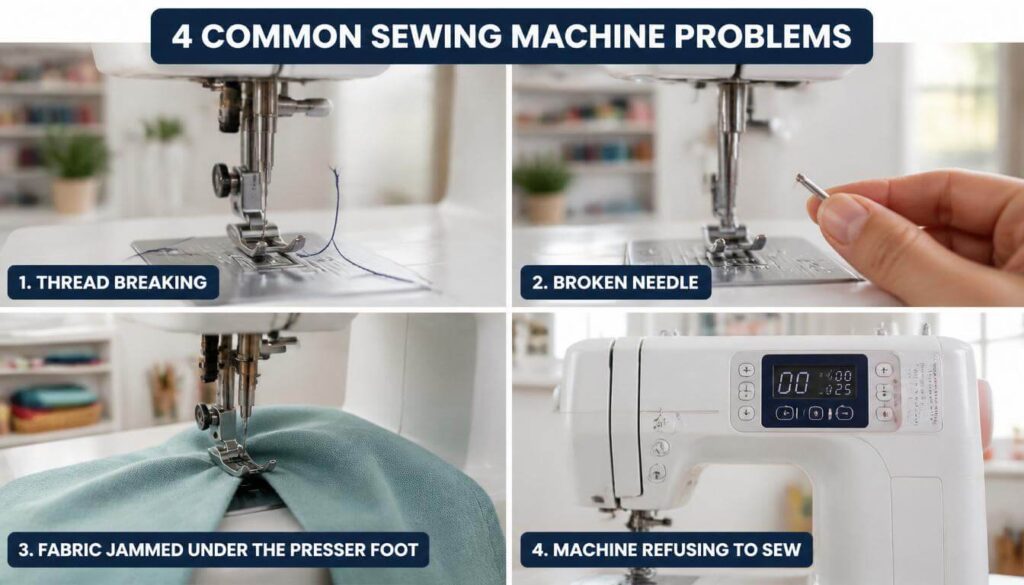
Below are the issues most sewing machine owners encounter. This guide provides a brief overview to help you identify the problem. Each topic also has its own detailed troubleshooting guide where you’ll find complete causes, fixes, and prevention tips.
1. Sewing Machine Won’t Sew
One of the most frustrating situations is when the machine powers on but refuses to sew. This can happen for several reasons, including incorrect threading, an empty bobbin, the handwheel being disengaged, or a setup issue.
Before assuming the machine is faulty, double-check the basics. Ensure the machine is threaded correctly, the needle is installed properly, and the bobbin is positioned as recommended by the manufacturer. In many cases, these simple checks restore normal operation.
👉 Read the complete guide: Why Is My Sewing Machine Not Sewing?
2. Thread Keeps Breaking
Thread that snaps repeatedly usually indicates a setup or compatibility issue rather than a damaged machine. Poor-quality thread, incorrect threading, or excessive tension are common reasons.
Avoid pulling the fabric while sewing, as this can also place unnecessary stress on the thread and increase the likelihood of breakage.
👉 Read the complete guide: Why Does My Sewing Machine Thread Keep Breaking?
3. Needle Keeps Breaking
A broken needle should never be ignored. Continuing to sew after a needle breaks can damage other internal components and affect stitch accuracy.
Always replace broken or bent needles immediately and make sure you’re using the correct needle type for the fabric you’re sewing.
👉 Read the complete guide: Why Does My Sewing Machine Needle Keep Breaking?
4. Sewing Machine Keeps Jamming
Jamming usually happens when thread becomes tangled inside the bobbin area or lint interferes with the machine’s moving parts. Forcing the machine to continue sewing can make the situation worse.
If your machine jams, stop sewing immediately, remove the fabric carefully, and inspect the bobbin area before restarting.
👉 Read the complete guide: Why Is My Sewing Machine Jamming?
5. Sewing Machine Skipping Stitches
Skipped stitches are one of the most common sewing machine problems and can affect both the appearance and strength of your seams. Instead of creating a smooth, continuous stitch line, the machine leaves gaps where stitches should have formed.
In many cases, skipped stitches are caused by a worn or incorrectly installed needle, using the wrong needle type for the fabric, or threading issues. Delicate fabrics, stretch materials, and multiple fabric layers may also contribute to inconsistent stitch formation if the machine isn’t set up correctly.
Before adjusting complex settings, start by replacing the needle with a new one that’s suitable for your fabric and rethread both the upper thread and bobbin. These simple steps often resolve the issue without further troubleshooting.
👉 Read the complete guide: Why Does My Sewing Machine Keep Skipping Stitches?
6. Bobbin Problems
The bobbin is a small component, but it plays a major role in creating balanced stitches. If it’s inserted incorrectly, wound unevenly, or blocked by lint, the entire stitching process can be affected.
Common signs of bobbin-related issues include loose stitches underneath the fabric, tangled thread, unusual noises, or difficulty picking up the bobbin thread. Fortunately, many of these problems can be resolved by cleaning the bobbin area and ensuring the bobbin is correctly installed.
If you continue experiencing bobbin issues after cleaning and rethreading the machine, inspect the bobbin case for damage or wear.
👉 Read the complete guide: Why Is My Bobbin Not Working?
7. Thread Looping Underneath the Fabric
A tangled mess of loops on the underside of your fabric — often called a “bird’s nest” — is one of the most common complaints among both beginners and experienced sewists, and it almost always comes back to tension or threading.
For a stitch to form correctly, the top thread and bobbin thread need to meet exactly in the middle of your fabric layers, pulling with equal force. When the top thread is too loose, the bobbin thread pulls it down and creates loops underneath. Before touching the tension dial, it’s worth completely rethreading the machine with the presser foot up, since a large share of looping issues come down to nothing more than a small threading mistake.
👉 Read the complete guide: Why Is My Sewing Machine Looping Thread Underneath?
8. Fabric Not Feeding Properly
Your sewing machine relies on feed dogs to move fabric smoothly under the presser foot. When fabric refuses to move or only moves unevenly, sewing becomes difficult and stitch quality suffers.
This issue may occur if the feed dogs have been lowered for free-motion sewing, the presser foot isn’t fully lowered, or lint has accumulated around the feed mechanism. Thick or slippery fabrics can also require different sewing techniques or accessories.
Always check that the feed dogs are raised and the presser foot is properly engaged before assuming a mechanical problem.
👉 Read the complete guide: Why Is My Sewing Machine Not Feeding Fabric?
9. Sewing Machine Making Unusual Noises
A sewing machine should produce a smooth, consistent sound while operating. Grinding, knocking, squeaking, or clicking noises usually indicate that something isn’t functioning as it should.
In many cases, unusual sounds result from lint buildup, lack of lubrication, loose thread trapped inside the hook area, or a damaged needle. Continuing to sew without identifying the source of the noise may increase wear on internal components.
If cleaning the machine doesn’t resolve the issue, stop using it until the cause has been identified to avoid unnecessary damage.
👉 Read the complete guide: Why Is My Sewing Machine Making Noise?
Preventive Sewing Machine Maintenance Tips
The easiest way to deal with sewing machine problems is to prevent them from happening in the first place. Regular maintenance not only improves stitch quality but also extends the lifespan of your machine and reduces the likelihood of unexpected breakdowns.
Clean Your Machine Regularly After every few sewing projects, remove lint and loose thread from the bobbin area, feed dogs, and needle plate using a soft brush. Avoid blowing into the machine, as moisture can push debris deeper into the internal components.
Replace Needles Frequently A dull or bent needle is responsible for many common sewing issues. As a general guideline, replace the needle after every 6–8 hours of sewing or sooner if it becomes damaged.
Use Quality Thread High-quality thread produces less lint, feeds more smoothly through the machine, and creates stronger, more consistent stitches. Investing in better thread can reduce many avoidable sewing problems.
Follow the Manufacturer’s Maintenance Schedule Every sewing machine is different. Refer to your user manual for recommended cleaning intervals, lubrication instructions, and service schedules. Following these guidelines helps keep the machine performing at its best.For more in-depth maintenance guides, browse our sewing machine maintenance articles.
Store Your Machine Properly When the machine isn’t in use, cover it to protect it from dust and moisture. Store it in a clean, dry place away from direct sunlight and extreme temperatures.
When Should You Repair or Replace Your Sewing Machine?
Not every problem requires a new sewing machine. In fact, many common issues can be fixed with simple maintenance or inexpensive replacement parts. However, there are situations where professional servicing — or even replacement — may be the more practical choice.
Consider professional repair if:
- The machine continues malfunctioning after basic troubleshooting
- Internal components appear damaged
- The timing is incorrect
- Electrical or motor-related problems are suspected
- The machine makes persistent grinding or knocking noises despite cleaning
On the other hand, if your sewing machine is very old, replacement parts are no longer available, or repair costs exceed the value of the machine, investing in a newer model may be the better long-term solution.
A well-maintained sewing machine can provide reliable performance for many years, making regular care one of the best investments for any sewist.
Expert Tips to Keep Your Sewing Machine Running Smoothly
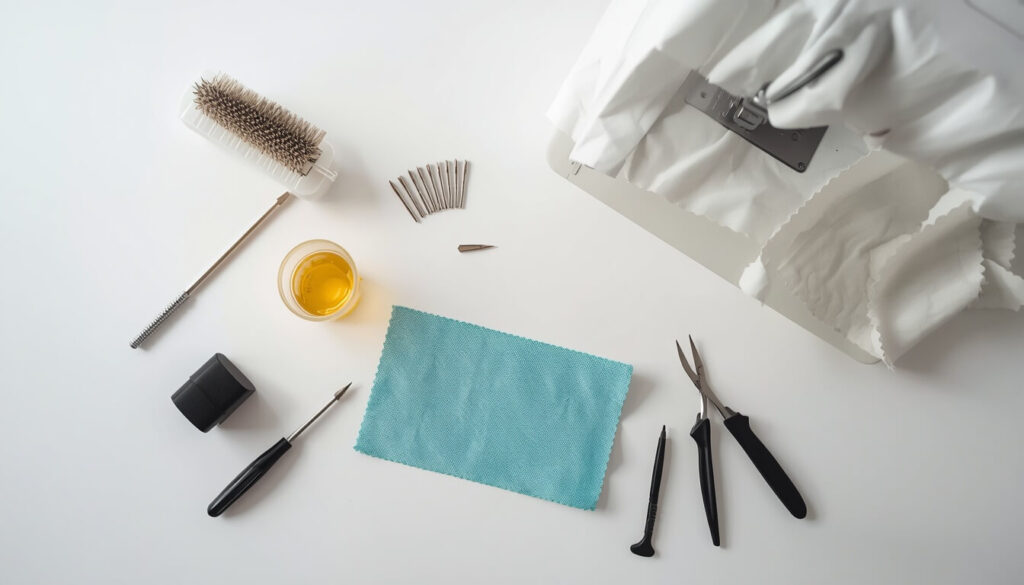
Even the best sewing machine needs regular care to deliver consistent results. Following a few simple habits can significantly reduce unexpected problems and improve stitch quality.
Always Test Before Starting a New Project Use a scrap piece of the same fabric to test your stitch settings before sewing your actual project. This helps you catch threading, tension, or needle issues early.
Before cutting into your fabric, it also helps to know exactly how much you’ll need — our free Fabric Yardage Calculator takes the guesswork out of estimating fabric for garments, quilting, and home décor projects
Match the Needle to the Fabric Different fabrics require different needle types. Using the correct needle improves stitch quality and reduces unnecessary strain on your sewing machine.
Don’t Force Thick Fabrics If the machine struggles to sew through thick layers, avoid pulling the fabric manually. Let the feed dogs move the fabric naturally to prevent damage to the needle and internal components.
Keep Your Machine Covered Dust is one of the biggest enemies of a sewing machine. Cover your machine when it’s not in use to keep lint and debris away from sensitive parts.
Schedule Regular Servicing Even if your machine appears to be working perfectly, a professional service every one to two years can help identify worn parts before they become major problems.
Common Sewing Mistakes That Can Cause Machine Problems
Many sewing machine issues are caused by everyday mistakes rather than mechanical faults. Avoiding these habits can save time, improve stitch quality, and extend the life of your machine.
- Skipping regular cleaning after multiple sewing projects
- Continuing to use a bent or dull needle
- Pulling or pushing the fabric while sewing
- Using poor-quality or old thread
- Forgetting to lower the presser foot before sewing
- Ignoring unusual noises or vibrations
- Threading the machine with the presser foot lowered
- Using the wrong needle for the fabric type
- Sewing too quickly over thick seams
- Neglecting the manufacturer’s maintenance recommendations

Frequently Asked Questions
Conclusion
Understanding common sewing machine problems and solutions makes troubleshooting far less stressful. Most issues aren’t caused by major mechanical failures but by simple factors such as incorrect threading, worn needles, lint buildup, or skipped maintenance.
By learning how to recognize early warning signs and following a consistent maintenance routine, you can improve stitch quality, extend the life of your sewing machine, and avoid unnecessary repair costs.
If you’re experiencing a specific problem, use this guide as your starting point and then explore our detailed troubleshooting articles for step-by-step solutions tailored to each issue. With the right knowledge and regular care, your sewing machine can continue delivering reliable performance for years to come.
And if you’re planning your next sewing or quilting project, our Fabric Yardage Calculator can help you estimate exactly how much fabric to buy — so you never run short mid-project.
Related Troubleshooting Guides
Continue your troubleshooting journey with these in-depth guides:
- Why Is My Sewing Machine Not Sewing?
- Why Is My Sewing Machine Jamming?
- Why Does My Sewing Machine Keep Skipping Stitches?
- Why Does My Sewing Machine Thread Keep Breaking?
- Common Sewing Machine Bobbin Problems
- Why Does My Sewing Machine Needle Keep Breaking?
- Why Is My Sewing Machine Making Noise?
- Why Is My Sewing Machine Not Feeding Fabric?
- Why Is My Sewing Machine Looping Thread Underneath?