
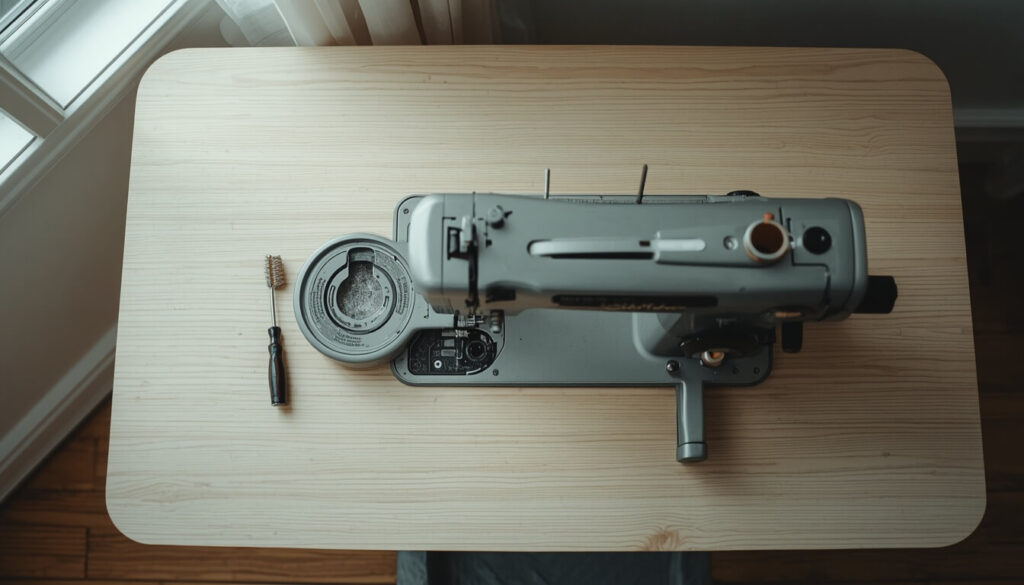
If your machine has started sounding a bit rattly, or your stitches aren’t quite as neat as they used to be, the culprit is very often lint rather than anything mechanical. Learning how to clean a sewing machine properly is one of those small habits that makes a genuinely big difference — it’s the difference between a machine that sews like new for years and one that ends up at the repair shop more often than it should.
This guide walks through exactly what to clean, which tools to use, how often to do it, and the small mistakes that trip most people up along the way.
- Why Cleaning Your Sewing Machine Actually Matters
- How Often Should You Clean a Sewing Machine
- Sewing Machine Cleaning Supplies You'll Need
- Before You Start: A Quick Safety Step
- How to Clean a Sewing Machine: Step-by-Step
- Compressed Air or a Vacuum — Which Is Safer?
- What Not to Use When Cleaning Your Machine
- Signs Your Sewing Machine Needs Cleaning
- Other Maintenance That Pairs Well With Cleaning
- Common Cleaning Mistakes to Avoid
- Frequently Asked Questions
- Final Thoughts
Why Cleaning Your Sewing Machine Actually Matters
Every time fabric passes under the needle, it sheds tiny fibres. Those fibres drift down into the bobbin case, settle around the feed dogs, and pack into corners you can’t see without taking the machine apart.
Left alone, that fluff builds up into something closer to felt than dust. It clogs the bobbin area, throws off your tension, and eventually causes skipped stitches or a machine that jams mid-seam.
A quilter friend once brought a machine into a repair shop convinced the motor had failed. It hadn’t — the bobbin case was so packed with lint it could barely turn. Ten minutes of cleaning and it sewed perfectly again.
It’s a bit like never emptying the fluff filter on a tumble dryer. Nothing looks obviously wrong from the outside, and the machine still runs — but it’s working harder than it needs to, and eventually something gives. A sewing machine is no different, just on a smaller scale and with far more delicate parts involved.
How Often Should You Clean a Sewing Machine
There isn’t one single answer, because it comes down to how much you sew and what you sew with. As a general rule of thumb:
- Regular home sewing: clean out the bobbin area every 2–3 bobbins, or after every project
- Heavy or daily sewing: aim for roughly every 8–10 hours of stitching time
- Lint-heavy fabrics (fleece, minky, flannel, batting): clean more often, sometimes every bobbin change
- Occasional use: give it a clean before starting a new project if it’s been sitting for a while
Your machine will usually tell you when it’s due. A slightly different hum, stitches that look less clean than usual, or fabric that isn’t feeding smoothly are all signs worth a quick check underneath the needle plate.
Quick Reference: Cleaning Frequency by Fabric and Use
| Sewing Habit / Fabric | Recommended Cleaning Frequency |
|---|---|
| Light, occasional sewing (cottons, quilting cottons) | Every 2–3 bobbins, or before a new project |
| Regular home sewing, most weeks | Every 8–10 hours of stitching |
| Fleece, minky, flannel, batting | Every bobbin change, or even more often |
| Daily or professional use | Weekly, or every 8–10 hours, whichever comes first |
| Machine left unused for months | Before the next project starts |
Sewing Machine Cleaning Supplies You’ll Need
Most of what you need either came in the box with your machine or costs very little to pick up:
- A small brush (usually included with your machine’s accessories)
- A screwdriver for the needle plate screws — often supplied too
- Tweezers for pulling out stubborn thread ends
- A pipe cleaner or thin cotton bud for narrow gaps
- A soft, lint-free cloth for the exterior
- A mini vacuum with a small nozzle attachment, if you have one
You don’t need every item on this list — a brush, a screwdriver, and a cloth will get most machines properly clean.
Before You Start: A Quick Safety Step
Turn your machine off and unplug it before you touch anything inside. It only takes a second, and it means there’s no risk of the pedal being knocked accidentally while your fingers are near the needle or hook.
Take the thread out and remove the needle too, so you’ve got a clear, uncluttered area to work in.
How to Clean a Sewing Machine: Step-by-Step
Step 1: Remove the Needle, Presser Foot, and Needle Plate
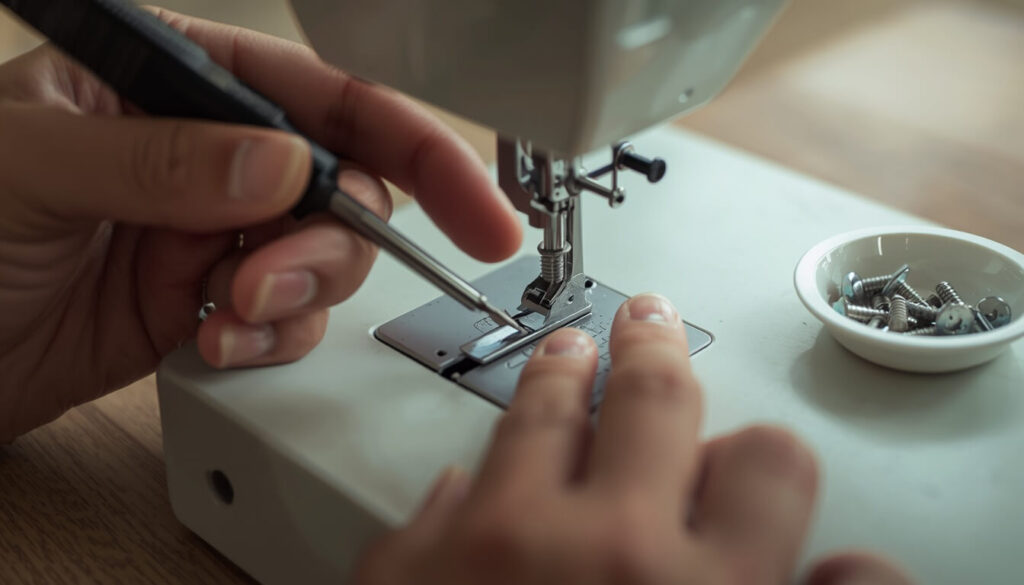
Take off the presser foot first — this usually just clips off at the shaft — followed by the needle plate. Most needle plates lift out after removing one or two small screws, though some pop off with a firm, careful push.
Put any screws somewhere safe straightaway. A small dish or a piece of tape works well, since these screws are fiddly and easy to lose down inside the machine.
Step 2: Clean the Bobbin Case and Hook
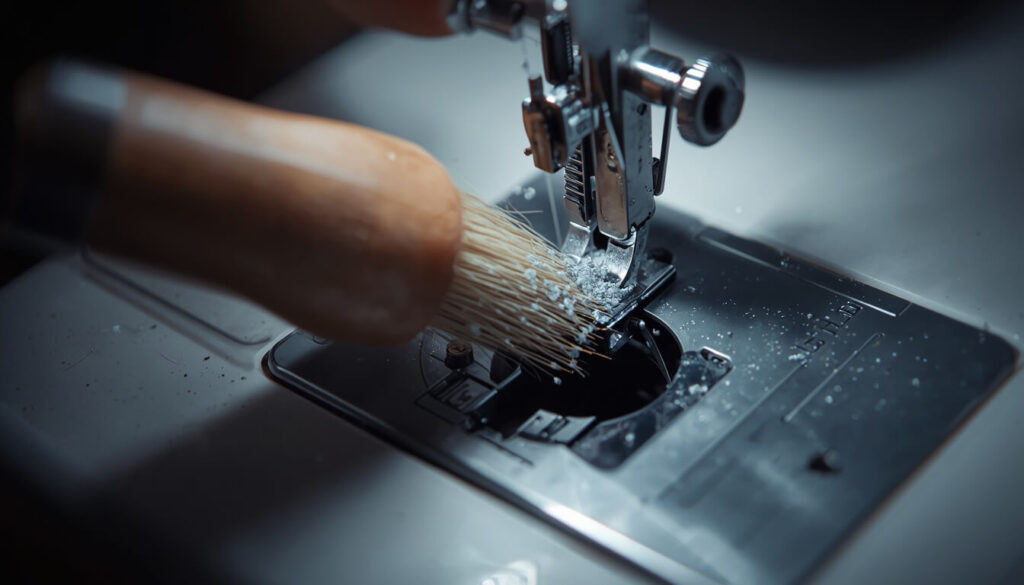
With the plate off, you’ll usually see exactly why the machine needed a clean — this is where the bulk of the lint collects. Lift out the bobbin case (drop-in bobbins simply lift up; front-loading machines have a separate hook piece too).
Brush out everything you can see, working gently into the corners. If you’ve got a mini vacuum, run it over the area afterwards to lift anything the brush left behind.
Worked example: if you’ve been sewing with fleece or flannel, don’t be surprised if what comes out looks like a small grey nest. That’s completely normal — it’s simply weeks of fabric fibres that have nowhere else to go.
Step 3: Clear the Feed Dogs
The feed dogs — the small metal teeth that grip and move your fabric — trap lint between their ridges. A stiff-bristled brush or a wooden cocktail stick works well here, since packed-down lint sometimes needs a bit more than a soft brush to shift.
Step 4: Clean the Tension Discs
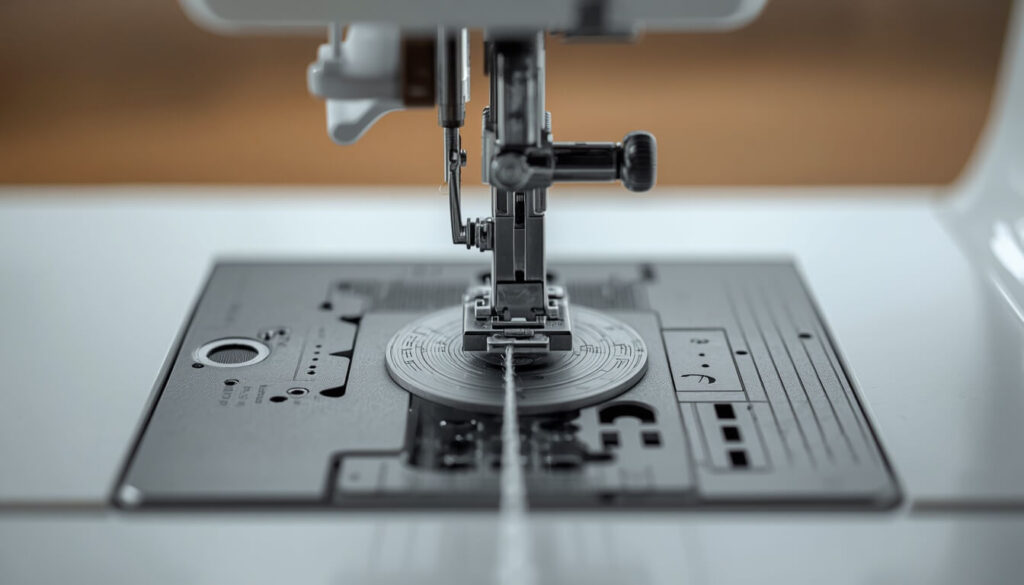
Lint hiding in the tension discs is one of the more overlooked causes of messy stitching underneath your fabric. With the presser foot lifted (this opens the discs), run a clean length of ordinary cotton thread back and forth through the gap a few times to draw out any trapped fluff.
Avoid using dental floss for this — it’s often waxed, which leaves a residue rather than removing one.
It’s worth knowing why this step matters as much as it does. When the presser foot is down, the discs clamp shut to grip your thread evenly. If there’s even a small amount of lint wedged between them, they can’t close fully — and that’s often the real reason behind those loose, looping stitches on the underside of your fabric that seem to have no obvious cause.
Step 5: Check for Burrs Before You Reassemble
Before putting the bobbin case back in, run a finger gently over it and check the needle plate for any rough or sharp edges. A burr here can catch your thread and cause shredding. If you feel one, a fine emery board can smooth it — but if it feels more serious than a small nick, that’s worth a professional’s eye rather than a DIY fix.
Step 6: Wipe Down the Exterior
Give the outside a wipe with a soft, dry (or barely damp) cloth to clear away dust. Avoid anything wet enough to drip, since moisture and metal parts don’t mix well.
Step 7: Reassemble and Test Stitch
Put everything back in reverse order — bobbin case, needle plate, presser foot, and a fresh needle if yours is due a change. Thread the machine and sew a few lines on a scrap of fabric before returning to your actual project, just to confirm everything’s running smoothly.
Compressed Air or a Vacuum — Which Is Safer?
This is one of the most debated points among sewists, so it’s worth being clear about it.
Canned/compressed air can push lint further into the mechanism rather than out of it, and the propellant inside the can carries moisture that can affect metal parts over time. Many long-time sewists and machine technicians avoid it for this reason.
A small vacuum, particularly one with a narrow nozzle attachment, tends to be the safer choice. It pulls lint out rather than pushing it deeper in, and there’s no moisture risk.
If you only have compressed air on hand, use it sparingly, hold it at a distance, and always angle it so you’re clearing lint outward rather than into the machine.
Plenty of experienced sewists have their own strong opinions on this one, often shaped by a specific bad experience with canned air years ago. If in doubt, the brush-and-vacuum combination is the safer default for both mechanical and electronic machines, and it’s the approach most manufacturer manuals quietly favour too.
What Not to Use When Cleaning Your Machine
A few household items seem like sensible substitutes but tend to cause more problems than they solve:
- Water or damp wipes on the interior — moisture near metal parts risks rust over time, even if it seems harmless in the moment
- Kitchen degreasers or general cleaning sprays — these aren’t designed for the fine tolerances inside a sewing machine and can leave a residue
- Cotton wool — it sheds fibres almost as much as it picks them up, which rather defeats the point
- Dental floss on the tension discs — waxed floss leaves behind a coating rather than lifting lint away
- Anything metal or sharp for scraping — a wooden cocktail stick or plastic tool is safer around delicate components than anything that could scratch or bend them
If you’re ever unsure whether something is safe to use inside your particular model, your machine’s manual is the most reliable place to check, since some machines have specific dos and don’ts around materials and cleaning products.
Signs Your Sewing Machine Needs Cleaning
You don’t have to wait for a fixed schedule — these are the signs worth acting on:
- Stitches that look uneven or slightly off compared to normal
- A change in the machine’s usual sound — a new hum, click, or rattle
- Fabric that isn’t feeding through as smoothly
- Visible fluff peeking out from under the needle plate
- Thread bunching or “birdnesting” underneath your fabric
Other Maintenance That Pairs Well With Cleaning
Cleaning is one part of keeping a machine happy — a couple of related habits are worth mentioning alongside it, even though they’re their own topics in more detail:
- Oiling: some machines need a drop of oil at specific points after cleaning, while newer computerised machines often don’t need oiling at all. If your machine does need it, our separate guide on how to oil a sewing machine covers exactly where and how.
- Needle changes: a fresh needle roughly every 8 hours of sewing, or with every new project, prevents a surprising number of stitch problems on its own.
- Annual servicing: even with regular home cleaning, a yearly check from a qualified technician catches internal wear that isn’t visible from the outside.
Common Cleaning Mistakes to Avoid
- Using compressed air as a first choice — it often does more harm than good; reach for a brush or vacuum instead
- Skipping the tension discs — this is the part most people forget, and it’s a common hidden cause of messy stitching
- Not checking for burrs before reassembling, which can lead to shredded thread later
- Cleaning with the machine still plugged in — always switch off and unplug first
- Using water or wet cloths inside the machine — moisture and metal parts are a poor combination
- Forcing the bobbin case back in the wrong way — take a quick photo before removing it if you’re not confident about reassembly
Frequently Asked Questions
Final Thoughts
Cleaning a sewing machine really is one of the simplest habits in your sewing routine, and it makes one of the biggest differences. Clear the lint regularly, pay attention to the bobbin case and tension discs, and reassemble carefully — that’s genuinely most of it. A clean machine sews more quietly, more evenly, and lasts a great deal longer than one left to its own devices.
If you’re planning your next project once your machine’s back in top form, our fabric yardage calculator over on SewSmartHub is a handy way to work out exactly how much fabric to buy before you start cutting. SewSmartHub has a growing library of guides just like this one, covering everything from everyday machine care to getting the most out of your sewing projects.