
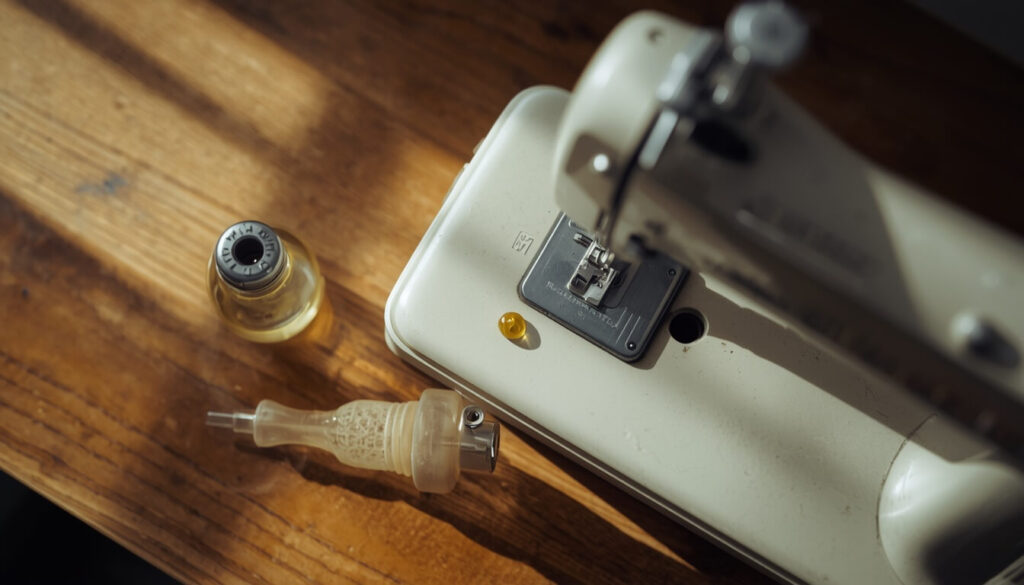
Knowing how to oil a sewing machine properly is the single easiest habit that keeps it running smoothly for years the difference between a machine that lasts two decades and one that needs a repair shop every winter. A machine that skips stitches, rattles, or feels heavy under the handwheel is usually just asking for a drop of oil.
This guide walks through exactly where to oil a sewing machine, which oil to use, how much to apply, and how often whether you’re running a decades-old mechanical Singer or a newer computerized Brother.
Before oiling, make sure your machine is properly cleaned — see our guide on how to clean a sewing machine
- Why Sewing Machines Need Regular Oiling
- How Often Should You Oil a Sewing Machine
- What You'll Need Before You Start
- Step 1: Clean the Machine Before Oiling
- Step 2: Choose the Right Sewing Machine Oil
- How to Oil a Sewing Machine: Where to Put the Oil
- Different Hook Systems and How They're Oiled
- How Much Oil to Use (And Why More Isn't Better)
- After Oiling: Test Stitching and Wiping Excess Oil
- Signs Your Sewing Machine Needs Oil
- Machines That Don't Need Manual Oiling
- Quick Reference: Oiling Chart by Machine Type
- Common Mistakes When Oiling a Sewing Machine
- Frequently Asked Questions
- Final Thoughts
Why Sewing Machines Need Regular Oiling
Inside every sewing machine, dozens of metal parts move against each other thousands of times per minute. The hook spins around the bobbin case, the needle bar drives up and down, and the feed dogs shift back and forth with every stitch.
Without lubrication, that constant metal-on-metal movement creates friction. Friction creates heat, noise, and wear — and over time it grinds down the precise tolerances that make a stitch form correctly.
Oil sits between those moving parts and lets them glide instead of grind. A properly oiled machine runs quieter, sews more evenly, and simply lasts longer. Skipping this step doesn’t break a machine overnight, but it shortens its working life stitch by stitch.
Example: A quilter who sews for three hours every weekend will wear down her hook race far faster than someone who mends a hem twice a year. If her machine starts sounding gritty near the bobbin after a few months, that’s the friction talking — and oil is the fix.
That’s exactly why learning how to oil a sewing machine the right way matters so much
How Often Should You Oil a Sewing Machine
Figuring out how to oil a sewing machine on the right schedule depends on how often you sew.
There’s no single number that fits every machine, because oiling frequency depends on how much you sew, what fabric you use, and what kind of hook system your machine has.
As a general guide:
- Daily or near-daily sewists: oil every week, or every 3–4 bobbin changes
- Weekend or hobby sewists: oil every 1–2 months, or after finishing a project
- Occasional sewists: oil before starting a new project if the machine has sat unused for a while
- Heavy-use machines (embroidery, quilting): some manufacturers recommend a drop of oil roughly every 8 hours of continuous sewing
Your ears are one of the best tools you have. A machine that starts sounding different — a faint rattle, a new hum, extra resistance on the handwheel — is telling you it needs a drop of oil before it needs anything else.
Always check your owner’s manual first. Manufacturers know their own mechanisms best, and some modern machines specify oiling schedules that differ from these general ranges.
What You’ll Need Before You Start
Gather these before you begin so you’re not hunting for supplies halfway through:
- A drop of light, clear sewing machine oil (never household or automotive oil)
- A small screwdriver (usually included in your machine’s accessory kit)
- A soft-bristled brush or the small brush that came with your machine
- A lint-free cloth for wiping away excess oil
- A scrap piece of light-colored cotton fabric for test stitching afterward
Having everything laid out also keeps small screws and springs from getting lost — a common and frustrating mistake when opening up a machine for the first time.
Step 1: Clean the Machine Before Oiling
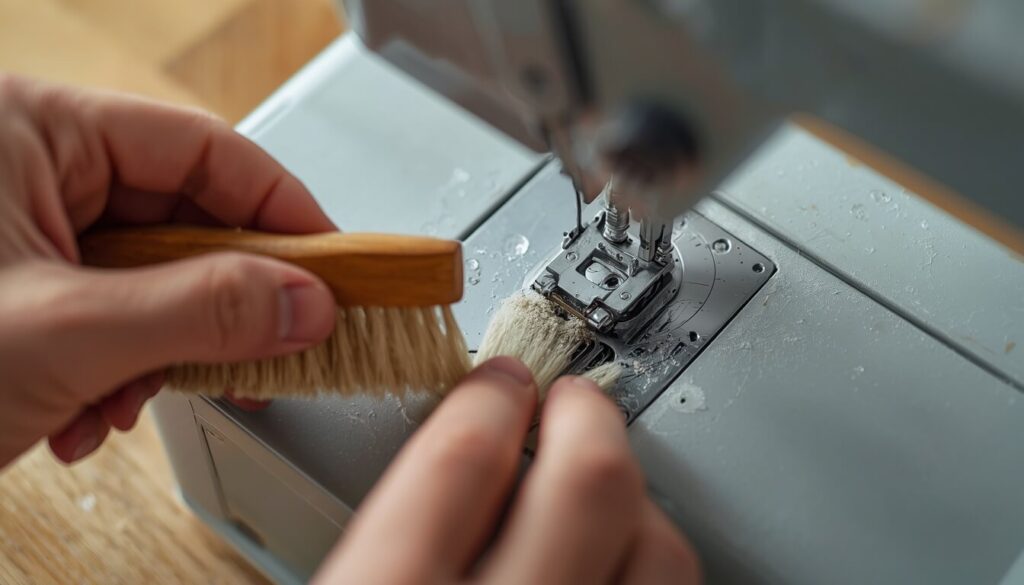
Oiling a dirty machine is one of the most common mistakes people make. If you oil over built-up lint and thread fragments, that debris absorbs the oil and turns into a gummy residue that can stain fabric and clog moving parts.
Remove the Needle Plate
Most needle plates lift out after removing one or two screws, though some snap-in designs simply pry up from the front edge with a flathead screwdriver. Lower the feed dogs first if your machine allows it — this protects the small springs underneath the plate from bending.
Once the plate is off, you’ll have direct access to the feed dogs, the bobbin case, and the hook.
Clear Out Lint From the Feed Dogs and Bobbin Area
Lint tends to pack down between the feed dogs and around the bobbin case like felt. Use a small brush, a pair of tweezers, or a narrow tool to pick it out gently.
Avoid compressed air here — it tends to push lint deeper into the gears and thread-cutting mechanisms rather than removing it, and it can dislodge small internal springs. A vacuum with a narrow attachment works far better if you have one.
Example: If you notice small dark tufts appearing in your bobbin stitches, that’s usually lint that has absorbed old oil near the bobbin case. Clean it out fully before adding any fresh oil, or the new oil will just repeat the cycle.
Step 2: Choose the Right Sewing Machine Oil
Not all oil is created equal, and this is where a lot of home sewists unintentionally damage their machines.
Use only oil labeled specifically for sewing machines. It’s a light, clear oil with a consistency similar to water, designed not to gum up or evaporate unevenly the way general-purpose oils do.
What to Avoid
- WD-40 — it’s a solvent and water-displacer, not a lubricant, and it can actually strip existing lubrication
- 3-in-1 household oil — too thick and prone to gumming over time
- Cooking oil or vegetable oil — will turn sticky and rancid inside the machine
- Grease — sewing machine service departments generally avoid grease entirely; it’s too thick for the fine tolerances inside these machines
If your specific machine brand requires a proprietary oil, your manual will usually say so. When in doubt, a basic clear sewing machine oil sold by any major brand works safely across most home machines.
How to Oil a Sewing Machine: Where to Put the Oil
This is the part most people search for — the exact points where oil actually belongs. Every machine has some individual quirks, but most oiling points fall into a few consistent categories.
Oiling the Bobbin Case and Hook
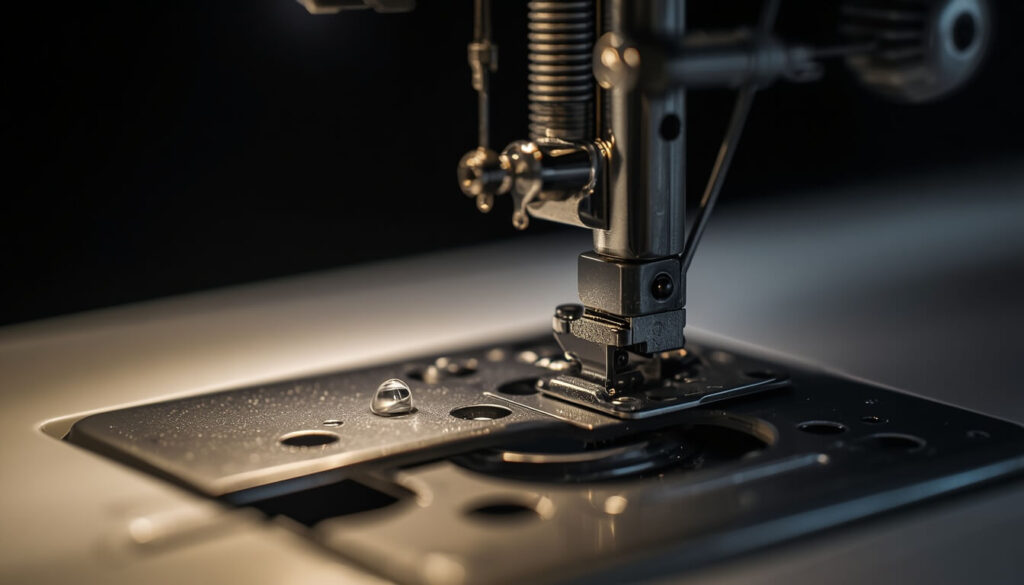
This is the single most important area to oil, because it’s where the most friction and noise happen. With the needle plate and bobbin case removed:
- Place one drop of oil where the moving part of the hook assembly passes the stationary inner basket
- On horizontal rotary hooks with a wick in the center, apply oil directly to that wick — don’t mistake it for lint and pull it out
- Reassemble and turn the handwheel a few times by hand to work the oil in evenly
Oiling the Needle Bar and Presser Bar
If your machine’s side cover comes off, you’ll usually find the needle bar, presser bar, and needle threader shafts riding inside small bushings. A single drop of oil at each point where the shaft passes through its bushing is enough.
Oiling the Feed Dogs and Take-Up Lever
The joints under the feed dogs, along with the take-up lever linkage near the top of the machine, both benefit from a small drop where metal parts pivot against each other. On some machines, the take-up area is only reachable through a narrow slot at the front if the end cap doesn’t come off.
Oiling Under the Machine (Main Shaft and Gears)
On open-frame or vintage machines, tipping the machine back (or accessing it from underneath) reveals the main drive shaft, its bush bearings, and sometimes the feed cams and gears. These all need a drop of oil where metal contacts metal — but keep oil well away from any drive belts, since oil makes belts slip.
Different Hook Systems and How They’re Oiled
Not every sewing machine oils the same way, because not every machine uses the same hook design. Identifying yours first prevents you from oiling the wrong spot — or missing the right one entirely.
Vertical Rotary Hook
Common on machines like Bernina and Pfaff. These use a metal-on-metal hook system that some manufacturers recommend oiling roughly every 8 hours of sewing. Oil goes where the outer rotating portion passes the inner stationary basket.
Vertical Oscillating Hook
Found on many older front-loading machines. You typically remove the hook itself, oil the race or the hook’s edge, then reassemble. Once it’s back in place, the edge is often reachable by removing the needle plate and looking underneath the feed dogs.
Horizontal Rotary Hook (Drop-In Bobbin)
Standard on most modern Janome, Brother, Singer, and Baby Lock machines. These use a plastic bobbin case riding on a metal hook, so oiling is less critical than with all-metal systems — but a small drop still reduces friction and noise where allowed.
How Much Oil to Use (And Why More Isn’t Better)
One drop per point is the rule — not a puddle, not a stream. This is the single most misunderstood part of sewing machine maintenance.
Too much oil doesn’t make a machine run smoother; it creates new problems. Excess oil migrates downward with gravity, seeps into places it shouldn’t, and eventually works its way onto your fabric as a stain. On computerized machines, over-oiling can even spray onto circuit boards and sensors.
Example: If you’ve just oiled the bobbin hook and you can see a visible film of oil rather than a faint sheen, you’ve used too much. Wipe it back with a dry cloth immediately rather than waiting for it to spread on its own.
After Oiling: Test Stitching and Wiping Excess Oil
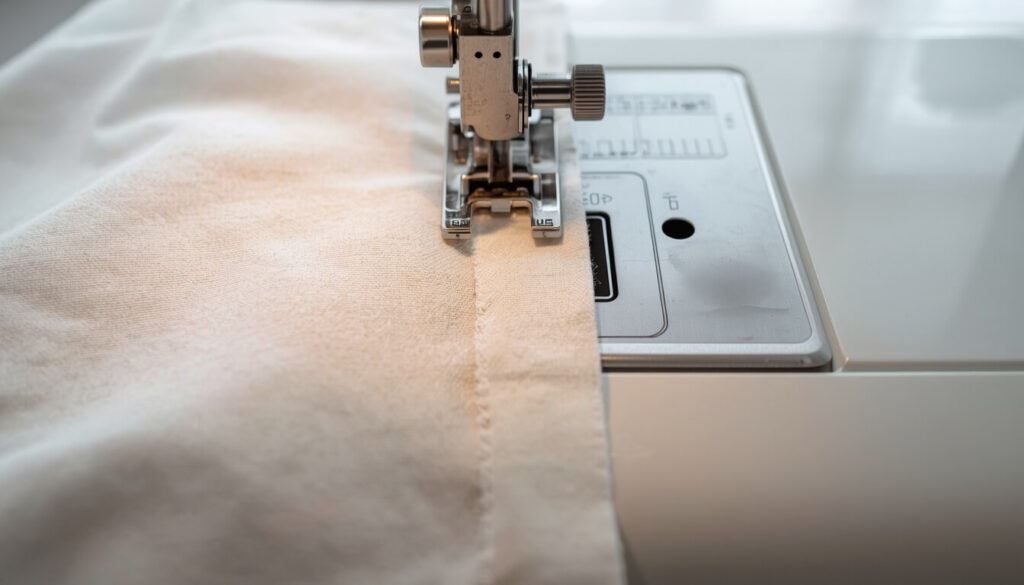
Never sew directly onto a project right after oiling. Instead:
- Wipe away any oil that’s visible on the surface with a clean, lint-free cloth
- Turn the handwheel by hand several times to distribute the oil through the mechanism
- Thread the machine with an inexpensive cotton thread and stitch several lines — forward and in reverse — on a scrap piece of light-colored cotton fabric
- Check the fabric closely for any oil marks or stains before moving to your actual project
If you see oil transfer onto the test fabric, stop and wipe down the hook area again, then repeat the test until the fabric comes out clean.
Signs Your Sewing Machine Needs Oil
You don’t always have to wait for a fixed schedule. Watch and listen for these signs:
- A new rattling or clicking sound near the bobbin area
- The handwheel feels stiffer or heavier to turn than usual
- The machine runs louder than it used to
- Stitches start looking uneven or the machine hesitates on thicker fabric
- It’s been more than a few months since the last oiling, even with light use
Catching these signs early prevents the wear that eventually leads to a full repair.
Machines That Don’t Need Manual Oiling
Not every machine wants you inside it. Many modern computerized and fully enclosed domestic machines are designed as self-lubricating and internally sealed, meaning the manufacturer has pre-lubricated parts that a home sewist can’t easily reach anyway.
Attempting to disassemble a sealed computerized machine for internal oiling is a job for a trained technician, not a home project. If your manual doesn’t mention any external oiling points, that’s usually your answer — leave internal lubrication to annual professional servicing instead.
Quick Reference: Oiling Chart by Machine Type
This chart makes how to oil a sewing machine across different hook types much easier to remember.
| Machine / Hook Type | Bobbin Case Material | Oiling Frequency | Key Oiling Point |
|---|---|---|---|
| Vertical rotary (Bernina, Pfaff) | Metal | ~Every 8 sewing hours | Hook race, outer/inner hook contact |
| Vertical oscillating (vintage front-load) | Metal | Every few weeks of regular use | Hook race and hook edge |
| Horizontal rotary, drop-in (Brother, Singer, Janome, Baby Lock) | Plastic | Every 1–2 months or per project | Light drop near hook, wick if present |
| Vintage open-frame mechanical | Metal | Weekly with regular use | Main shaft, bush bearings, take-up linkage |
| Modern computerized/sealed | Sealed unit | Manufacturer-specified or annual service | None accessible — professional service only |
Common Mistakes When Oiling a Sewing Machine
- Oiling before cleaning — this traps lint in fresh oil and creates a sticky buildup
- Using the wrong oil — WD-40, cooking oil, and household oils all cause more harm than good
- Over-oiling — a flood of oil is more likely to stain fabric than fix a problem
- Oiling blind — dripping oil into gaps you can’t see risks dislodging small internal springs
- Skipping the test stitch — sewing directly onto your project after oiling risks ruining fabric with an oil stain
- Ignoring the manual — some machines specifically warn against home oiling; always check first
Frequently Asked Questions
Final Thoughts
Oiling a sewing machine isn’t complicated once you know where the moving parts are and how little oil they actually need. Clean first, use the right oil, apply just one drop per point, and always test-stitch before sewing your real project. That one small habit, repeated consistently, is what keeps a machine running quietly and stitching evenly for years instead of months.
That’s really all how to oil a sewing machine comes down to — clean first, oil lightly, test before you sew.
Looking for more sewing machine care tips? Browse our full sewing machine maintenance guide hub
Related Tool: Starting a new sewing project? Use our Fabric Calculator to figure out exactly how much fabric you’ll need.