
If you’ve ever paid $75 for a “quick tune-up” that took the technician fifteen minutes, you already know sewing machine servicing isn’t complicated — it’s just unfamiliar. Most of what a shop does is something you can learn to do yourself, especially if your machine is a few years old and starting to feel sluggish.
Here’s the good news — servicing a sewing machine at home doesn’t require special training. It requires a few basic tools, about an hour, and a bit of patience the first time you do it.
Quick Answer
Servicing a sewing machine means checking, cleaning, and lubricating its internal moving parts so it keeps running smoothly. A basic home service includes removing lint and dust, oiling the designated points, checking tension and stitch quality, and reassembling everything correctly. Most home sewists can do a light service every few months, with a full professional service once a year for the internal timing and electrical components.
- Quick Answer
- Light Service vs. Full Service vs. Professional Service
- What Does "Servicing" a Sewing Machine Actually Mean?
- Tools You'll Need Before You Start
- Step-by-Step: How to Service Your Machine at Home
- Quick Troubleshooting Checklist (Before You Call a Technician)
- Helpful Tips
- Common Mistakes to Avoid
- When to Call a Professional
- FAQs
- Conclusion
- Related Articles
Light Service vs. Full Service vs. Professional Service
| Service Type | What It Covers | How Often | Can You DIY It? |
|---|---|---|---|
| Light service | Surface dusting, lint removal around bobbin and feed dogs | Every 8–10 hours of sewing | Yes |
| Full home service | Removing plates, deep cleaning, oiling, tension check | Every 3–6 months | Yes, with basic tools |
| Professional service | Timing adjustment, motor/electrical check, internal gear inspection | Once a year | No — needs a technician |
What Does “Servicing” a Sewing Machine Actually Mean?
A simple way to think about it is this: a sewing machine is a small mechanical system with dozens of parts rubbing against each other every time you sew. Servicing just means giving those parts the attention they need before wear turns into a real problem.
Most sewing machine “breakdowns” aren’t actually breakdowns. They’re the result of months of built-up lint and dried-out oil finally catching up with the machine. Servicing interrupts that cycle before it gets expensive.
Signs Your Machine Is Overdue for a Service
- Stitches that were once even now look slightly uneven or loose.
- The machine sounds louder or heavier than it used to.
- You notice lint building up around the bobbin area every time you open it.
- It’s been more than six months since your last full clean.
- The handwheel feels slightly stiffer to turn by hand.
One mistake many sewists make is waiting until something actually breaks before servicing the machine. By then, you’re usually looking at a repair bill instead of a maintenance one.
Tools You’ll Need Before You Start
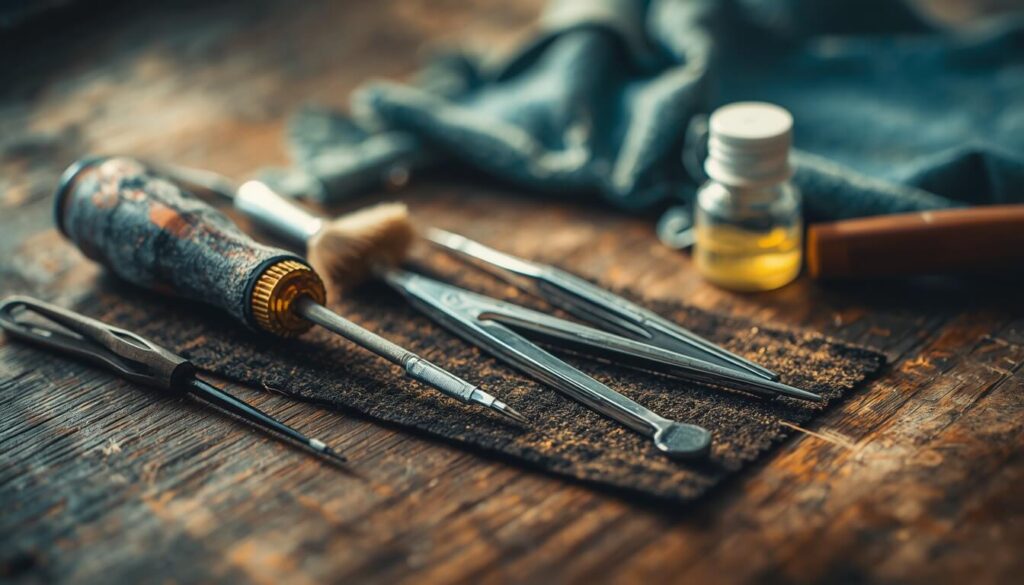
- A small screwdriver set (the kind that comes with most machines works fine)
- A soft-bristle brush (a clean makeup brush or the brush that came with your machine)
- Tweezers, for pulling out stubborn lint or thread
- Sewing machine oil — check your manual for the recommended type
- A lint-free cloth
- Scrap fabric, for testing stitches afterward
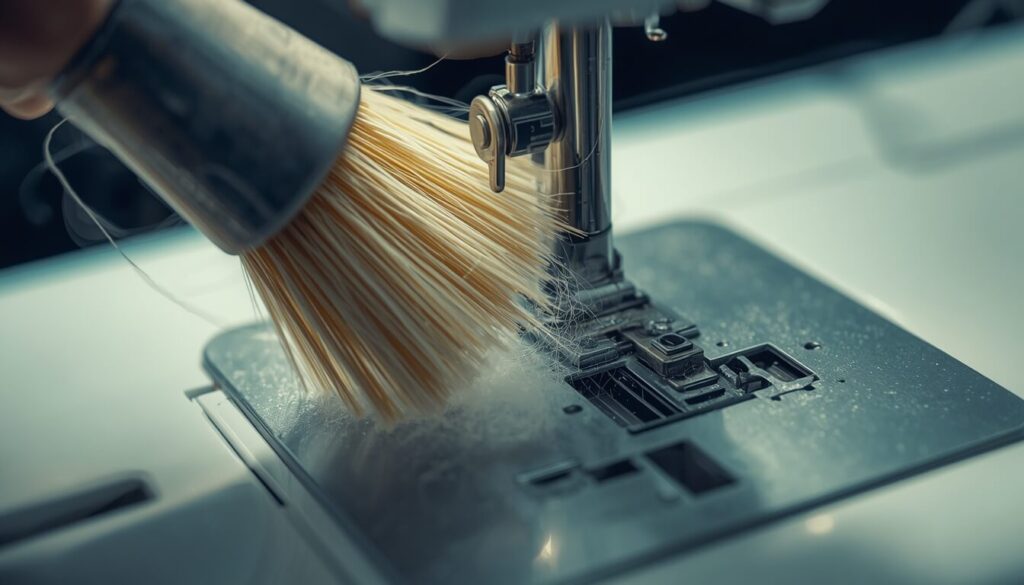
Avoid canned air. It feels like the obvious tool, but it tends to push lint deeper into the machine instead of removing it — a soft brush and tweezers do a better job.
Step-by-Step: How to Service Your Machine at Home
Imagine setting aside a quiet hour on a Sunday afternoon — this is realistically all the time a full home service takes once you’ve done it once or twice.
- Unplug the machine. This matters more than it sounds — never service a machine that’s still connected to power.
- Remove the needle, presser foot, and bobbin. Set them aside somewhere you won’t lose them.
- Take off the needle plate. Most machines use one or two small screws; keep them together in a small dish.
- Brush out the lint. Focus on the bobbin area, feed dogs, and the space under the needle plate — this is where lint collects fastest.
- Check the tension discs. Run a lint-free cloth between them to catch any trapped thread fibers.
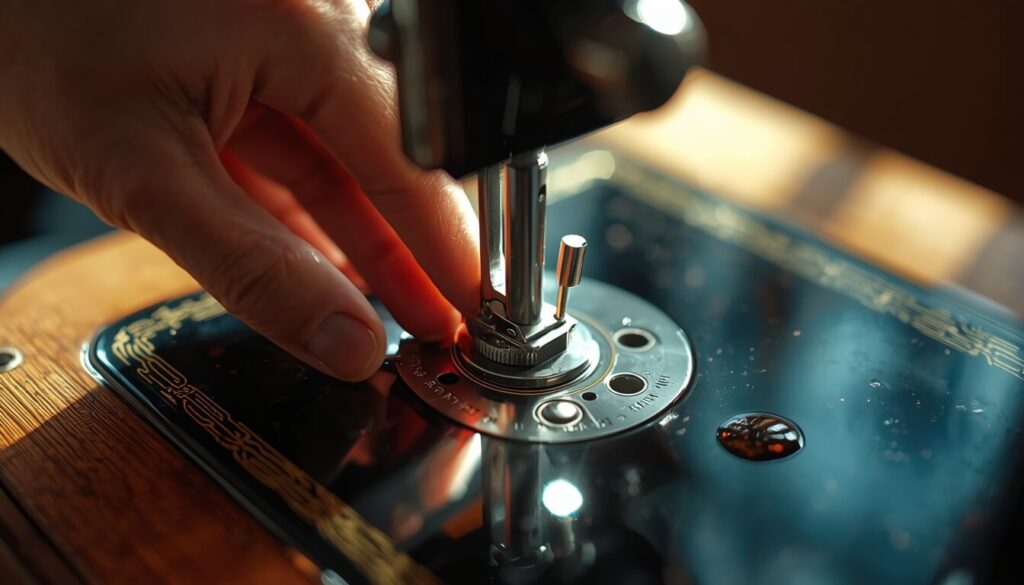
- Oil the designated points. Your manual will show exactly where — usually one or two drops is enough per point. Never oil the tension discs, belts, or rubber parts.
- Turn the handwheel by hand. This spreads the oil through the mechanism and lets you feel for any resistance before you plug the machine back in.
- Reassemble everything in the reverse order you removed it.
- Sew a test line on scrap fabric. Check that the stitch looks even on both sides before returning to your actual project.
Quick Troubleshooting Checklist (Before You Call a Technician)
Before assuming your machine is broken, run through this list — it catches the majority of “my machine needs servicing” situations:
- Is there visible lint or dust around the bobbin case?
- Has it been more than 6 months since the last clean?
- Does the stitch look uneven on the top, bottom, or both?
- Does the handwheel turn smoothly by hand?
- Is there a burning smell, grinding noise, or unusual vibration?
If you checked the last box, stop and call a professional — that’s outside the scope of a home service.
Helpful Tips
- Service your machine after finishing a large or linty project, not just on a fixed schedule.
- Keep a small notebook or phone note of where each screw goes as you remove it — it saves real frustration during reassembly.
- Cover your machine when it’s not in use. Dust buildup is the single biggest reason machines need servicing more often than they should.
- If your machine came with a manual, keep it nearby during your first few services — every brand places oil points slightly differently.
- Avoid using household oils like WD-40 or cooking oil. Always use sewing machine oil recommended by the manufacturer.
Common Mistakes to Avoid
- Over-oiling. More oil doesn’t mean better performance — excess oil attracts more lint and can seep into fabric while sewing.
- Using grease instead of oil on parts the manual specifies for oil. Grease belongs only on worm gears, if your machine has them.
- Skipping the test stitch. Reassembling correctly still needs a test run — small placement errors show up in the stitch quality first.
- Ignoring grinding or resistance and forcing the pedal anyway. That’s how a simple lint problem turns into a real mechanical one.
When to Call a Professional
Some things genuinely need a trained hand. Call a sewing machine technician if you notice:
- A grinding, clicking, or burning smell during use
- The timing seems off (needle and hook aren’t syncing properly)
- Electrical issues — flickering, a pedal that doesn’t respond consistently
- The machine is computerized and something internal needs adjustment
In most cases, this is a once-a-year visit, not a monthly one — the DIY steps above cover the maintenance that keeps you from needing it more often.
FAQs
Conclusion
Servicing a sewing machine sounds intimidating until you actually do it once. In most cases, it comes down to a clean brush, a few drops of oil in the right places, and a test stitch at the end. Do this every few months, and you’ll spend far less time troubleshooting problems — and far less money at the repair shop.
Ready to keep your machine running smoothly? Bookmark this checklist and set a reminder for your next service.