
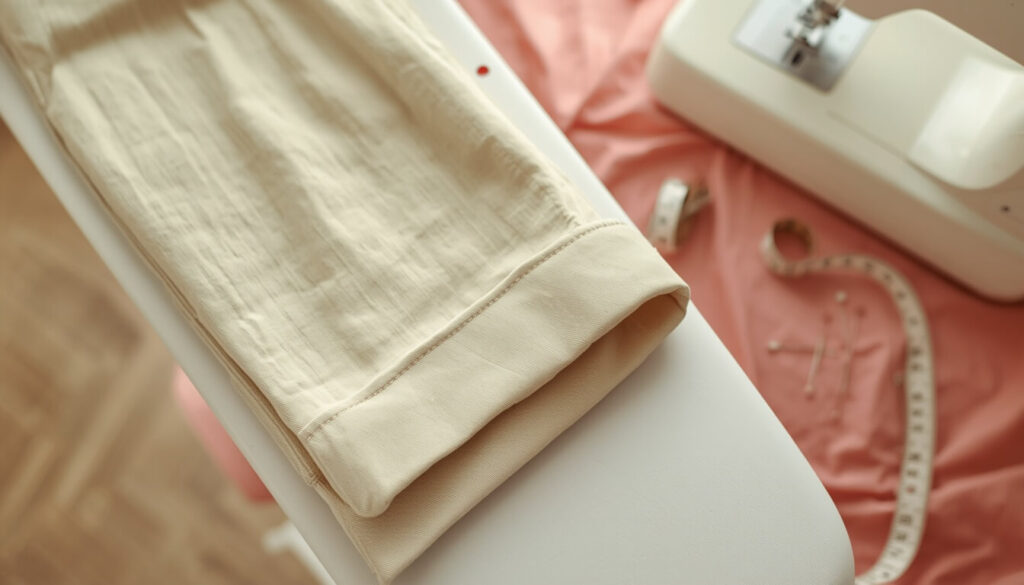
How to hem pants with a sewing machine comes down to four simple stages measure, prepare, pin, and sew. Once you’ve done it once, shortening a pair of pants to the perfect length takes less than half an hour, and you’ll never have to pay a tailor for a basic hem again.
Quick Answer
To hem pants with a sewing machine, put the pants on with the shoes you’ll wear them with, pin the new length, remove any old hem, fold and press the new hem twice to hide the raw edge, pin it in place, then sew around the fold with a straight stitch about 1/8 to 1/4 inch from the top edge.
What You’ll Need
- Sewing machine, thread to match your pants, and a needle suited to the fabric
- Iron and ironing board or pressing mat
- Straight pins or sewing clips
- Measuring tape or ruler (a hem gauge helps)
- Seam ripper (if removing an existing hem)
- Fabric scissors
How to Measure Pants for a New Hem
Try Them On with the Right Shoes
Always try the pants on with the exact shoes you plan to wear with them before pinning a new length. Heel height changes how much fabric pools at the ankle, so measuring in bare feet or the wrong shoes is one of the most common reasons a finished hem ends up too short or too long.
Stand in front of a full-length mirror, fold the extra fabric up to the length you want, and pin it in place. If you have someone to help pin the back of the leg, the result will be more even than pinning it yourself.
Decide on Your Hem Allowance
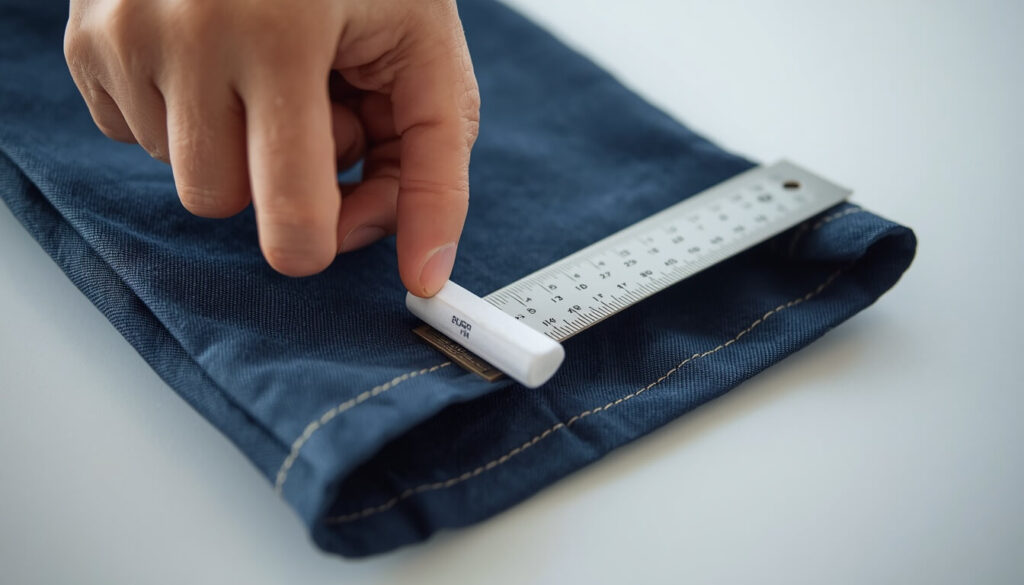
A simple way to think about hem allowance is: fold the fabric up once to hide the raw edge, then fold it again to create the finished hem. Most pants use a 1 to 1.5 inch allowance, while jeans typically use a smaller 1/2 inch fold because of their thicker fabric. Measure this same amount all the way around both legs so the hem stays level.
How to Prepare Your Pants Before Sewing
Remove the Old Hem (If There Is One)
If your pants already have a factory hem, use a seam ripper to carefully cut through the stitches holding it in place, then press out the old crease with your iron so you’re working with flat fabric.
Press and Fold Your New Hem
Turn the pants inside out and fold the raw edge up by your first allowance amount, pressing it with the iron as you go. Fold a second time to the same measurement, so the raw edge is fully hidden inside the fold, and press again to set a crisp crease. Pin the folded hem in place every few inches, keeping the fold even all the way around the leg.
How to Hem Pants with a Sewing Machine (Step-by-Step)
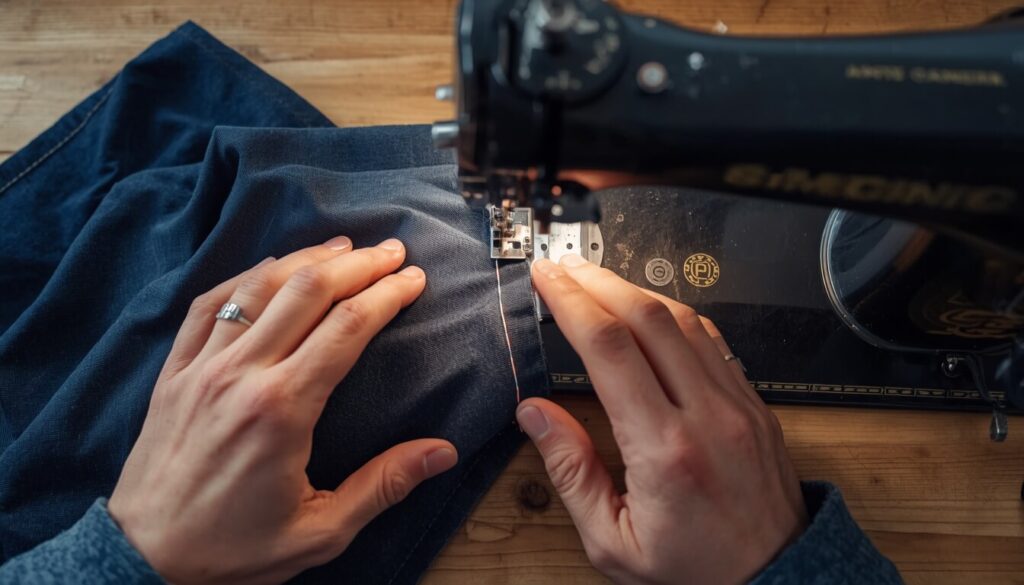
- Thread your machine with top and bobbin thread that matches your pants color.
- Set your stitch to a straight stitch at a medium length, around 2.5 to 3. If your fabric has stretch, a slightly longer stitch or a narrow zigzag will move with the fabric better.
- Turn the pants inside out so you’re sewing on the wrong side, with the pressed, pinned hem facing up.
- Position the needle about 1/8 to 1/4 inch from the top folded edge of the hem, not the bottom raw edge.
- Slide the pant leg onto the free arm of your machine if it has one — this makes it much easier to maneuver a narrow tube of fabric.
- Backstitch a few stitches to lock the thread, then sew slowly around the entire hem, removing pins just before the needle reaches them.
- Overlap your stitching by about half an inch where you started, then backstitch again to secure the end.
- Repeat on the second pant leg, matching your stitching distance from the fold so both legs look identical.
- Press the finished hem one more time from the right side to set the stitches flat.
Choosing the Right Stitch and Needle
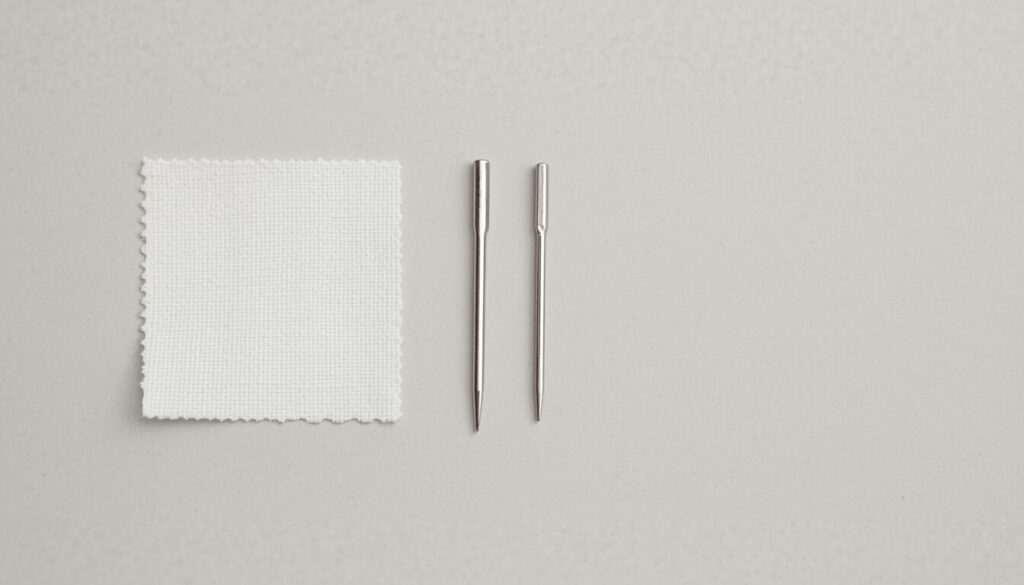
A straight stitch works for most woven pants fabric, like cotton, twill, or chino. For pants with stretch in them, a longer straight stitch or a narrow zigzag keeps the hem from popping stitches when the fabric stretches. Matching your needle size to the fabric weight also makes a real difference in how clean the finished hem looks — heavier fabrics need a larger needle, while lightweight pants need a finer one. Our needle size chart breaks down exactly which size to use for different pants fabrics.
Common Mistakes to Avoid When Hemming Pants
- Skipping the pre-wash. Hemming pants before their first wash can mean the fabric shrinks afterward and the hem ends up shorter than planned.
- Measuring without shoes on. This is one of the most common reasons a finished hem comes out the wrong length.
- Cutting off too much fabric. Leave at least an inch of allowance — you can always trim more later, but you can’t add fabric back.
- Skipping the iron. A pressed crease gives you a guide to follow and makes for a noticeably neater finished hem.
- Sewing too close to the raw edge. Stitching too near the bottom fold instead of the top can leave the raw edge loose and prone to fraying.
FAQs
Conclusion
Once you know how to hem pants with a sewing machine, it becomes one of the most useful skills in your sewing routine a task that used to mean a trip to the tailor turns into a twenty-minute job at home. The method above works for most standard pants, but if you’re working with jeans, a dress, or want an invisible finish, those fabrics and techniques deserve their own approach. According to the Bureau of Labor Statistics on tailors and dressmakers, hemming and altering garments are among the most common tasks in the sewing and alterations trade, which is exactly why it’s worth having this skill at home.
Before you start cutting into your fabric, use the SewSmartHub fabric yardage calculator to make sure you have exactly what you need for your next project.