
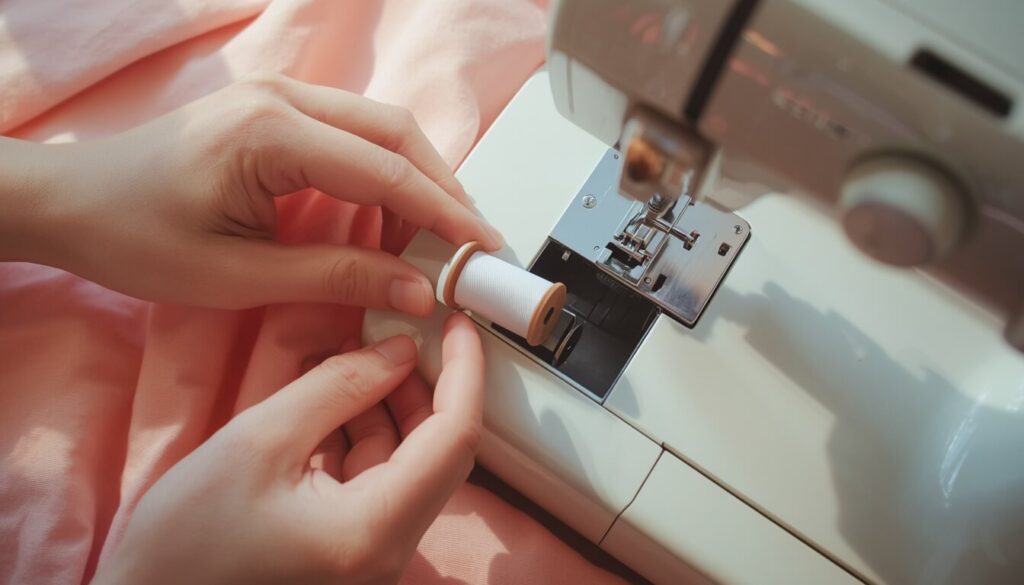
How to insert a bobbin in a sewing machine depends on which of two systems your machine uses, and getting the direction right matters more than most beginners realize. Once your bobbin is wound and ready, this is the last step before you start sewing — get it backwards, and your stitches will loop, bunch, or tangle right away.
Quick Answer
To insert a bobbin in a sewing machine, first check whether your machine is top-loading or front-loading. Drop a top-loading bobbin straight into its slot with the thread pulling in the direction shown on the machine. For a front-loading machine, place the bobbin in the separate bobbin case, thread it through the tension slit, then insert the case into the machine and close the latch.
Before You Start
- Make sure your bobbin is already wound and evenly filled
- Turn the machine off before inserting or removing the bobbin
- Raise the needle to its highest position
- Raise the presser foot
Which Type of Bobbin System Does Your Machine Have?
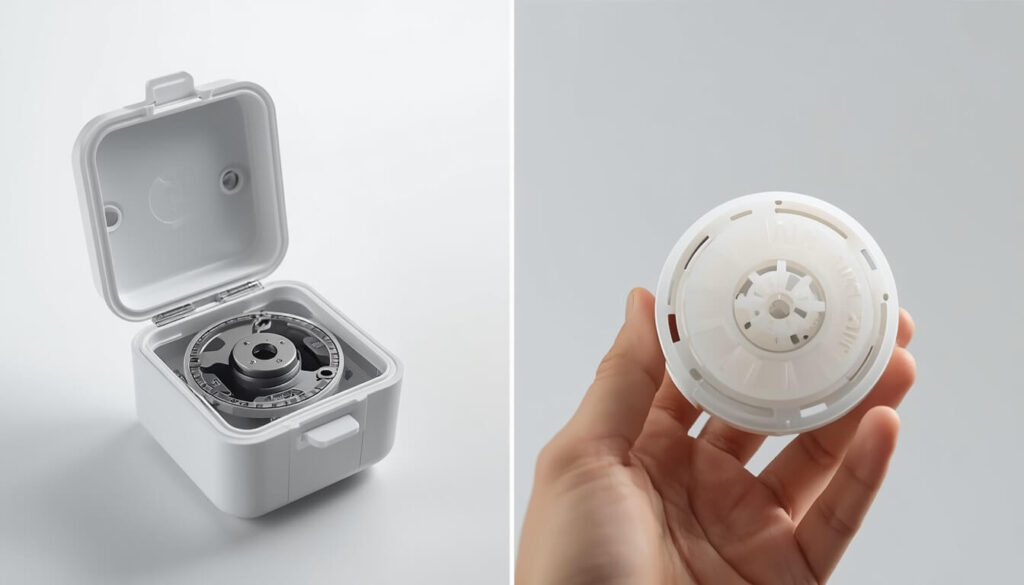
Before learning how to insert a bobbin in a sewing machine, it helps to know which system you’re working with — the process is different for each one.
Top-Loading (Drop-In) Bobbin
If there’s a small clear or hinged cover directly below or beside the needle plate, your machine uses a top-loading bobbin. This is the more common setup on modern home machines, and it doesn’t use a separate removable case — the bobbin drops straight into a built-in holder.
Front-Loading (Bobbin Case) Bobbin
If you need to open a small door on the front of the machine (or under the free arm) to reach the bobbin, your machine uses a front-loading system with a separate metal bobbin case. Many older machines and some heavy-duty or industrial models use this style.
How to Insert a Top-Loading Bobbin (Step-by-Step)
- Turn off the machine and raise the needle to its highest point.
- Remove the bobbin cover plate by sliding or lifting the small tab, usually located just below the needle.
- Drop the wound bobbin into the holder, following the direction arrow printed inside — the thread should unwind in that exact direction, not the opposite way.
- Guide the thread through the small slit at the edge of the holder, pulling gently until it settles into the tension notch.
- Leave a tail of about 4–6 inches of thread hanging out, then replace the bobbin cover plate.
How to Insert a Front-Loading Bobbin (Step-by-Step)
- Turn off the machine and open the bobbin access door on the front of the machine.
- Remove the bobbin case by lifting its hinged latch and gently pulling it out.
- Hold the bobbin case in one hand, and place the wound bobbin inside so the thread pulls off in a clockwise direction (check your manual, as this varies slightly by brand).
- Pull the thread through the tension slit in the side of the case until it clicks into the small notch.
- Holding the case by its latch, insert it back into the shuttle area, lining up the finger on the case with the notch in the machine.
- Release the latch to lock the case in place, then close the access door.
Which Direction Should the Bobbin Thread Face?
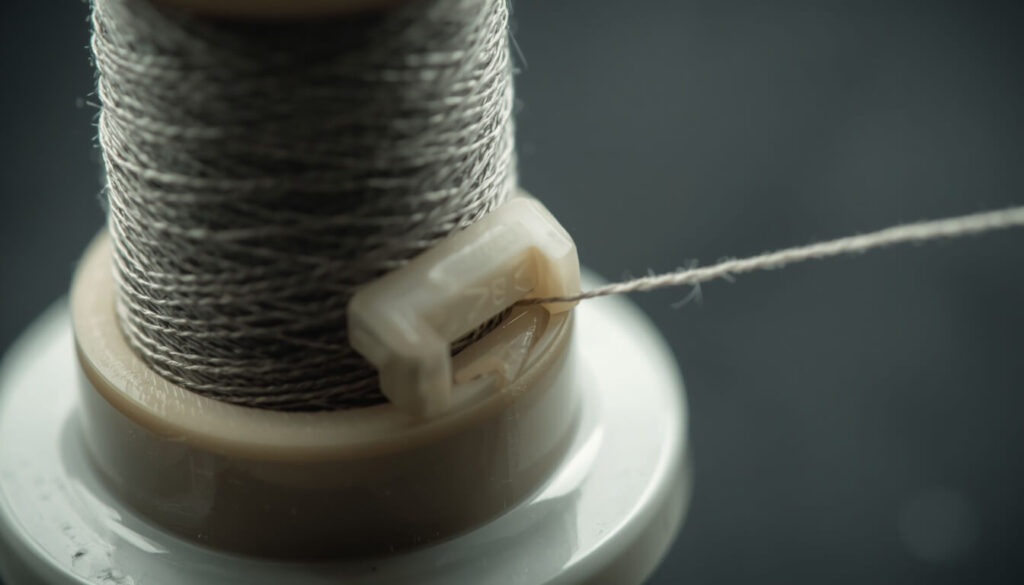
This is the step that trips up most beginners, and it’s worth checking twice. Most machines require the bobbin thread to unwind counterclockwise, but some brands — including certain Singer models — use a clockwise setup instead. Inserting the bobbin backwards won’t stop it from spinning, but it will throw off your tension and cause loose or looping stitches almost immediately.
A quick way to check: most bobbin holders have a small direction arrow molded into the plastic or metal right next to where the bobbin sits. When in doubt, check your machine’s manual for the exact direction, since this really is model-specific.
How to Pull Up the Bobbin Thread After Inserting It
Once the bobbin is in place, you still need to bring its thread up to the top of the machine before sewing.
- Hold the top thread lightly with one hand.
- Turn the hand wheel toward you one full rotation, lowering and then raising the needle.
- This motion loops the bobbin thread around the top thread and pulls it up through the small hole in the needle plate.
- Gently pull the top thread until you see a loop of bobbin thread appear, then use a pin or the tip of your scissors to pull that loop all the way out.
- Pull both threads back and to the left, tucking them under the presser foot before you begin sewing.
Common Mistakes When Inserting a Bobbin
- Inserting the bobbin backwards. This is the most common mistake and the easiest to miss, since the bobbin will still spin either way.
- Skipping the tension slit. Dropping the bobbin in without pulling the thread through the slit means the bobbin will spin freely with no tension at all.
- Leaving too short or too long a thread tail. Aim for 4–6 inches — too short and it can pull out of the case, too long and it can tangle.
- Forcing the bobbin case in. If it doesn’t click into place easily, it’s usually misaligned rather than needing more pressure.
- Skipping the pull-up-thread step. Sewing without bringing the bobbin thread up first is a common cause of tangled stitches on your first few inches of sewing.
FAQs
Conclusion
Learning how to insert a bobbin in a sewing machine comes down to knowing your machine’s system and getting the thread direction right. Whether you have a top-loading or front-loading machine, the process only takes a minute once you’ve done it a few times. According to Utah State University’s sewing machine guide, the needle should always be fully raised and the machine switched off before inserting or removing a bobbin, which is worth keeping in mind as a safety habit every time.
If you haven’t wound your bobbin yet, start with how to wind a bobbin first. And if your bobbin keeps causing problems even after inserting it correctly, why is my bobbin not working covers the most common causes.
Once your bobbin is inserted and your machine is threaded, figure out exactly how much fabric your next project needs with the fabric yardage calculator.