
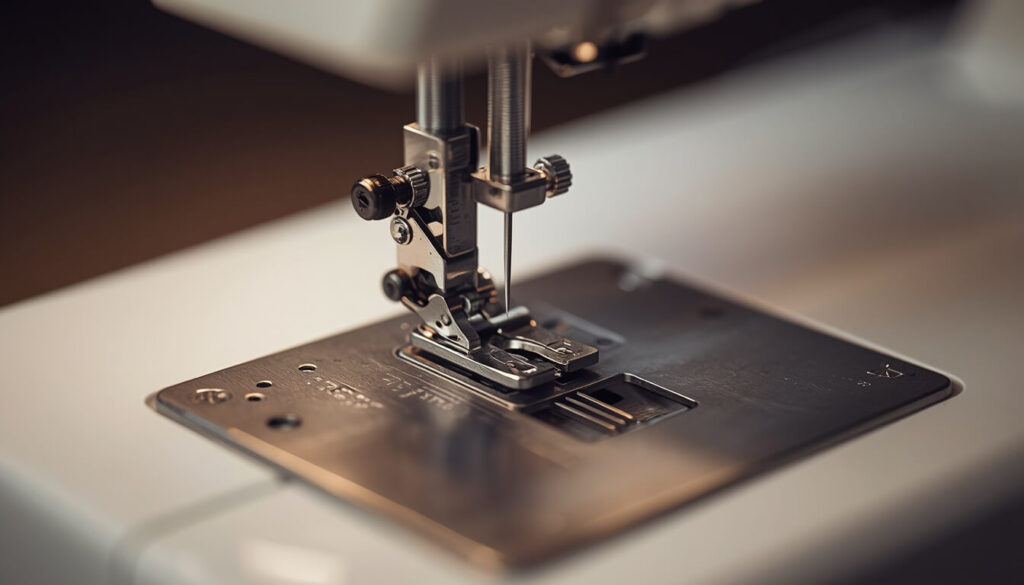
If your needle is suddenly hitting the bobbin case, your stitches are skipping for no obvious reason, or you hear a faint clicking every time the needle drops, your machine’s timing has likely slipped. Learning how to fix sewing machine timing starts with understanding what timing actually controls and confirming that’s really the problem before you touch anything inside the machine.
This guide covers the signs of a timing issue, what causes it, and the safe steps for fixing minor timing problems yourself, plus when it’s time to hand the machine to a professional.
- Quick Answer
- What Sewing Machine Timing Actually Means
- Signs Your Sewing Machine Is Out of Time
- What Causes Sewing Machine Timing to Slip
- How to Fix Sewing Machine Timing (Step-by-Step)
- Can You Fix Sewing Machine Timing Yourself?
- When to Call a Professional
- How to Prevent Timing Problems
- Mistakes to Avoid
- FAQs
- Conclusion
Quick Answer
Sewing machine timing is the precise coordination between the needle going down and the hook picking up the thread loop beneath it. If you’re wondering how to fix sewing machine timing, start by ruling out a bent needle first it’s the single most common cause and the easiest to fix in under a minute.
| Sign | Likely Cause | What to Do |
|---|---|---|
| Needle hits bobbin case | Timing slipped or needle bent | Replace needle first, then check timing |
| Sudden skipped stitches | Needle/hook no longer synced | Inspect needle height and hook clearance |
| Clicking sound while sewing | Needle bar or hook gear misaligned | Stop sewing, inspect before continuing |
| Thread bunching despite correct tension | Hook not catching thread loop cleanly | Check hook timing, not tension dial |
What Sewing Machine Timing Actually Means

Every stitch depends on the needle descending at the exact moment the hook underneath swings around to catch the thread loop. This synchronization between the needle bar and the hook is what “timing” refers to — not the speed of the machine, and not thread tension.
This is different from a machine that’s jammed with thread or one that won’t move at all — those are mechanical blockages or power issues, not a sync problem between two moving parts.
Signs Your Sewing Machine Is Out of Time
Needle Hits the Bobbin Case or Needle Plate
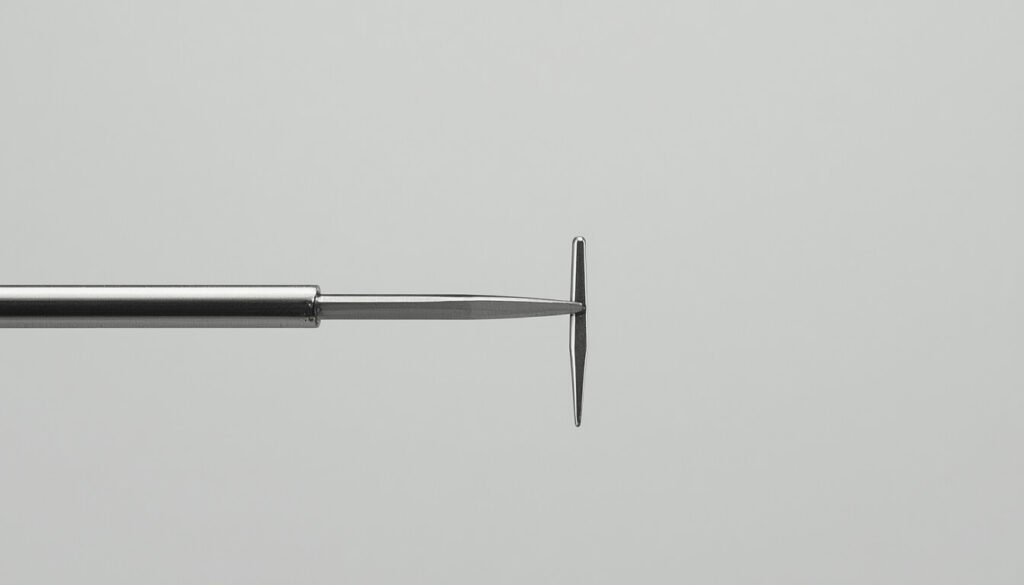
If the needle is physically striking the bobbin case, hook, or needle plate as it descends, the timing between the needle bar and the hook has shifted enough that the two parts are colliding instead of passing cleanly.
Skipped Stitches That Started Suddenly
Occasional skipped stitches usually point to needle or tension issues. But if your machine was sewing perfectly and then began skipping stitches consistently after a specific incident — like hitting a pin or a thick seam — timing is a likely cause.
Thread Bunching Underneath Even With Correct Tension
Many sewists chase a tension problem for hours when the real issue is timing. If the hook isn’t catching the thread loop at the right moment, thread bunches underneath no matter how the tension dial is set.
Loud Clicking or Grinding Sound When Sewing
A clicking or light grinding noise on each stitch cycle often means the needle bar and hook mechanism are making contact where they shouldn’t — a mechanical symptom of timing being off, not just a loose part.
What Causes Sewing Machine Timing to Slip
A Bent or Incorrectly Inserted Needle
This is by far the most common cause, and the good news is it’s not a true timing fault at all. A bent needle changes the exact point where it meets the hook, throwing off the sync even though the internal mechanism itself is fine.
A Hard Impact or Dropped Machine
Sewing over a pin, hitting a thick seam too fast, or the machine being bumped or dropped can knock the needle bar or hook assembly slightly out of alignment.
Worn or Loose Internal Gears
On older machines especially, the gears or set screws that hold the needle bar and hook timing in place can loosen over years of use, gradually letting the sync drift.
How to Fix Sewing Machine Timing (Step-by-Step)

- Replace the needle first. Before assuming true timing is off, put in a brand-new needle inserted correctly (flat side facing the right direction for your machine). This alone fixes the majority of “timing” complaints.
- Test on scrap fabric. Sew a few inches and watch closely for the needle striking the bobbin case or hook.
- If the needle still strikes the hook, unplug the machine and manually turn the handwheel to watch the needle and hook interact slowly — you’re checking whether the hook point reaches the needle’s scarf (the small notch above the eye) at the correct moment.
- Check the needle bar height against your machine’s manual — most manuals specify the exact height for correct hook timing, adjustable via a set screw on higher-end or mechanical machines.
- Make small adjustments only. If your machine allows manual timing adjustment, move it in small increments, testing after each change rather than making one large adjustment.
- Stop if you’re not confident. True internal timing adjustment varies significantly by brand and model — if your manual doesn’t cover it clearly, this is the point to hand it to a professional rather than risk further misalignment.
If you haven’t cleaned and oiled the machine recently, do that first — a dry, lint-packed hook area can sometimes mimic a timing issue.
Can You Fix Sewing Machine Timing Yourself?
Minor timing drift caused by a bent needle is safe and simple to fix yourself — it’s really just a needle swap. True internal timing adjustment (moving the hook assembly or needle bar) is more involved and varies by brand, so it’s worth attempting only if your machine’s manual gives clear adjustment instructions.
When to Call a Professional
If you’ve replaced the needle, confirmed the needle bar height matches your manual, and the needle is still striking the hook or bobbin case, the internal timing likely needs a full mechanical adjustment. This requires precise alignment tools and experience, and a qualified sewing machine technician can correct it without risking further damage.
How to Prevent Timing Problems
Most timing issues trace back to preventable habits: sewing over pins, forcing thick fabric through too quickly, or letting lint build up around the hook. Keeping the machine clean and using the correct needle for your fabric type goes a long way toward keeping timing stable for years.
According to general engineering background on sewing machines, the lockstitch mechanism depends on the needle and rotating hook meeting at a precise, repeatable point in each cycle — which is exactly why even a slightly bent needle can throw the whole system off.
Mistakes to Avoid
- Adjusting the timing screw randomly without a manual reference — this can make the problem significantly worse.
- Assuming it’s a tension problem when thread bunches underneath — check the needle and timing first.
- Continuing to sew once you hear clicking or grinding, which can bend the needle further or damage the hook.
- Skipping the needle-replacement step and jumping straight to internal adjustments that weren’t actually needed.
FAQs
Conclusion
Most timing complaints turn out to be a bent needle in disguise, and learning how to fix sewing machine timing usually starts and ends with a simple needle swap and a test seam. True internal timing drift is rarer, but recognizing the signs early and knowing when to stop and call a professional keeps a small misalignment from turning into a bigger repair.
Once your stitches are running clean again, our guide to common sewing machine problems covers the rest of the troubleshooting cluster if anything else comes up.