
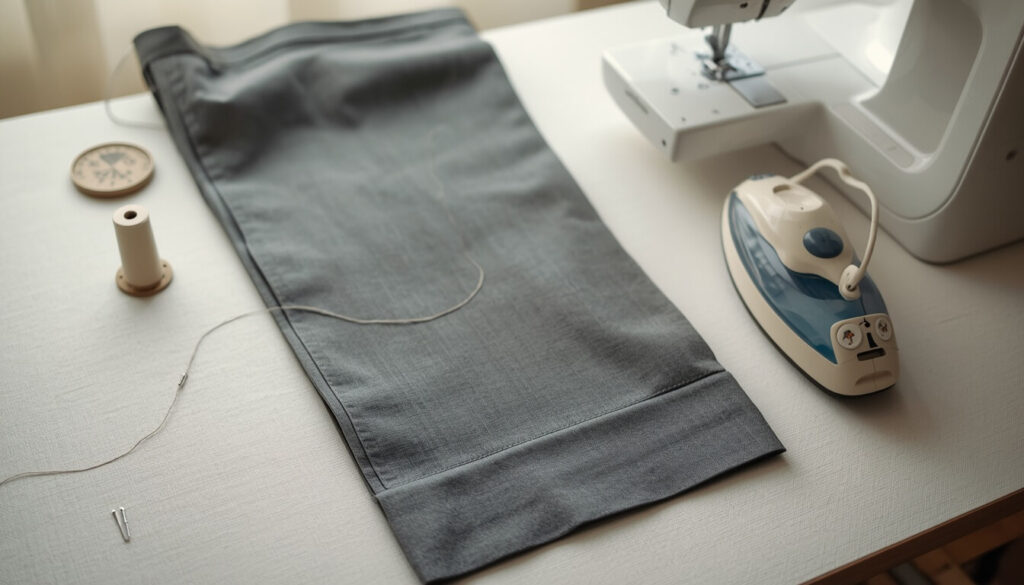
How to sew a blind hem comes down to one trick most sewists never expect the first time: you fold the garment almost inside out before you sew a single stitch. Once you understand why that fold exists, the rest of the technique makes a lot more sense, and the payoff is a hem with no visible stitching at all from the outside.
Quick Answer
To sew a blind hem, press and fold your hem up as usual, then fold the garment back on itself so only a narrow strip of the hem allowance sticks out. Select your machine’s blind hem stitch, line the fold up against the guide on your blind hem foot, and sew so the straight stitches stay on the allowance while the occasional zigzag just barely catches the main fabric. Unfold it and the stitching all but disappears.
What a Blind Hem Stitch Is (and When to Use One)
A blind hem stitch is a repeating pattern of several straight stitches followed by one zigzag stitch that swings over to catch just a thread or two of the outer fabric. According to Wikipedia, a blind stitch only picks up a few threads of the fabric with each pass, which is exactly why most of the stitching stays hidden inside the hem instead of showing on the right side.
That’s the whole appeal. A regular topstitched hem shows a visible line of thread all the way around. A blind hem shows almost nothing — just a tiny dot here and there if you look closely.
Best Fabrics and Projects for a Blind Hem
Blind hems work best on medium to heavyweight woven fabric with enough body to hide the small zigzag bite — think wool trousers, tailored skirts, curtains, and structured dresses. A pair of dress pants hemmed with a straight topstitch and the same pair hemmed blind look like two different price points, even though the fabric and fit are identical.
When to Skip It (Sheer Fabric, Some Knits)
Sheer or very lightweight fabric doesn’t have enough thickness to bury the zigzag bite, so the stitch ends up more visible than intended rather than less. If you’re working with chiffon or silk, a narrow rolled hem is a better match. Stretchy knit fabric can also be tricky, since the raw edge inside a blind hem tends to curl instead of lying flat, which keeps the hem from hanging straight.
Tools You’ll Need
- Sewing machine with a blind hem stitch setting
- Thread that closely matches your fabric color
- Iron and ironing board
- Pins or clips
- Measuring tape and a hem gauge
Blind Hem Presser Foot (and Sewing Without One)
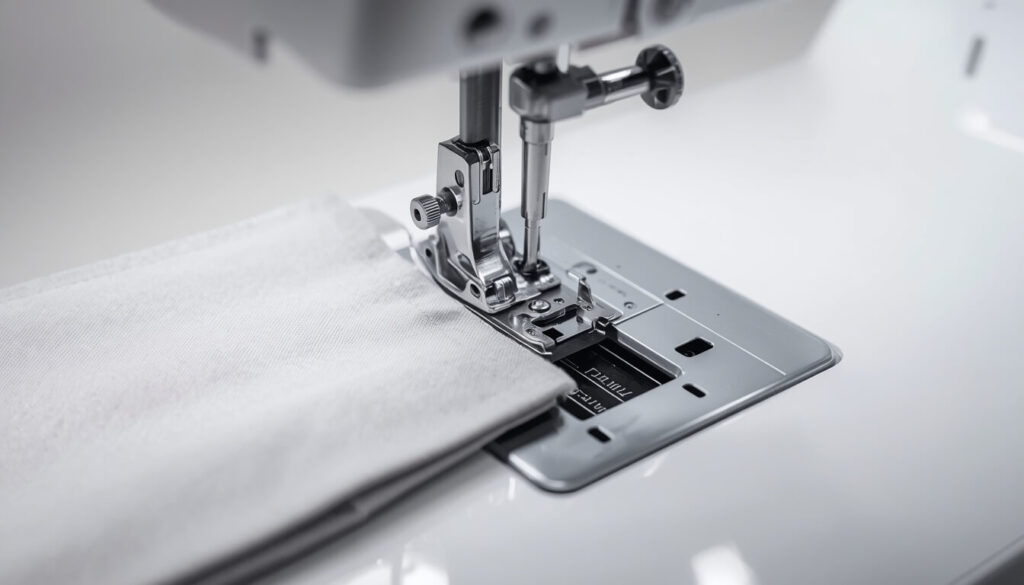
A blind hem foot has a small metal guide that runs down the center, and it does two jobs at once. It keeps the folded edge lined up as you sew, and it holds the fold slightly away from the needle when the stitch swings left. That small gap is what gives the finished hem enough slack to hang freely instead of pulling tight.
Most machines that have a blind hem stitch built in are sold with this foot, or it’s available as a low-cost add-on. It’s possible to sew a blind hem with a standard foot by watching the fold carefully as you go, but the foot makes the whole process considerably more consistent, especially the first several times you try it.
Machine Settings — Stitch and Width
Select the blind hem stitch on your machine — it’s usually shown as a symbol with a row of straight lines and one jagged zigzag. Start with your machine’s default stitch length and a medium zigzag width, then adjust based on your test stitch, covered in more detail below. For general needle and thread guidance by fabric weight, our needle size chart covers the full range from lightweight to heavy fabric.
How to Sew a Blind Hem Step by Step
Step 1 — Press and Fold the Hem
Fold the raw edge of your hem up to your desired length and press it, the same way you would for any hem. For the full process of measuring and marking a new hem length, our guide on how to hem pants with a sewing machine covers that groundwork in detail — the steps below pick up once your basic hem is folded and pressed.
Step 2 — Fold Back to Expose the Hem Allowance
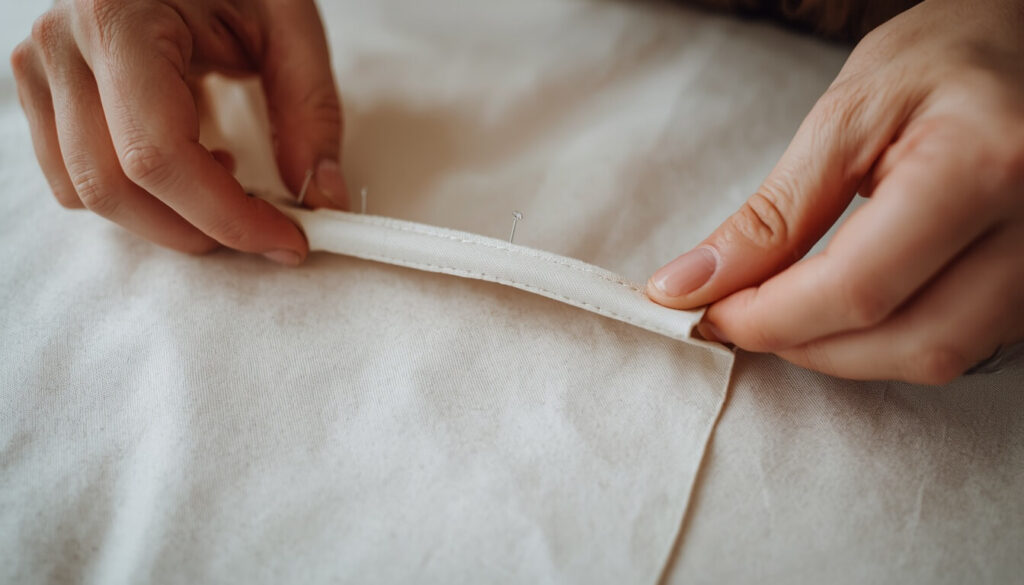
This is the step that makes a blind hem different from every other hem technique. Fold the pressed hem back toward the right side of the garment, so the body of the garment and the hem allowance are folded against each other. Leave about ¼ to ⅜ inch of the hem allowance sticking out past that fold — this is the strip your needle will actually work on.
Step 3 — Position and Sew
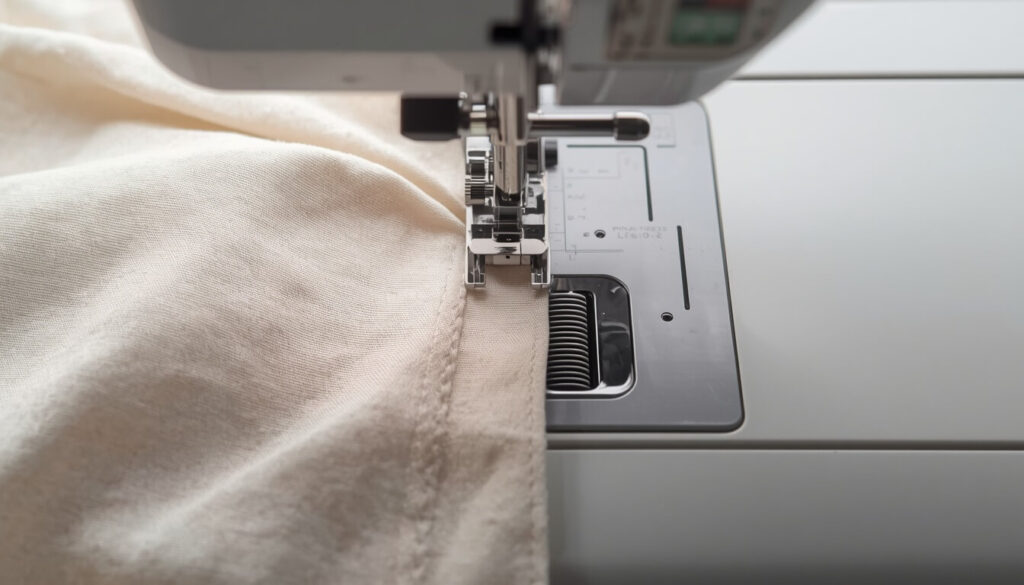
Slide the folded fabric under your blind hem foot so the exposed strip of hem allowance sits under the straight-stitch side of the foot, and the folded edge of the garment lines up against the guide. Sew slowly, watching that fold stay against the guide the whole way around. The straight stitches should land entirely on the hem allowance, and the zigzag should swing just far enough left to catch a thread or two of the folded garment edge.
Step 4 — Unfold and Press
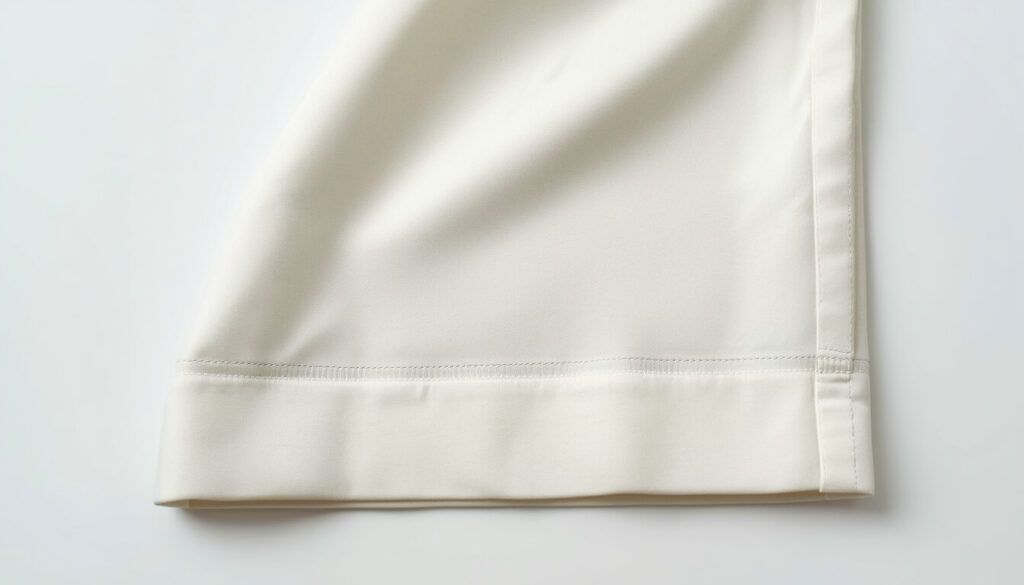
Once you’ve stitched all the way around, unfold the garment flat and check the right side — you should see only small, scattered dots where the zigzag caught the fabric. Give the hem a final press from the right side to settle everything flat.
Testing and Adjusting Your Stitch Before You Commit
Sew a 3 to 4 inch test section on a scrap of the same fabric, folded the same way, before you commit to the full hem. Unfold it and check two things: whether the stitches are visible from the right side, and whether the zigzag is actually catching the fold at all. It’s much faster to adjust the width on a test strip than to unpick six inches of finished hem.
Troubleshooting Common Problems
Stitches Show on the Right Side
This usually means the zigzag width is set too wide, so the needle is swinging too far into the garment fabric instead of just grazing it. Narrow the zigzag width slightly and test again.
Zigzag Isn’t Catching the Fold
If nothing shows up on the right side at all, the opposite problem is happening — the zigzag isn’t reaching the fold. Widen the stitch a little at a time, or check that the folded edge is sitting snugly against the foot’s guide rather than drifting away from it.
Hem Won’t Hang Freely (Pulls Up)
A hem that pulls tight instead of hanging loose usually means the stitches were pulled too taut while sewing, or the fold wasn’t given enough slack against the foot’s guide. Loosen your top tension slightly and make sure you’re not tugging the fabric as it feeds through the machine.
Common Mistakes to Avoid
- Skipping the test strip and adjusting the width on the actual garment instead
- Folding the hem allowance flush with the fold instead of leaving that ¼ to ⅜ inch strip exposed
- Using thread that doesn’t closely match the fabric color, which makes even a well-caught stitch more visible
- Sewing too fast to keep the fold steady against the foot’s guide
- Trying this technique on sheer or very lightweight fabric, where the bite shows more than it hides
FAQs
Conclusion
Once you know how to sew a blind hem, that fold-back step stops feeling strange and starts feeling like the whole point of the technique. It takes a little more setup than a straight topstitch, but the payoff is a hem that looks tailored rather than homemade. If you’re hemming pants, jeans, or a dress and want the visible-topstitch version instead, our guides on those techniques walk through that process in full.
Ready to try a blind hem? Start with a test strip on a fabric scrap so you can dial in your stitch width before committing to the real hem it saves far more time than unpicking a finished one. And when you’re ready for your next project, run your measurements through the SewSmartHub fabric yardage calculator so you never guess how much fabric to buy.