
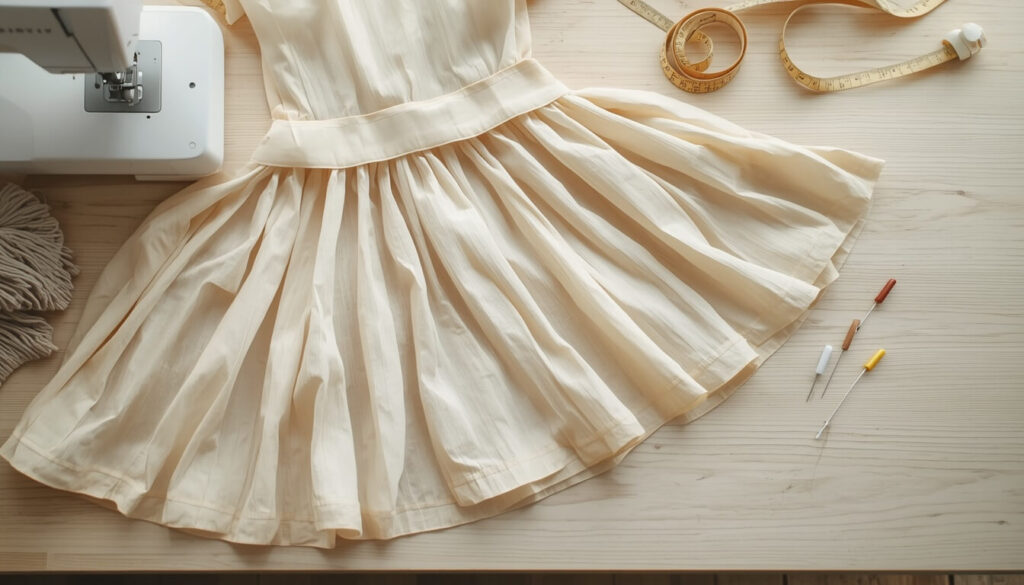
How to hem a dress with a sewing machine depends on one thing most guides never mention up front: whether your hemline is straight or curved. A straight hem folds up with no fuss. A curved hem the kind you get on an A-line dress or a circle skirt has extra fabric bunched into a smaller space, and folding it the same way a straight hem gets folded is exactly why so many home hems end up puckered. This guide covers both, plus what changes for sheer, stretchy, or otherwise tricky dress fabric.
- Quick Answer
- Before You Start — Let the Dress Hang First
- Tools & Presser Feet You'll Need
- How to Hem a Dress with a Sewing Machine (Straight or Gently Shaped Hems)
- How to Hem a Curved Hem (A-Line, Circle Skirts) Without Puckering
- Hemming Sheer or Delicate Fabric with a Rolled Hem Foot
- Hemming a Stretchy Jersey Dress with a Twin Needle
- When to Use a Blind Hem Instead
- Troubleshooting Common Problems
- Common Mistakes to Avoid
- FAQs
- Conclusion
Quick Answer
To hem a dress with a sewing machine, let the dress hang for a day first, then mark your new length with the shoes you’ll wear. If the hem is straight, fold it up twice and stitch close to the inner fold. If the hem is curved, baste a line near the raw edge first and gently gather the thread to ease the extra fabric before folding skipping this step is the single biggest reason curved hems pucker.
Before You Start — Let the Dress Hang First
Skirts and dresses shift after they’re made, especially anything with a flare or a bias element in the cut. Hang the dress on a hanger for at least 24 hours overnight is the minimum, a full day is better before you measure or mark anything.
According to Wikipedia, fabric cut at a diagonal to its woven grain has more stretch and drape than fabric cut straight along the grain, which is exactly why a dress with any flare in the skirt can hang unevenly at first and needs time to settle under its own weight before you commit to a hemline.
Skip this step and you may end up chasing a hem that keeps dropping lower on one side after a few wears, no matter how carefully you measured it the first time.
Tools & Presser Feet You’ll Need
- Sewing machine with a straight stitch (and a zigzag for curved or stretch hems)
- Needle and thread matched to your fabric weight
- Measuring tape, tailor’s chalk, and a hem gauge or ruler
- Pins or clips
- Iron and ironing board
- Fabric scissors and a seam ripper
- Optional: a blind hem foot, rolled hem foot, or edge foot, depending on the technique you choose below
Needle & Thread for Dress Fabric
Dress fabric covers an unusually wide range, from stiff cotton to slippery silk, so one needle size won’t serve every project. For a lightweight dress in chiffon or silk, use a fine needle (size 60/8 to 70/10) with all-purpose or fine polyester thread. For medium-weight cotton, linen, or a lined A-line dress, a size 80/12 needle handles it well.
Blind Hem Foot vs. Edge Foot vs. Rolled Hem Foot
Each of these solves a different problem, and picking the wrong one is a common reason a hem doesn’t turn out the way you pictured it:
- A blind hem foot guides the fabric so the stitching barely shows from the outside best for medium to heavier woven fabrics where you want a nearly invisible finish.
- An edge foot (sometimes called a seam guide foot) simply helps you stitch a consistent distance from a folded edge, which is genuinely useful on any hem type.
- A rolled hem foot rolls the raw edge into a tiny double fold as you sew, made specifically for sheer or lightweight fabric where a regular double-fold hem would look bulky.
How to Hem a Dress with a Sewing Machine (Straight or Gently Shaped Hems)
This method works for dresses with a straight or barely-shaped hemline think a shift dress or a straight midi skirt.
- Put the dress on with the shoes you’ll actually wear it with, and mark your desired length with chalk or a pin at several points around the hem.
- Take the dress off, lay it flat, and connect your marks into one even line using a hem gauge or ruler.
- Fold the raw edge up to that line, press it, then fold again by the same amount to hide the raw edge completely, and press once more.
- Pin the folded hem in place every few inches, keeping it even all the way around.
- Stitch close to the inner fold, starting at a side seam and backstitching to lock the thread.
- Press the finished hem flat from the right side.
For the full mechanics of measuring, pinning, and stitching a basic double-fold hem, our guide on how to hem pants with a sewing machine walks through the same core technique in more depth the steps below focus on what’s different once your hem starts to curve.
How to Hem a Curved Hem (A-Line, Circle Skirts) Without Puckering
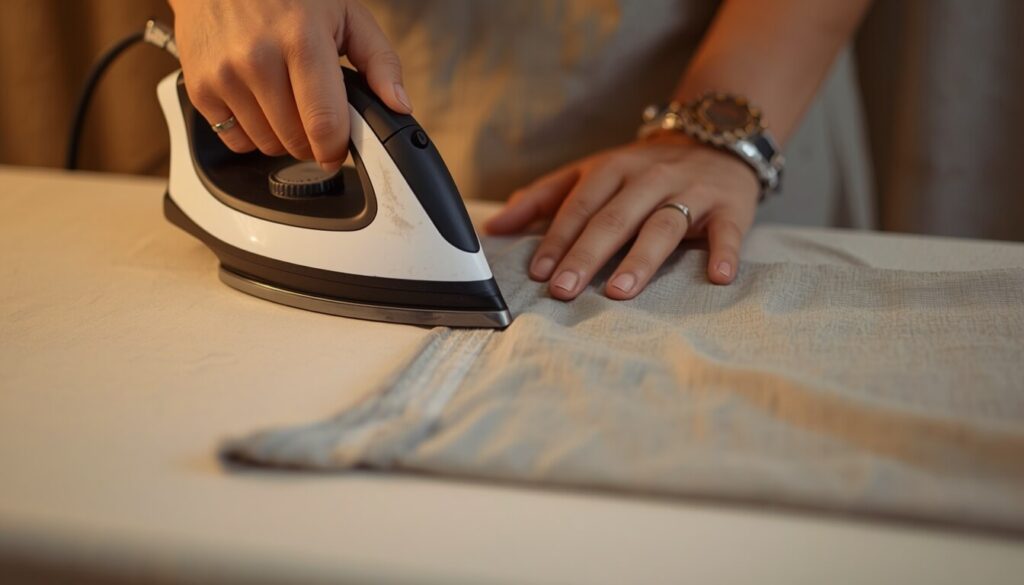
An A-line skirt or a circle skirt is wider at the hem than it is a few inches up, so when you fold that wider edge inward, you’re trying to fit more fabric into a smaller circle. Fold it the same way you would a straight hem and you’ll get small folds or puckers all the way around.
Basting and Easing the Fabric First
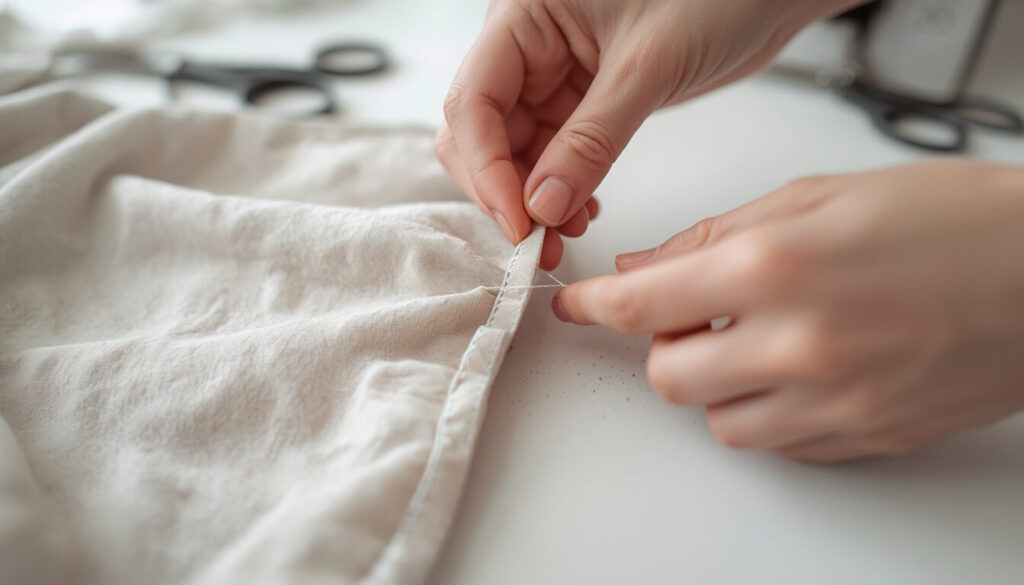
Before folding anything, sew a line of long basting stitches about ¼ inch from the raw edge, all the way around the hem. Leave long thread tails at the start and end. Gently pull those thread tails to gather the fabric slightly just enough to ease in the extra width, not enough to visibly pucker the surface.
Folding & Stitching the Eased Curve
Press the raw edge up along that basting line, using the gathered fullness as your guide, then fold up again by the same small amount so the raw edge is hidden. Edge-stitch from the wrong side, close to the inner fold, starting at a side seam. An edge foot makes it much easier to keep this line consistent on a curve. Give the finished hem one more press from the right side.
When to Use an Overlocked-and-Turned Hem Instead (Flared/Bulky Fabric)
If the skirt is heavily flared, or the fabric itself is on the thicker side, folding twice adds too much bulk to lie flat. In that case, finish the raw edge with a zigzag or overlock stitch instead of folding it under, then fold up just once and stitch close to the finished edge. One fold instead of two is what keeps a very flared hem from looking stiff.
Hemming Sheer or Delicate Fabric with a Rolled Hem Foot
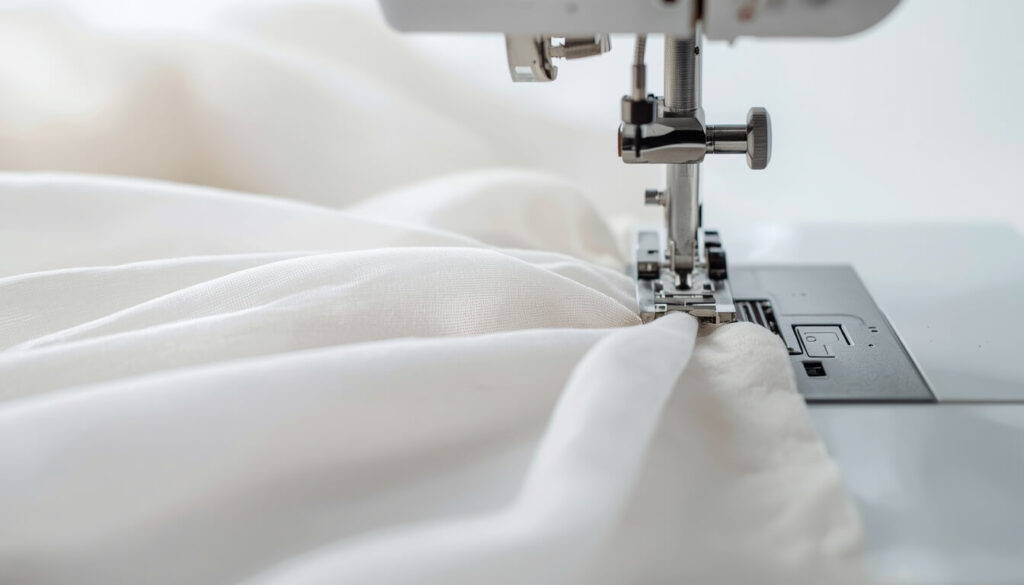
Chiffon, silk, and other sheer dress fabrics don’t hold up well to a standard double-fold hem the extra layers show through and the fabric tends to slip while you’re sewing it.
A rolled hem foot solves both problems by rolling a very narrow edge as you feed the fabric through, usually about 2mm wide. Start by pressing about an inch of the raw edge up twice to get the roll started, then guide it into the scroll of the foot and let the foot do the rolling for the rest of the hem. If the fabric is especially slippery, a strip of water-soluble stabilizer under the starting point makes it much easier to begin without the fabric bunching under the needle.
Hemming a Stretchy Jersey Dress with a Twin Needle
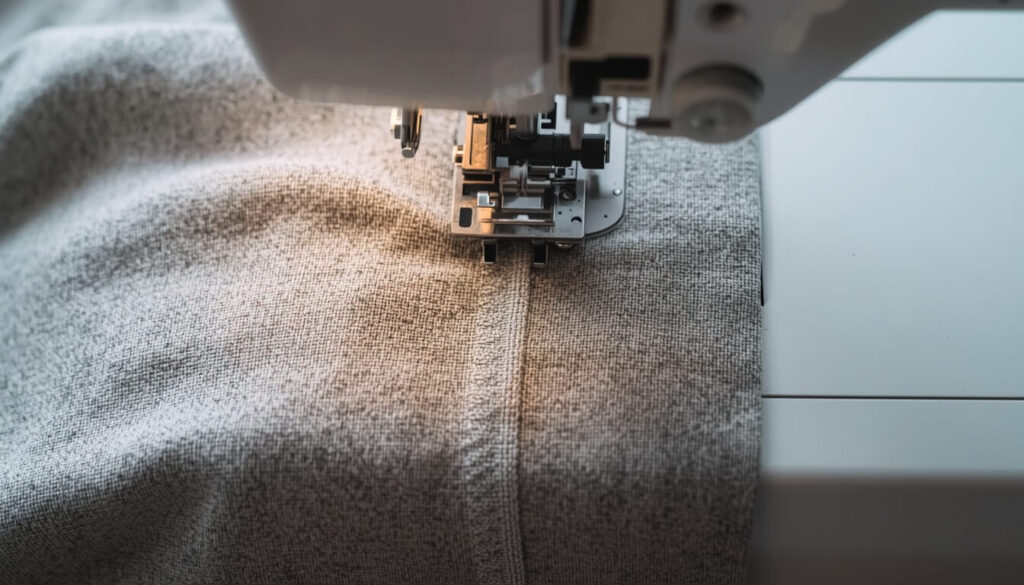
A regular straight-stitch hem on a stretchy jersey dress tends to pop its stitches the first time you sit down or reach overhead, because the thread itself doesn’t stretch with the fabric. A twin needle gets around this by sewing two parallel rows on top while the bobbin thread zigzags underneath, so the seam flexes with the fabric.
Press the hem up once, then stitch from the right side with the twin needle, keeping the fold lined up on the underside as you go. If the fabric between the two stitch lines starts to ridge up instead of lying flat a problem called tunnelling loosen your machine’s tension slightly and test again on a scrap first.
When to Use a Blind Hem Instead
If you want stitching that’s barely visible from the outside of the dress, a blind hem stitch is worth considering instead of a straight topstitch. It’s its own technique with its own setup, so rather than repeat it here, our dedicated guide on how to sew a blind hem covers the full method step by step.
Troubleshooting Common Problems
Hem Puckers on Curves
This almost always means the basting-and-easing step got skipped. Unpick the hem, sew a fresh basting line closer to the raw edge, and gather it slightly before folding again.
Twin Needle Tunnelling
Loosen the top tension a notch and test on a scrap of the same fabric before sewing the real hem. A layer of tear-away stabilizer underneath also helps if loosening the tension alone doesn’t fix it.
Uneven Hemline
Check that your original marks were taken with the dress on and the right shoes, and that you connected them with a hem gauge rather than eyeballing the line. Re-measure from the waist seam down to catch any spot where the line drifted.
Common Mistakes to Avoid
- Measuring and cutting before letting the dress hang overnight
- Folding a curved hem exactly like a straight one, without easing the extra fabric first
- Using a heavy topstitch on chiffon or silk instead of a rolled or narrow hem
- Skipping a tension test before sewing a twin-needle hem on stretch fabric
- Not pressing between every fold, which makes the line much harder to sew evenly
FAQs
Conclusion
Once you know how to hem a dress with a sewing machine and specifically how to handle a curved hemline without puckering a too-long dress stops being a reason to skip an event and becomes a project you can finish in an afternoon. The easing step for curves takes a few extra minutes, but it’s what separates a hem that lies flat from one that bunches at the seams. If you’re working on pants or jeans too, our guides on how to hem pants with a sewing machine and how to hem jeans with a sewing machine cover those fabrics in the same amount of detail.
Ready to hem your dress? Start by hanging it overnight so the fabric settles, then use the basting-and-easing trick above if your hem has any curve to it it’s the step that makes the biggest difference. And before your next dressmaking project, run your measurements through the SewSmartHub fabric yardage calculator so you never guess how much fabric to buy.