
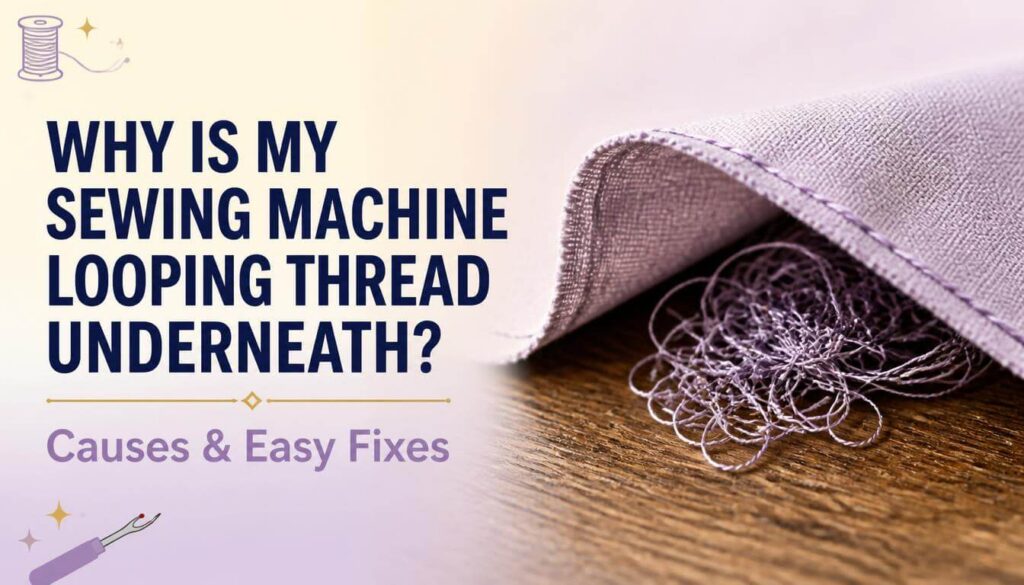
If you’re asking why is my sewing machine looping thread underneath your fabric, it almost always comes down to one of six things: the top thread tension is set too loose, the bobbin is threaded in the wrong direction, the presser foot wasn’t lowered before you started sewing, the machine wasn’t rethreaded properly after a bobbin change, you’re using the wrong bobbin for your machine, or lint has built up inside the bobbin case. Flip your fabric over and you’ll usually see a tangled mess of loops sewists often call this “bird nesting” while the top of the fabric can still look completely normal.
That mismatch is the first clue. A quick way to check this is to flip the fabric over every few inches while you’re troubleshooting, since a nest that starts small tends to get worse fast the longer you keep sewing over it.
- Quick Answer
- Before You Start
- Why Is My Sewing Machine Looping Thread Underneath? Common Causes
- Where This Overlaps With Other Issues
- What the Nest Looks Like vs. What It Means
- How to Fix Thread Looping Underneath
- Quick Troubleshooting Checklist
- Helpful Tips to Prevent Bird Nesting
- Common Mistakes That Make It Worse
- When to Call a Sewing Machine Technician
- FAQs
- Conclusion
- Related Sewing Machine Troubleshooting
Quick Answer
Before anything else, lower the presser foot fully and confirm it’s down an unbelievable number of nests trace back to sewing with the foot up, since that leaves the top tension completely disengaged. If the foot is already down, rethread both the top thread and the bobbin from scratch, since even a small threading mistake can throw off how the two threads interlock.
Before You Start
Turn off the machine, remove the fabric, and pull out the bobbin case so you can see it clearly. Keep a seam ripper on hand for clearing out the tangled nest from the back of your fabric, and have your manual nearby to double-check the correct bobbin insertion direction for your specific model.
Why Is My Sewing Machine Looping Thread Underneath? Common Causes
Top Thread Tension Set Too Loose
A lockstitch sewing machine forms each stitch by pulling the top thread down through the fabric, looping it around the bobbin thread, then pulling the excess back up to sit snugly between the layers. If the top tension is too loose, that upper thread never gets pulled back up properly instead, it piles up underneath the fabric in loose loops.
Bobbin Threaded in the Wrong Direction
Bobbins have a specific direction they need to sit in the bobbin case, usually so the thread unwinds clockwise or counterclockwise depending on your machine. Insert it backward, and the thread pulls against its own tension spring instead of with it, creating uneven loops on the underside almost immediately.
Presser Foot Not Lowered Before Sewing
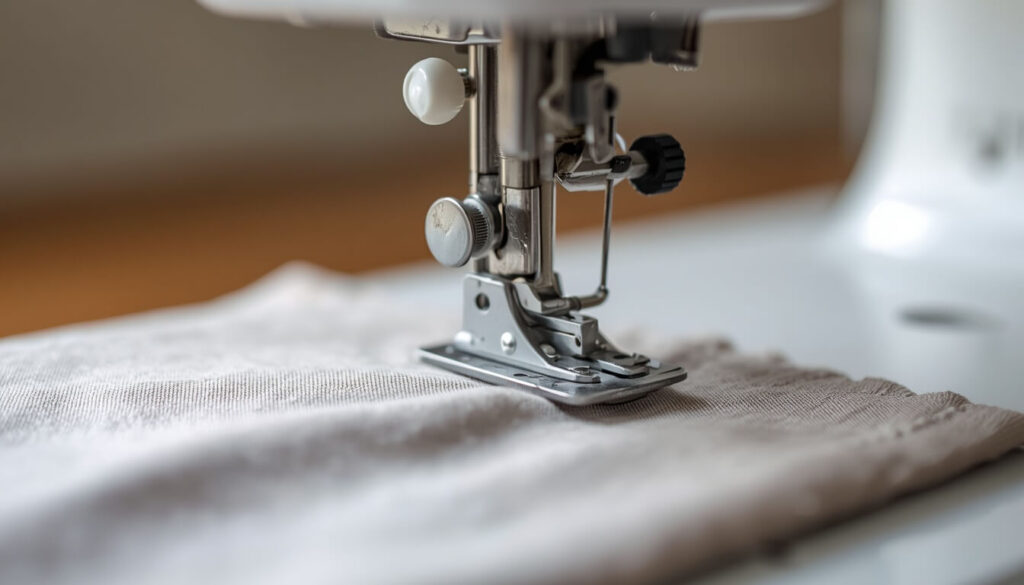
This is one of the most common and most overlooked causes. On most machines, the top tension discs only grip the thread when the presser foot is down. Sew even a few stitches with the foot up, and the top thread runs through with zero tension, guaranteeing a nest.
Machine Not Rethreaded After a Bobbin Change
Removing the top thread to change the bobbin, or to fix a snag, and not rethreading it fully through every guide can leave it skipping the tension discs entirely. The thread looks threaded from a glance, but it isn’t seated where it needs to be to build proper tension.
Wrong Bobbin Type or Size for the Machine
Not every bobbin is interchangeable, even when it physically fits. Plastic bobbins in a machine designed for metal ones (or the reverse) can sit at a slightly different height or spin with different resistance, throwing off the balance between top and bottom tension.
Lint Trapped in the Bobbin Case
Buildup inside the bobbin case can catch the bobbin thread unevenly as it unwinds, causing it to release in small jerks instead of a smooth, steady pull. That uneven release shows up as looping on the underside, even when your tension settings are otherwise correct.
Where This Overlaps With Other Issues
A few related symptoms are worth ruling out separately, since they can look similar at first glance but need different fixes:
- If your bobbin thread itself seems tangled, not spinning, or catching before it even gets to the stitching stage, that’s covered in our guide on common sewing machine bobbin problems.
- If your top thread is snapping entirely rather than looping loosely, see why does my sewing machine thread keep breaking.
- If stitches are skipping instead of bunching, that’s a separate issue covered in why is my sewing machine skipping stitches.
What the Nest Looks Like vs. What It Means
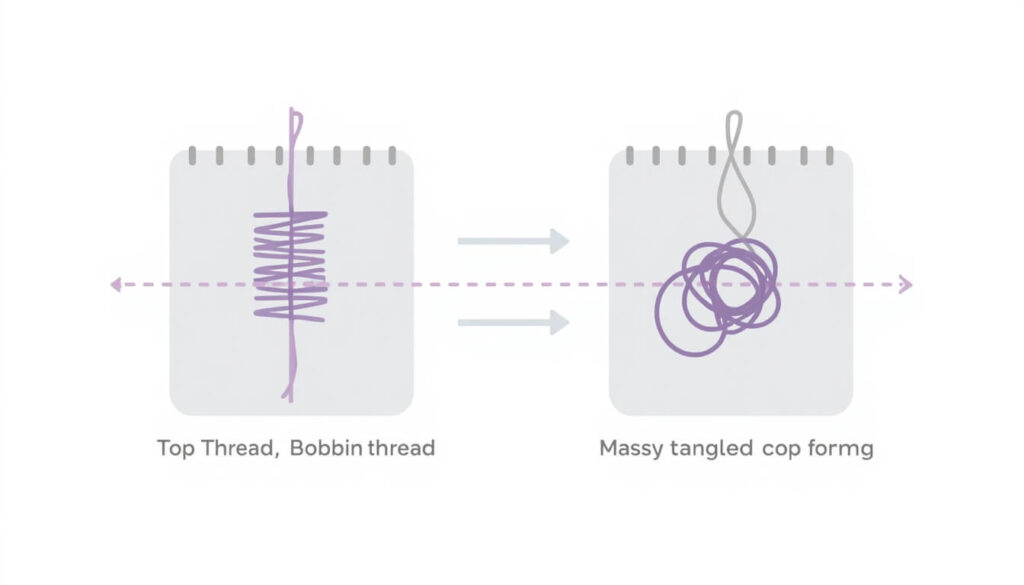
| What You See Underneath | Likely Cause |
|---|---|
| Loose, fluffy loops right from the first stitch | Presser foot wasn’t lowered |
| Tight, uneven knots that get worse over a few inches | Top tension too loose |
| Nest appears only after a bobbin change | Machine not rethreaded, or bobbin inserted wrong direction |
| Nest with visible lint mixed in | Lint trapped in bobbin case |
| Nest appears with a specific bobbin, not others | Wrong bobbin type for the machine |
How to Fix Thread Looping Underneath
- Raise the presser foot, remove the fabric, and clear the tangled thread nest from underneath using a seam ripper.
- Confirm the presser foot lowers fully and lock it down before threading.
- Rethread the top thread completely from the spool through every guide, making sure it seats fully in the tension discs not just resting near them.
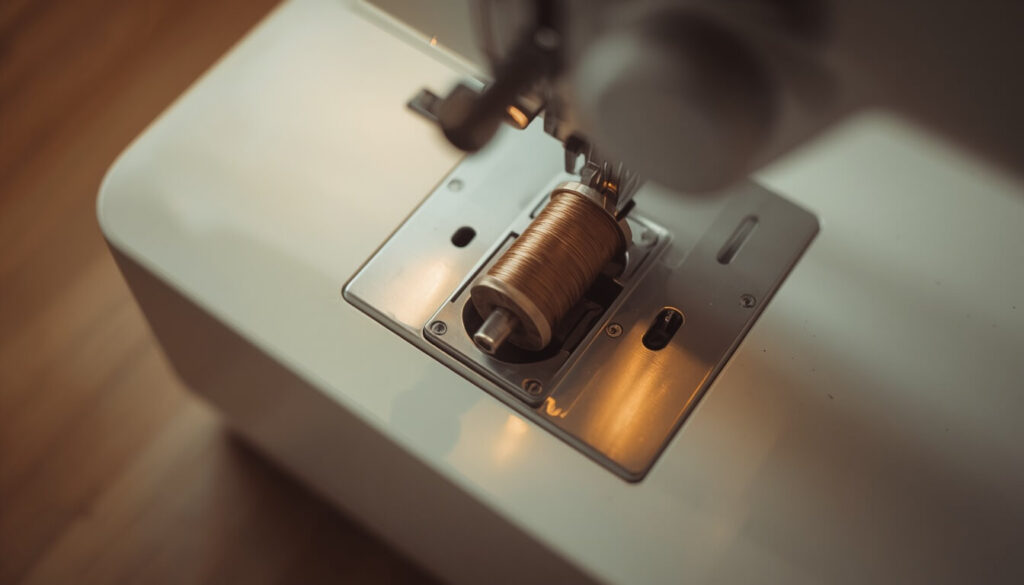
- Remove the bobbin case and check the bobbin is sitting in the correct direction per your manual.
- Brush out any lint inside the bobbin case and the surrounding area.
- Confirm you’re using the correct bobbin type for your specific machine model, not a generic substitute.
- Test on a scrap of fabric, sewing a few inches, then flip it over to check the underside before returning to your project.
Quick Troubleshooting Checklist
- Presser foot is fully lowered before sewing
- Top thread is rethreaded through every guide and tension disc
- Bobbin is inserted in the correct direction
- Bobbin type matches your machine’s manual
- Bobbin case is free of lint
- Top tension dial is at the standard setting for your fabric
- Tested on scrap fabric before returning to your project
Helpful Tips to Prevent Bird Nesting
A quick way to check this before every project is to sew a few test stitches on scrap fabric and flip it over immediately catching a nest at two inches is far easier than catching it after a full seam. Many sewists overlook that rethreading from scratch, rather than just re-securing a loose end, solves threading-related nests far more reliably.
Common Mistakes That Make It Worse
Continuing to sew once you notice a nest is the biggest one each additional stitch pulls the tangle tighter and makes it harder to remove without damaging the fabric underneath. Tugging the fabric out from under the presser foot instead of raising the foot first is another common mistake, since it can bend the needle or drag the nest further into the machine’s internal mechanism.
When to Call a Sewing Machine Technician
If you’ve rethreaded the top and bobbin thread, confirmed correct bobbin direction and type, cleaned out lint, and the nest keeps returning regardless of fabric or thread that points to a tension assembly or timing issue inside the machine that needs a professional’s tools to adjust properly.
FAQs
Conclusion
Thread looping underneath your fabric is almost always a threading or tension issue rather than a mechanical fault loose top tension, a backward bobbin, or a presser foot left up are the most common culprits. Work through the checklist above, testing on scrap fabric as you go, and in most cases you’ll have clean, even stitches again within a few minutes.
Getting your stitches back on track? Use the Fabric Yardage Calculator to plan out your next project’s fabric before you get back to sewing.