
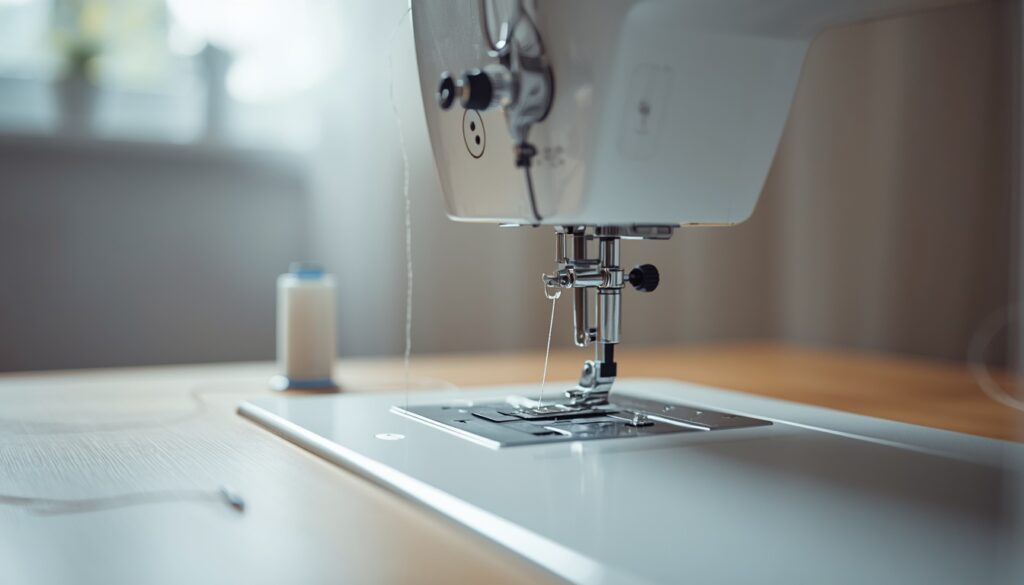
Learning how to thread a sewing machine is the first real skill every new sewist needs, and it’s also the step that trips up most beginners. A machine that isn’t threaded correctly will skip stitches, snap thread, or jam completely — no matter how expensive it is. The good news is that once you understand the logic behind the thread path, you can thread almost any brand or model without staring at the manual every time.
This guide walks through the core top-threading process from start to finish — preparing your supplies, threading the spool pin, tension discs, and needle, then pulling up the bobbin thread so you’re ready to sew. Along the way you’ll find a quick-reference table and a troubleshooting section for the mistakes that cause the most frustration, plus links to our dedicated guides on bobbin winding, bobbin insertion, brand-specific threading, and tension.
- What You Need Before You Start
- When You'll Need to Rethread Your Machine
- Before You Thread the Top: Wind and Load Your Bobbin
- How to Thread the Top of a Sewing Machine
- How to Pull Up the Bobbin Thread
- Threading on Different Brands
- Quick-Reference Table: Threading Steps at a Glance
- Common Threading Mistakes and How to Fix Them
- If Your Tension Looks Off After Threading
- FAQs About Threading a Sewing Machine
- Conclusion
What You Need Before You Start
Before you touch the spool pin, gather a few basics: your sewing machine, a spool of thread, an empty or pre-wound bobbin, and your machine’s manual if you have it. Having the manual nearby isn’t cheating — every brand routes the thread slightly differently, and a two-minute check can save you twenty minutes of guessing.
Turn the machine off while you thread it. This isn’t just a safety habit; some machines will jam or misfeed if the motor is running while you’re working near the needle and tension discs.
Choosing the Right Thread and Needle
Match your thread to your fabric. Standard polyester thread works for most everyday projects, cotton thread suits quilting and natural fibers, and heavy-duty thread is better for denim or upholstery. Your needle size should match the thread and fabric weight too — a needle that’s too fine for thick thread will fray it as it passes through the eye.
Always raise the presser foot before threading. This opens the tension discs so the thread seats correctly between them. If you thread with the presser foot down, the thread slides past the discs instead of into them, and your tension will be off from the very first stitch.
Thread Weight Quick Comparison
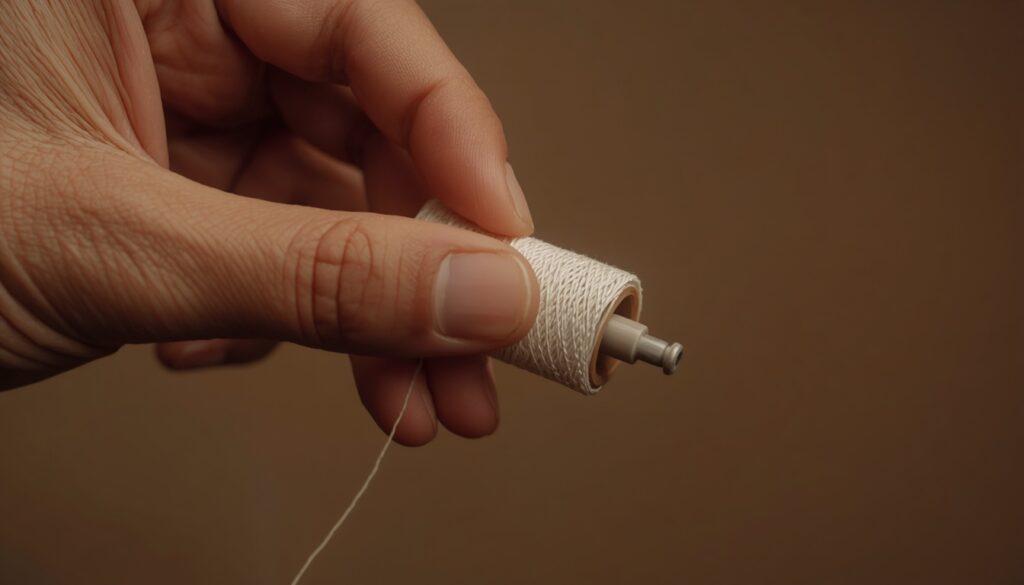
Picking the wrong thread type is one of the most overlooked reasons a “correctly threaded” machine still sews poorly. Use this as a starting point, then adjust based on your specific fabric.
| Thread Type | Best For | Avoid On |
|---|---|---|
| All-purpose polyester | Everyday garments, general repairs | Very fine silks (can feel stiff) |
| 100% cotton | Quilting, natural-fiber fabrics | Stretch or activewear fabrics |
| Heavy-duty/upholstery | Denim, canvas, bags | Delicate or sheer fabrics |
| Silk thread | Fine seams, tailoring, basting | Heavy-duty topstitching |
When You’ll Need to Rethread Your Machine
Threading isn’t a one-time task — certain situations call for a full rethread even if the machine was working fine a day earlier.
Switching thread colors or weights. A new spool means a new thread path check, especially if you’re moving from a thin polyester to a thicker cotton or upholstery thread.
After the thread snaps mid-project. A broken thread almost always means part of the path has slipped out of a guide or the tension discs, so rethreading from the spool pin (not just the needle) prevents the same break from happening again.
Moving between fabric types. Switching from lightweight cotton to denim, or from wovens to knits, often calls for a different needle and thread combination, which means rethreading to match.
After transporting or storing the machine. Vibration during a move can shift thread out of the tension discs even if the spool and bobbin look untouched. It’s worth a quick rethread before starting a new project on a machine that’s been in storage.
When stitches suddenly look wrong. If your seams start puckering, looping, or skipping without any obvious cause, rethreading is the fastest diagnostic step before assuming something mechanical has failed.
Before You Thread the Top: Wind and Load Your Bobbin
You’ll need a full bobbin loaded into the machine before you finish threading, since the top and bottom threads have to work together to form a stitch.
If your bobbin isn’t wound yet, follow our full guide: How to Wind a Bobbin.
Once it’s wound, load it into your bobbin case or compartment — front-loading and top-loading machines work a little differently. See: How to Insert a Bobbin in a Sewing Machine.
A properly wound and correctly loaded bobbin should sit evenly with no bunching, and should unwind in the direction shown on the case or compartment. If your bobbin looks uneven or the machine won’t pick up the lower thread, check those guides before continuing.
How to Thread the Top of a Sewing Machine
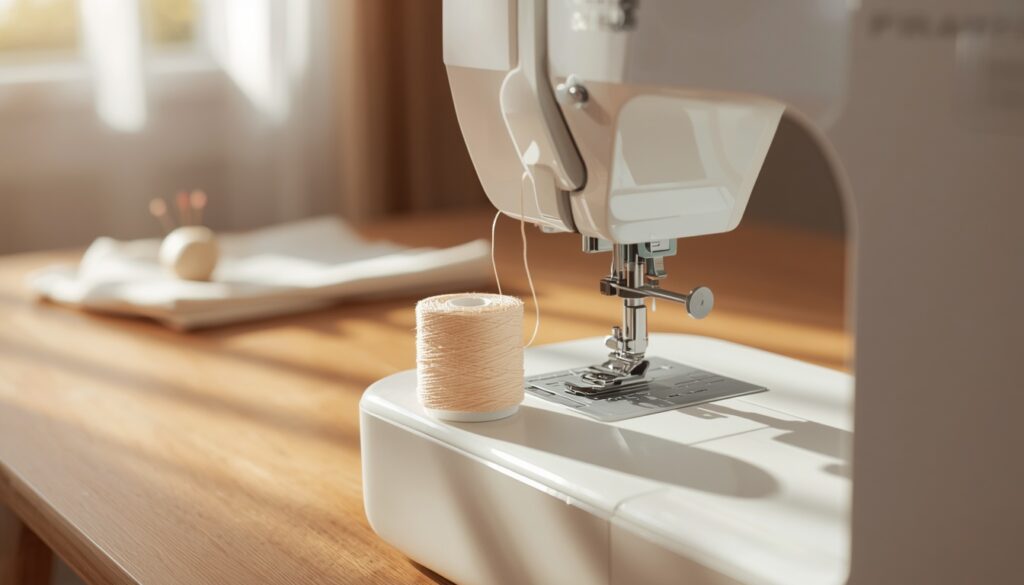
This is the part most people mean when they ask how to thread a sewing machine, since it involves the most visible steps and the most guides to follow.
Threading the Spool Pin and Thread Guide
Place your spool of thread on the spool pin. If it’s a horizontal pin, add a spool cap to keep the thread from sliding off as it unwinds. Pull the thread to the first thread guide, typically a small hook or loop near the top of the machine, and draw it through from right to left.
Threading the Tension Discs and Take-Up Lever
Continue pulling the thread down into the tension discs — the two small metal plates that sit behind a channel on the front of the machine. The thread needs to sit between the discs, not just rest against them, or tension will never engage correctly.
From there, guide the thread up to the take-up lever, a metal arm with a small eyelet that moves up and down as the machine sews. Thread it from right to left (check your manual, as some machines reverse this), then bring the thread back down toward the needle, passing through any remaining guides along the way.
Threading the Needle
Raise the needle to its highest position by turning the handwheel toward you. Thread the eye from front to back, pulling several inches of thread through so it doesn’t pop back out when you start sewing. If your machine has an automatic needle threader, lower the small hook, hook it through the eye, and let it pull the thread through for you — this is especially useful for anyone who struggles to see the small eye of a fine needle.
How to Pull Up the Bobbin Thread
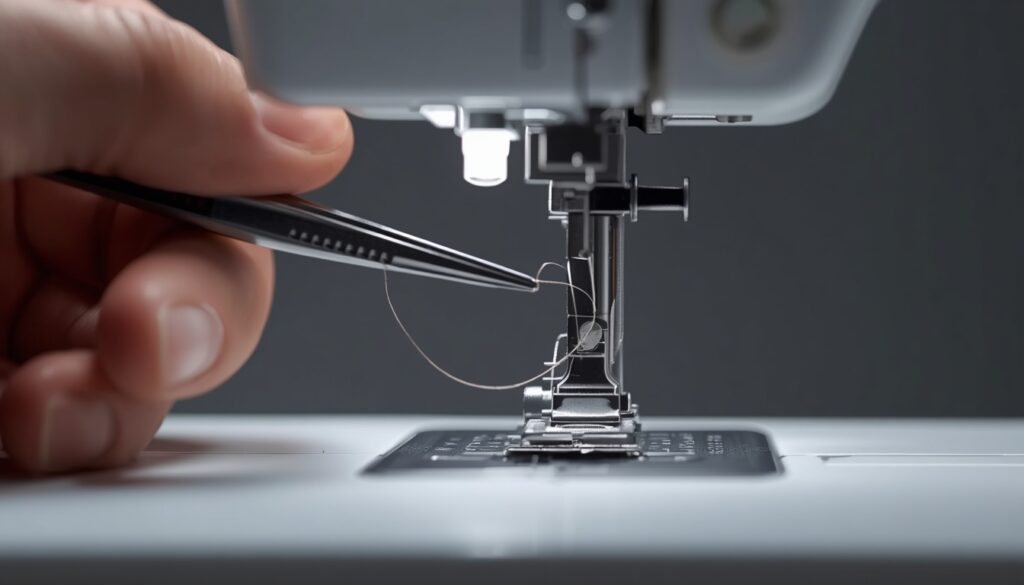
With both threads in place, you need to bring the bobbin thread to the surface so the two threads can work together.
Hold the top thread loosely with your left hand and slowly turn the handwheel toward you one full rotation. The needle will dip down, catch the bobbin thread, and bring it back up as a small loop. Use a pin or tweezers to pull that loop fully through the needle plate, then draw both threads back and to the left, tucking them under the presser foot before you begin sewing.
Threading on Different Brands
The core five-part sequence — spool pin, thread guide, tension discs, take-up lever, needle — is the same across nearly every brand. Only the number and placement of guides changes, along with a few brand-specific extras like automatic needle threaders or drop-in bobbin systems.
Quick-Reference Table: Threading Steps at a Glance
| Step | Action | Purpose |
|---|---|---|
| 1 | Wind the bobbin | Supplies the lower thread |
| 2 | Place spool on spool pin | Starting point for the top thread |
| 3 | Pass thread through first guide | Keeps thread aligned as it travels |
| 4 | Seat thread in tension discs | Controls stitch tension |
| 5 | Loop thread around take-up lever | Feeds thread with each stitch cycle |
| 6 | Thread the needle | Delivers top thread to the fabric |
| 7 | Insert and thread bobbin | Supplies lower thread to the stitch |
| 8 | Pull up bobbin thread | Connects top and bottom threads |
Common Threading Mistakes and How to Fix Them
Even experienced sewists make these errors occasionally, so it helps to know what to check first when stitches go wrong.
Threading with the presser foot down. The tension discs stay open only when the foot is raised. If you thread with it lowered, go back and rethread with the foot up.
Skipping the take-up lever. Missing this step is one of the most common causes of thread bunching underneath the fabric. Trace the thread path again and make sure it loops through the lever’s eyelet.
Using a bent or dull needle. A damaged needle can snag thread, break it, or skip stitches even if everything else is threaded perfectly. Replace needles every 6–8 hours of sewing time or immediately after hitting a pin.
Wrong bobbin direction. If the bobbin unwinds the wrong way, the machine can’t form a proper stitch. Double-check the arrow on the bobbin case or compartment.
Old or low-quality thread. Thread that’s been sitting for years can weaken and shed lint into the tension mechanism. If you’re getting unexplained breakage, try a fresh spool before assuming the machine is at fault.
Lint buildup around the bobbin case. Dust and fibers collect in the bobbin area over time and can throw off tension even when the thread path itself is perfect. A quick brush-out every few projects prevents this from becoming a recurring problem.
Forgetting to raise the needle before turning the handwheel. If the needle isn’t at its highest point when you start pulling up the bobbin thread, it won’t catch the loop correctly, and you’ll end up repeating the step for no reason.
If Your Tension Looks Off After Threading
Most tension problems right after threading come down to one thing: the thread slipped out of the tension discs somewhere along the path. Rethread the top of the machine completely before assuming anything is mechanically wrong.
For the full troubleshooting walkthrough — including a step-by-step worked example — see our dedicated guide: How to Adjust Sewing Machine Tension.
FAQs About Threading a Sewing Machine
Conclusion
Threading a sewing machine looks intimidating the first time, but it’s really just five predictable stops for the top thread and a short loop for the bobbin. Once you’ve done it a few times on your own machine, your hands will remember the path even before your eyes do. Keep this guide handy for the first several projects, and threading will stop being a chore and start being second nature.
Related Tools & Guides Once you’re comfortable threading your machine, you might also find our Fabric Yardage Calculator useful for planning your next project. For more beginner-friendly sewing guides, explore SewSmartHub‘s sewing tutorials.