
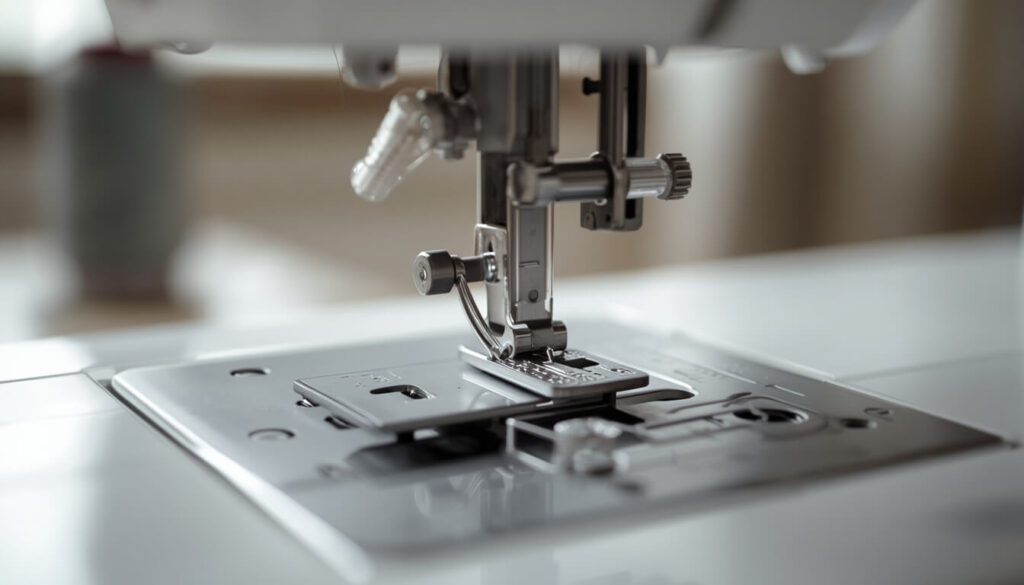
A needle threader is one of those small tools that feels like magic the first time it actually works and mildly infuriating the first few times it doesn’t. This guide covers how to use a sewing machine needle threader, whether your machine has one built in or you’re using a handheld version the trick is really just getting a few small details right, in the right order.
Quick Answer
For a built-in automatic threader: raise the needle and presser foot, lower the threader lever so the hook passes through the needle’s eye, loop the thread around the hook, then raise the lever so it pulls the thread through. For a handheld threader: push the wire loop through the eye, slide your thread through the loop, then pull the threader back out, bringing the thread with it.
Built-In Automatic Threader vs Handheld Threader
Not every needle threader works the same way, so it helps to know which one you’re dealing with before you start.
| Type | Where It’s Found | How It Works |
|---|---|---|
| Built-in automatic threader | Attached to many home sewing machines, usually behind the needle | A lever drops a small hook through the needle’s eye to grab the thread for you |
| Handheld threader | A separate small tool, often included with a machine or bought separately | A thin wire loop is pushed through the eye by hand, then pulled back with the thread caught inside it |
Most modern home sewing machines come with a built-in threader, but a handheld one is worth keeping in your sewing box regardless — it works on hand-sewing needles too, and it’s a reliable backup if your machine’s built-in threader ever struggles. If you want to see the exact mechanism in more detail, Brother’s official support guide walks through how the hook and lever work together.
Before You Start
- Raise the needle to its highest position. Most machines won’t engage the threader lever correctly unless the needle is fully up.
- Raise the presser foot. This is often required before the threader lever will drop into place.
- Check your needle size. Built-in threaders typically only work with standard needle sizes (commonly 75/11 through 100/16) — a threader can jam or fail to hook the thread on unusually fine or heavy needles.
Step-by-Step: Using the Built-In Automatic Threader
Step 1 — Thread the machine as usual, up to the needle. Follow your machine’s regular threading path until the thread is hanging just above the needle, not yet through the eye.
Step 2 — Lower the threader lever. Gently pull the lever down. A small hook will swing around and pass through the eye of the needle from behind.
Step 3 — Loop the thread around the hook. Guide the thread under the hook, from left to right, so it sits caught in the small notch.
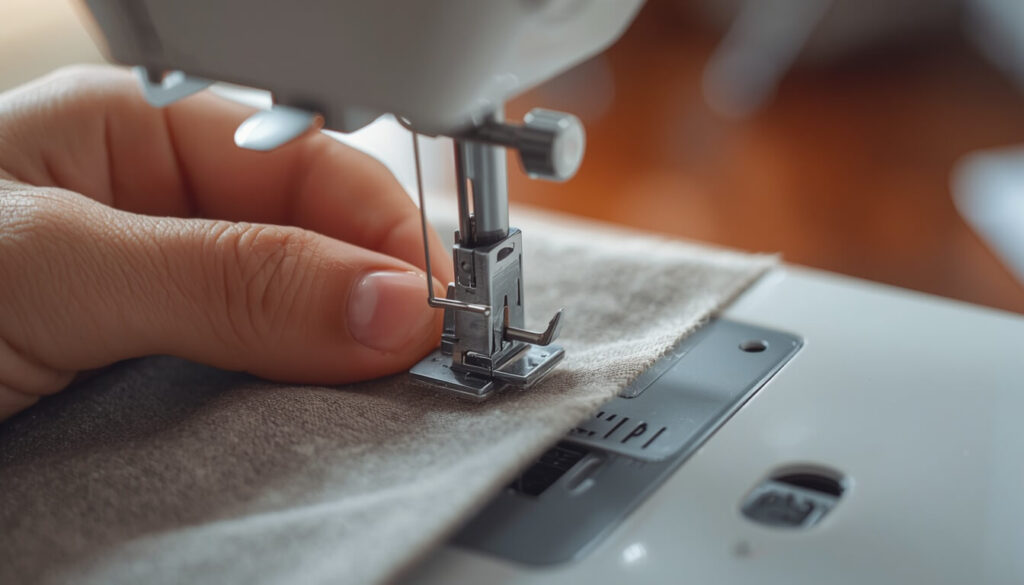
Step 4 — Raise the lever slowly. As the lever rises back up, the hook pulls a loop of thread through the eye of the needle.
Step 5 — Pull the thread through. Draw the loop the rest of the way through the needle, then pull about 2 inches of thread tail toward the back of the machine.
Step-by-Step: Using a Handheld Needle Threader
Step 1 — Push the wire loop through the needle’s eye. Hold the flat metal or plastic body of the threader and push the thin diamond-shaped wire loop through the eye.
Step 2 — Slide the thread through the loop. With the loop poking out the other side, feed your thread through the open wire loop.
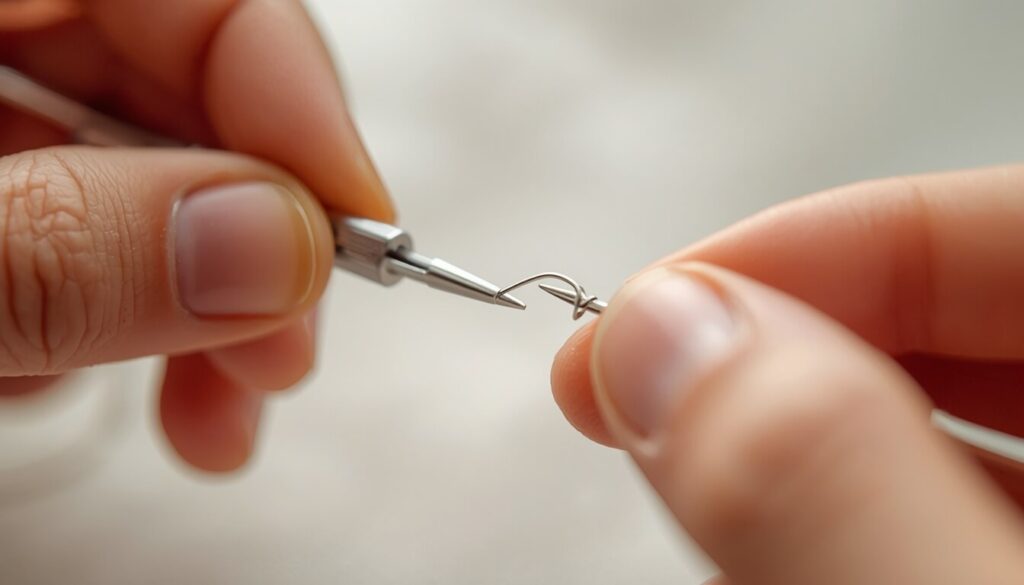
Step 3 — Pull the threader back out. Gently draw the threader back out of the eye the way it went in — the wire loop will pull your thread through with it.
Step 4 — Release the thread. Pull the thread free from the loop, leaving it threaded through the needle, ready to knot or tuck under the presser foot.
Common Reasons the Needle Threader Isn’t Working
- The needle isn’t fully raised. Even a slightly lowered needle can throw off the hook’s alignment with the eye.
- The presser foot is down. Many built-in threaders simply won’t engage until it’s raised.
- The thread wasn’t seated in the hook’s notch. If it’s just resting on top instead of caught underneath, the lever will rise without pulling anything through.
- The needle size or type doesn’t match the threader. Very fine, very heavy, or specialty needles (like twin needles) often aren’t compatible with a built-in threader.
- The hook is bent or worn. These hooks are thin and can bend slightly over time, especially if the lever is forced.
If your machine is giving you trouble beyond just the threader, our common sewing machine problems and solutions guide covers a wider range of issues worth ruling out.
Tips for Using a Needle Threader Successfully
- If the built-in threader keeps missing the eye, try guiding it gently with one finger as the lever lowers rather than letting it drop on its own.
- Keep a handheld threader in your kit even if your machine has a built-in one — it’s the easier option for hand sewing and works when the machine’s threader isn’t cooperating.
- A clean, angled thread cut feeds into a threader’s hook far more easily than a frayed or blunt one.
FAQs
Conclusion
Once you know how to use a sewing machine needle threader, the small sequence of raising the needle, dropping the lever, and catching the thread becomes automatic after just a handful of tries. It’s a small tool, but getting comfortable with it saves a surprising amount of squinting and frustration over time.
Once your needle is threaded and you’re ready to start a new project, our free fabric yardage calculator can help you work out exactly how much fabric to buy before you cut.
Related Articles
- How to Thread a Sewing Machine
- How to Thread a Sewing Machine Needle
- How to use a sewing machine needle threader
- How to wind a bobbin
- How to use a sewing machine