
Almost every sewist remembers the exact moment they sat in front of a sewing machine for the first time, foot hovering over the pedal, too nervous to press it. You’re in good company — that mix of curiosity and hesitation is universal, no matter how the sewing machine has evolved since its invention nearly two centuries ago.
Here’s the good news — learning how to use a sewing machine is far more about muscle memory than mechanical knowledge. Once you understand what each part does and practice a few basic movements, sewing becomes almost automatic.
This guide walks you through everything from your machine’s basic parts to sewing your very first straight line, backstitching, and avoiding the mistakes almost every beginner makes early on.
- Quick Answer
- Getting to Know Your Machine's Basic Parts
- Before You Start Sewing: Quick Setup Recap
- How to Position Your Fabric and Presser Foot
- How to Control Speed With the Foot Pedal
- Sewing Your First Straight Line
- How to Backstitch (Lock Your Stitches)
- Turning Corners and Guiding Fabric
- Adjusting Stitch Length and Width
- Common Beginner Mistakes When Learning to Sew
- Practice Exercises Before Starting a Real Project
- Quick Troubleshooting Checklist (Before You Get Frustrated)
- Helpful Tips
- FAQs
- Conclusion
- Related Articles
Quick Answer
If you’re wondering how to use a sewing machine in the simplest terms: thread it, place your fabric under the raised presser foot, lower the foot, hold the top thread lightly, and press the foot pedal gently to start stitching. Guide the fabric with both hands without pulling it — the machine feeds it through on its own. Backstitch a few stitches at the start and end of each seam to lock them in place.
Getting to Know Your Machine’s Basic Parts
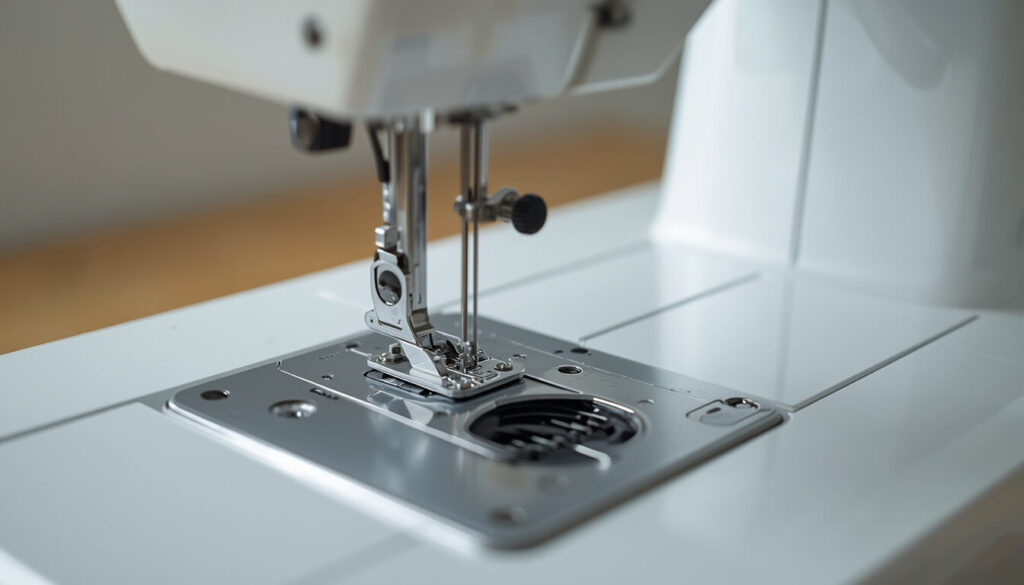
Before touching the pedal, it helps to know what you’re actually working with — this is really where learning how to use a sewing machine begins. You don’t need to memorize every part on day one, but these are the ones you’ll use constantly:
| Part | What It Does |
|---|---|
| Handwheel | Manually raises and lowers the needle |
| Presser foot | Holds fabric flat against the needle plate |
| Feed dogs | Small teeth under the plate that pull fabric through automatically |
| Bobbin area | Holds the bottom thread that forms the underside of your stitch |
| Foot pedal | Controls sewing speed — the harder you press, the faster it sews |
| Reverse stitch lever | Sews backward to lock stitches at the start and end |
| Stitch length/width dial | Adjusts how long and wide each stitch is |
In most cases, if your machine is threaded and set up correctly already, you can skip straight to sewing. If you haven’t gotten that far yet, our guide on how to set up a sewing machine covers everything from unboxing to your first test stitch.
Before You Start Sewing: Quick Setup Recap
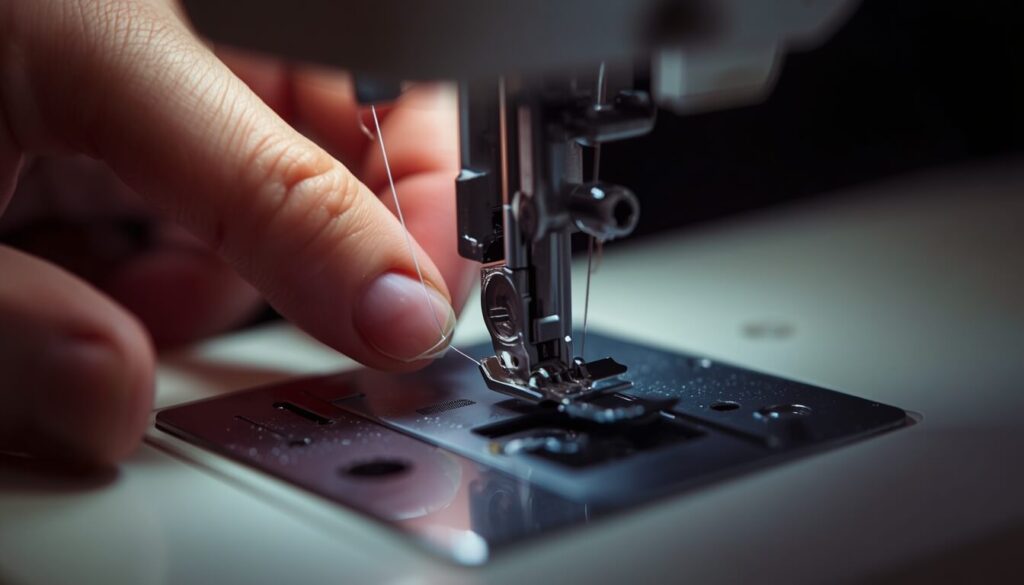
A simple way to think about it is this: your machine needs three things ready before you sew — a threaded top, a full bobbin, and a lowered presser foot. If any one of these is missing, the machine either won’t sew at all or will produce loose, uneven stitches.
If you’re not confident your threading is correct, walk through our how to thread a sewing machine guide first. And if your bobbin needs refilling, our how to wind a bobbin guide covers that step in detail.
How to Position Your Fabric and Presser Foot
Raise the presser foot using its lever, and slide your fabric underneath, lining up the edge with the seam guide marked on the needle plate. Most beginners default to the 5/8-inch line, which is standard for most home sewing projects.
Lower the presser foot before you press the pedal. This is the step almost everyone forgets the first few times — without it, your fabric will bunch up or feed unevenly the moment you start sewing.
How to Control Speed With the Foot Pedal
One mistake many beginners make is assuming the pedal is all-or-nothing, like a light switch. It isn’t — it works more like a car’s gas pedal. A light press sews slowly and carefully; a firmer press speeds things up.
Imagine learning to drive for the first time — you wouldn’t floor the accelerator on your first attempt, and the same logic applies here. Start slow, get a feel for how the fabric moves, and speed up naturally as you get comfortable.
Sewing Your First Straight Line
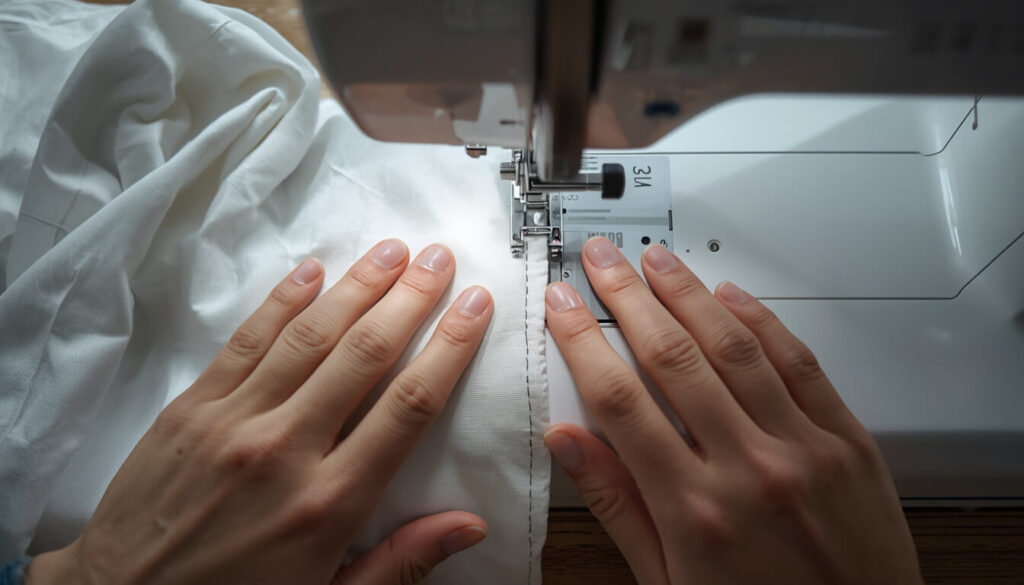
With your fabric positioned and the presser foot down, hold the top thread lightly with your left hand for the first stitch or two — this stops it from tangling underneath the fabric. Then press the pedal gently and let the machine feed the fabric on its own.
Your hands aren’t there to push or pull the fabric. Their job is to guide it gently, keeping it aligned with the seam guide. Let the feed dogs do the actual work of moving it through.
How to Backstitch (Lock Your Stitches)
At the very start and end of any seam, sew a few stitches forward, then use the reverse stitch lever (or reverse button, on computerized machines) to sew backward over those same stitches. Release the lever and continue forward as normal.
This locks the thread in place so your seam doesn’t unravel the first time it’s pulled or washed. Skipping this step is one of the most common reasons a beginner’s first project starts coming apart at the seams — literally.
Turning Corners and Guiding Fabric
To turn a corner, stop sewing with the needle down in the fabric (use the handwheel to check this if you’re not sure), raise the presser foot, pivot the fabric around the needle, then lower the foot again and continue sewing.
In most cases, going slowly around a corner produces a cleaner result than trying to turn while the machine is still running. There’s no rush — a slightly slower corner beats an unpicked, crooked one.
Adjusting Stitch Length and Width
Most machines default to a medium stitch length, which works fine for general sewing. Shorter stitches add strength and are useful for finer fabrics; longer stitches work well for basting or gathering fabric temporarily.
Stitch width mainly matters for zigzag or decorative stitches — for a standard straight stitch, this dial usually stays untouched. If you’re unsure, test a few settings on scrap fabric before committing to your actual project.
Common Beginner Mistakes When Learning to Sew
- Pulling or pushing the fabric. The feed dogs already do this — forcing it usually causes crooked seams or a jammed needle.
- Forgetting to lower the presser foot. This is the single most common reason stitches look loose or uneven early on.
- Sewing too fast, too soon. Slow, controlled stitches teach you far more about the machine than rushing through your first project.
- Skipping backstitching. A seam without locked stitches will come undone with normal wear.
- Ignoring the seam guide lines. These small markings on the needle plate keep your seam allowance consistent throughout a project.
Practice Exercises Before Starting a Real Project
Before assuming you’re ready for a full project, spend fifteen minutes practicing on scrap fabric — this alone prevents most beginner frustration:
- Sew straight lines using the seam guide as your reference.
- Practice backstitching at the start and end of each line.
- Draw curves and corners on paper (no thread) and “sew” along them to build hand-eye coordination.
- Try adjusting stitch length and see how it changes the fabric’s texture.
- Practice stopping with the needle down, to prepare for turning corners later.
Imagine treating your first ten minutes at the machine like a warm-up before a workout — it feels unnecessary until you realize how much smoother your actual project goes afterward.
Quick Troubleshooting Checklist (Before You Get Frustrated)
If sewing feels harder than it should, run through this list before assuming something’s broken:
- Is the presser foot fully lowered?
- Is the machine threaded correctly, with the presser foot raised while threading?
- Is the bobbin inserted the right way?
- Are you guiding the fabric gently, not pulling it?
- Is your stitch length set to something reasonable for your fabric?
If you’ve checked all of these and the machine still isn’t sewing properly, our guide on why your sewing machine isn’t sewing covers the most common causes in detail.
Helpful Tips
- Practice on the same type of fabric you’ll use for your real project — thin and thick fabrics behave very differently under the needle.
- Keep a seam ripper nearby. Every sewist uses one, no matter how experienced they get.
- Sew a few inches, then stop and check both sides of your fabric — catching a tension or alignment problem early saves the whole seam.
- Take breaks. Sewing accuracy drops noticeably with fatigue, especially for beginners still building muscle memory.
FAQs
Conclusion
Learning how to use a sewing machine really does come down to practice more than anything else. Thread it correctly, keep the presser foot down, guide the fabric gently, and backstitch your seams — and within an hour or two of practice, it stops feeling like a machine you’re fighting with and starts feeling like a tool you’re in control of.
Ready to put these basics into practice? Grab some scrap fabric and spend fifteen minutes on the exercises above before jumping into your first real project.
Already comfortable with the basics and planning your first project? Use our Fabric Yardage Calculator to figure out exactly how much fabric to buy before you start cutting.