
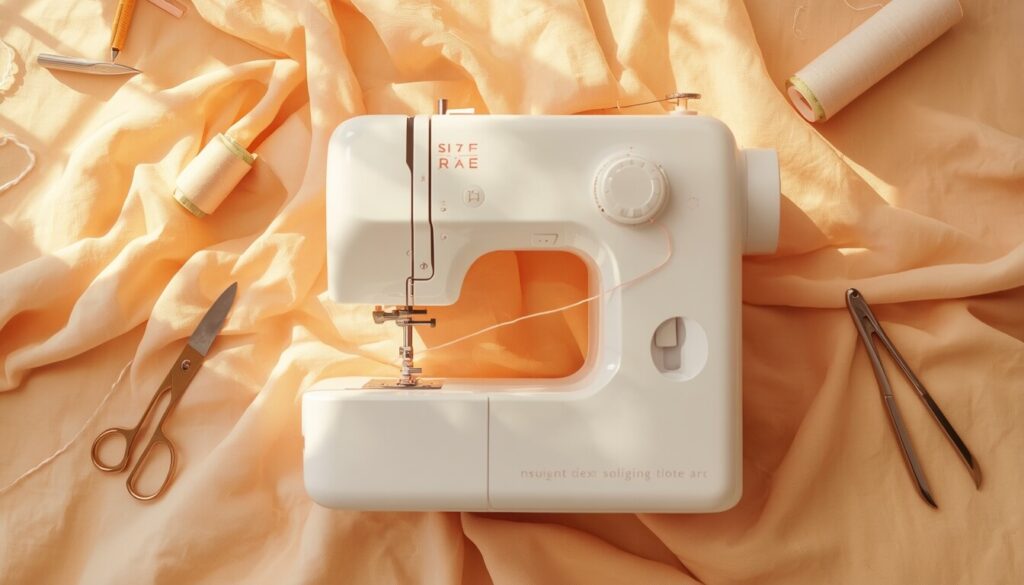
If you’re asking why does my sewing machine thread keep breaking, the cause is almost always one of a handful of things: tight tension, a bad needle, poor threading, or old thread. The good news is that most of these issues take less than five minutes to check and fix no repair shop needed.
- Quick Answer
- Thread Tension Set Too Tight
- Incorrect Threading or a Loose Take-Up Lever
- Needle Installed Backwards or Not Pushed All the Way Up
- Dull, Bent, or Wrong-Size Needle
- Wrong Needle for Your Fabric or Thread Weight
- Poor-Quality, Cheap, or Old Thread
- Wrong Spool Cap Size
- Burrs on the Needle Plate, Presser Foot, or Bobbin Case
- Oily, Dirty, or Lint-Packed Bobbin Area
- Sewing Off the Edge of the Fabric
Quick Answer
Sewing machine thread usually breaks because of tension that’s set too tight, a dull or backward needle, incorrect threading, low-quality thread, or a burr somewhere along the thread path. Start by rethreading the machine with the presser foot up, then check your needle and tension before looking at anything mechanical.
| Symptom | Likely Cause | Quick Fix |
|---|---|---|
| Thread snaps after a few stitches | Tension too tight | Set tension to 3–5, test again |
| Thread frays before it breaks | Needle too small or dull | Replace with a new needle |
| Thread breaks and hand wheel feels stiff | Lint or oil buildup in hook area | Clean and re-oil the machine |
| Thread comes out with black residue | Old oil sitting in the bobbin case | Clean bobbin case with a dry cloth |
| Thread only breaks on thick fabric | Wrong needle for fabric weight | Match needle size to fabric |
| Thread tangles under the fabric | Sewing past the fabric edge | Use an overcast foot and stitch |
Why Does My Sewing Machine Thread Keep Breaking? Common Causes
Thread Tension Set Too Tight
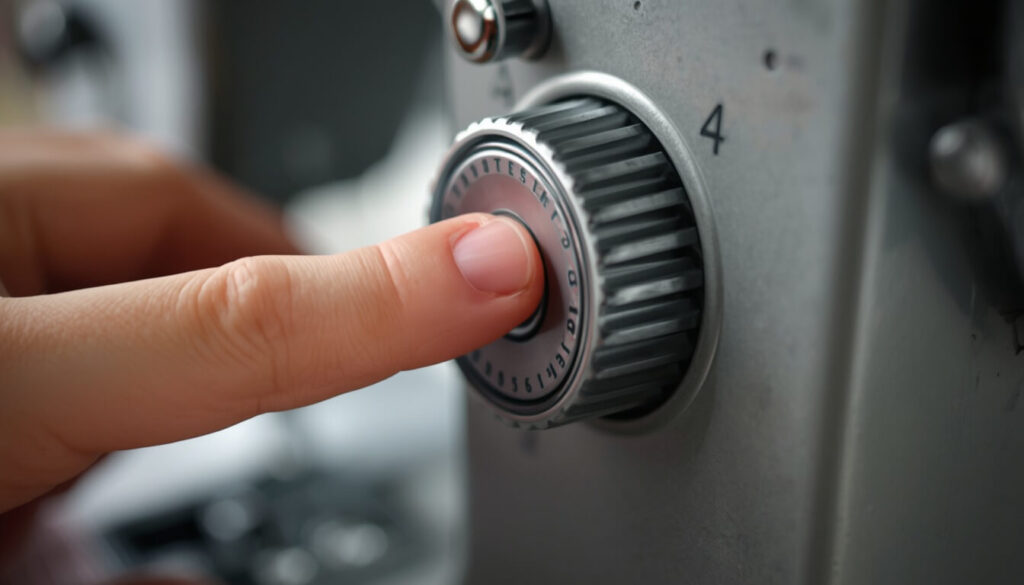
This is the single most common cause of thread breakage. When the top tension is turned up too high — often past 6 or 7 — the thread is stretched tight every time the needle moves, and eventually it snaps.
A simple way to check this is to turn the hand wheel slowly by hand while the machine is threaded but not sewing. If the thread feels stiff and resistant instead of moving freely, the tension is too high.
Fix: Set your tension dial to 3–5 (most machines default to 4), then sew a test line on scrap fabric before going back to your project.
Incorrect Threading or a Loose Take-Up Lever
Many sewists overlook the take-up lever — the metal hook-shaped arm on top of the machine that feeds thread down with each stitch. If the thread slips out of it, or was never seated correctly, the machine can’t deliver even tension, and the thread will snap or bunch underneath the fabric.
Fix: Raise the presser foot (this releases the tension discs), then rethread the entire machine from the spool down, making sure the thread sits firmly in the take-up lever’s hook and every guide along the way. Rethreading solves this problem more often than people expect.
Needle Installed Backwards or Not Pushed All the Way Up
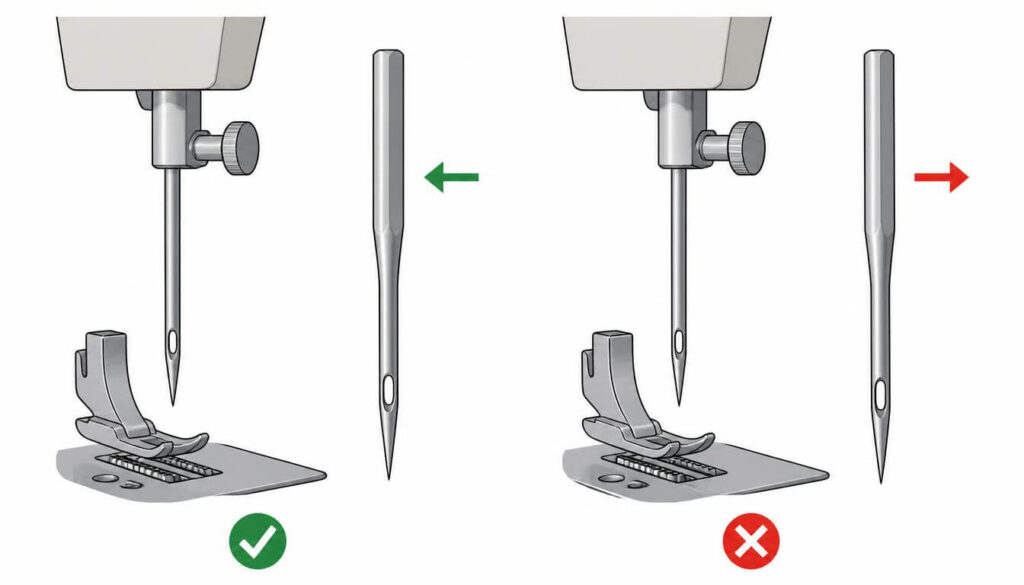
A needle that’s in backwards, upside down, or not pushed fully into the clamp will hit the bobbin case or throat plate as it moves, which can shred or snap the thread almost immediately.
Fix: Remove the needle and check that the flat side of the shaft faces the correct direction for your machine (usually toward the back), then push it up as far as it will go before tightening the screw.
Dull, Bent, or Wrong-Size Needle
Needles wear out. A needle that’s been used for several projects can develop a slightly bent tip or a dull point, even if it looks fine to the eye. Signs include random thread breaks, a faint popping sound while sewing, or skipped stitches.
Fix: Replace the needle. This is worth doing even if the needle “looks new” — a fresh needle costs less than a dollar and rules out one of the most frequent causes in a single step.
Wrong Needle for Your Fabric or Thread Weight
If the needle’s eye is too small for the thread you’re using, the thread has to force its way through with every stitch, which causes friction and eventually shredding or breaking.
Fix: Match the needle to the fabric and thread weight:
- Lightweight fabric → size 70/10–80/12
- Standard cotton/quilting cotton → size 80/12–90/14
- Denim or canvas → a Jeans/Denim needle
- Knits or stretch fabric → a Stretch or Jersey needle
Poor-Quality, Cheap, or Old Thread
Thread quality matters more than most people expect. Bargain thread — especially the kind sold in large multi-color packs — can be thin, uneven, or full of tiny knots that catch as they pass through the machine. Old thread dries out over time and becomes brittle, particularly natural fibers like cotton.
A quick test: pull a length of thread between your hands. If it snaps with very little effort, that’s your answer.
Fix: Switch to a reputable all-purpose polyester or cotton thread from a known brand.
Wrong Spool Cap Size
This one is easy to miss. If your spool cap is too small for the spool, the thread rides over the rough plastic edge of the spool instead of the smooth cap, which causes snagging.
Fix: Use a spool cap that’s slightly larger than the end of the spool — not dramatically bigger, just enough to fully cover the rough edge.
Burrs on the Needle Plate, Presser Foot, or Bobbin Case
Sometimes the problem isn’t the needle or the thread at all — it’s a tiny rough spot, or burr, somewhere along the thread’s path. A burr can form on the needle plate hole, the presser foot, or inside the bobbin case, and it will catch the thread every single time it passes.
Fix: Run a fingernail or a scrap piece of thread gently along the needle plate, presser foot, and bobbin case. If you feel any roughness, smooth it with a fine emery cloth, or have the part replaced if the damage is significant.
Oily, Dirty, or Lint-Packed Bobbin Area
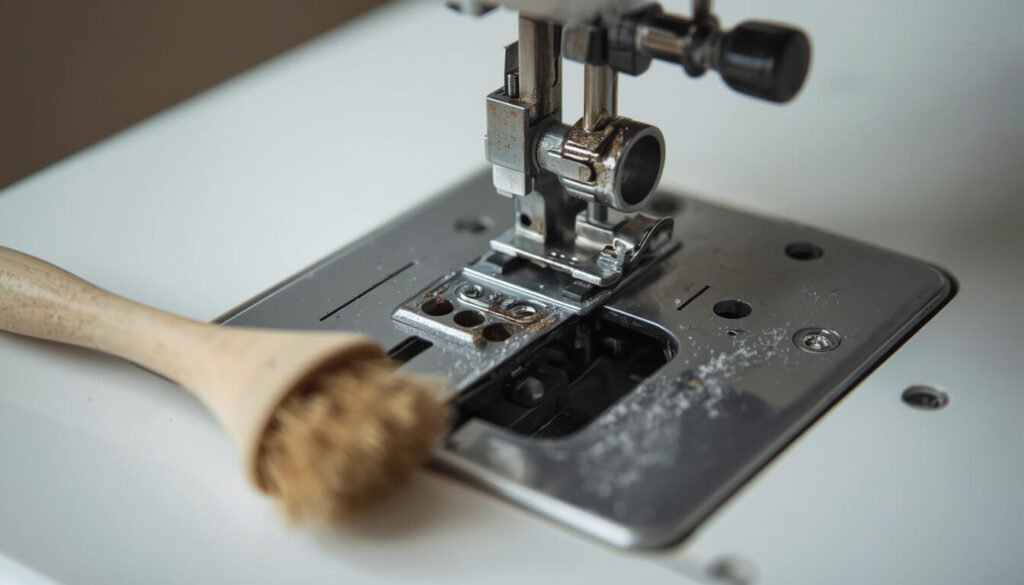
If your thread comes out with a dark, oily residue on it, or the hand wheel feels harder to turn than usual, old oil and trapped lint in the bobbin case or hook area are likely to blame. This buildup makes the thread stick and snap as the machine cycles.
Fix: Remove the bobbin and bobbin case, brush out any visible lint with a small brush, and wipe away oily residue with a dry cloth. If the machine hasn’t been serviced in a while, this is also a good time to oil the machine properly and give it a full clean.
Sewing Off the Edge of the Fabric
If you’re trying to stitch right along or past the raw edge of your fabric without the right foot, the thread can catch and tangle underneath, which often shows up as breakage rather than an obvious bird’s nest.
Fix: Use an overcast foot with an overcast stitch if you need to sew close to the fabric’s edge, or move your seam a little further in.
How to Fix a Sewing Machine That Keeps Breaking Thread (Step-by-Step)
- Rethread the entire machine with the presser foot raised, following every thread guide in order.
- Insert a fresh needle in the correct size for your fabric and thread, making sure it’s seated the right way round and pushed all the way up.
- Set the tension to 3–5 and sew a test line on scrap fabric that matches your project’s fabric weight.
- Run the Pull Test. Thread the machine fully except for the needle, raise the presser foot, and gently pull the thread. It should move with almost no resistance — any snag means you’ve found where the thread is catching.
- Check for burrs on the needle plate, presser foot, and bobbin case if the Pull Test feels smooth but breakage continues.
- Clean the bobbin area of lint, dust, and old oil, especially if the thread is coming out discolored.
- Sew a full test seam on your actual project fabric before continuing your work.
Quick 30-Second Checklist
- Rethread with the presser foot up
- Insert a new needle, correct size and direction
- Set tension to 3–5
- Swap in quality thread
- Wipe out the bobbin case
If your sewing machine thread keeps breaking after all five of these, move on to checking for burrs or a professional inspection.
When to Call a Sewing Machine Technician
Most causes of thread breakage are things you can check and fix at home in a few minutes. It’s time to bring the machine in for service if:
- Thread keeps breaking even after rethreading, a new needle, and correct tension
- The needle itself keeps breaking too
- You hear a metallic tapping or grinding sound while sewing
- The machine both breaks thread and forms loops underneath at the same time
These patterns usually point to a worn hook, a bobbin tension problem, or a timing issue — all of which need a trained technician rather than a home fix.
Common Mistakes to Avoid
- Assuming it’s always the thread. Cheap thread causes plenty of breaks, but tension and needle problems are just as common.
- Skipping the rethread step. It sounds too simple to work, but incorrect threading is one of the top causes.
- Cranking the tension dial up “just a little more.” This is usually what causes tight tension in the first place.
- Reusing a needle for too long. A needle that’s sewn through several projects is more likely to be dull or slightly bent than it looks.
- Ignoring dark residue on the thread. That’s usually old oil or gunk in the bobbin case, not a sign you need a new machine.
FAQs
Conclusion
A sewing machine thread that keeps breaking is frustrating, but in most cases the fix takes only a few minutes once you know where to look. Work through tension, threading, and the needle first that resolves the majority of cases then move on to the bobbin area and burrs if the problem continues. The lockstitch mechanism that most home sewing machines use depends on the top and bobbin threads meeting at a balanced point inside the fabric, which is exactly why tension problems are worth ruling out first.
If your fabric usage is also part of your project planning, the SewSmartHub fabric yardage calculator can help you figure out exactly how much fabric you’ll need before your next project.
Related Articles
- Why Is My Sewing Machine Not Sewing?
- Why Is My Sewing Machine Jamming?
- Why Is My Sewing Machine Skipping Stitches? Causes & How to Fix It?
- Common Sewing Machine Problems and Solutions
- How to Thread a Sewing Machine
Not sure how much fabric you’ll need once your machine is running smoothly again? Try the SewSmartHub fabric yardage calculator before you start cutting.