
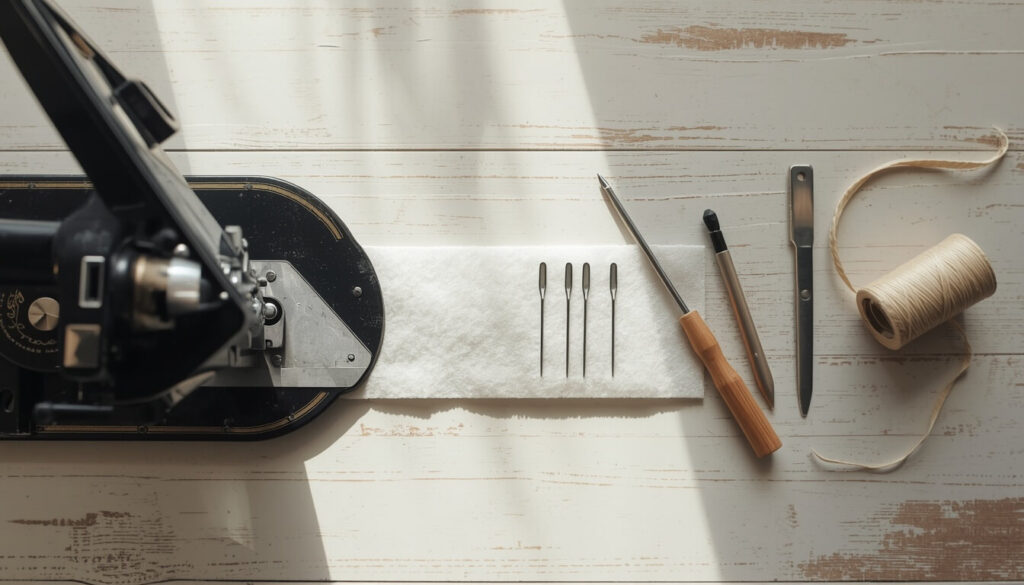
How to repair a sewing machine at home comes down to working through a short list of usual suspects before you assume the worst. Most sewing machine problems trace back to just a handful of causes a bent needle, a threading mistake, or a tension setting that got bumped. This guide walks through the fixes you can genuinely do yourself, and where to draw the line and call a professional instead.
- Quick Answer
- Before You Start Safety & What Not to Attempt at Home
- Tools You'll Need for Basic Repairs
- Problem 1 Machine Won't Sew or Skips Stitches
- Problem 2 Thread Bunching Underneath the Fabric
- Problem 3 Machine Won't Turn On or Runs Sluggish
- Problem 4 Needle Keeps Breaking
- When It's Actually a Jamming Problem
- When It's a Timing Problem, Not a Simple Fix
- When to Take Your Machine to a Professional
- How to Repair a Sewing Machine: A Basic Checklist
- Common Mistakes to Avoid
- FAQs
- Conclusion
Quick Answer
To repair a sewing machine at home, start with the needle, the thread path, and the tension before assuming anything is broken. Replace a bent or dull needle, rethread the top and bobbin with the presser foot raised, check that the bobbin case is seated correctly, and confirm the tension dial hasn’t been bumped. These three checks solve the large majority of sewing machine problems without opening the machine up.
Before You Start Safety & What Not to Attempt at Home
Unplug your machine before touching anything beyond the needle, bobbin, or top thread. This matters even for something as simple as removing the bobbin plate.
Basic repairs mean external, user-accessible parts: needle, bobbin, thread path, tension dial, and the removable plates your manual shows you how to open. Anything involving the internal gears, wiring, or motor housing belongs with a qualified repair technician, not a home fix.
What’s Safe to DIY vs. What Isn’t
- Safe: needle replacement, rethreading, bobbin issues, tension adjustments, lint removal from accessible areas
- Not safe without training: internal timing adjustments, motor or wiring repairs, replacing internal gears
Tools You’ll Need for Basic Repairs
- Spare needles in the correct size for your fabric
- Small screwdriver (usually included with your machine)
- Tweezers, for pulling lint or thread scraps from tight spots
- Small brush, for clearing lint from the bobbin area
- Your machine’s manual, or a downloaded copy if you’ve misplaced it
Problem 1 Machine Won’t Sew or Skips Stitches
This is the most common complaint, and it’s almost always a threading or needle issue rather than anything mechanical.
Check and Replace the Needle
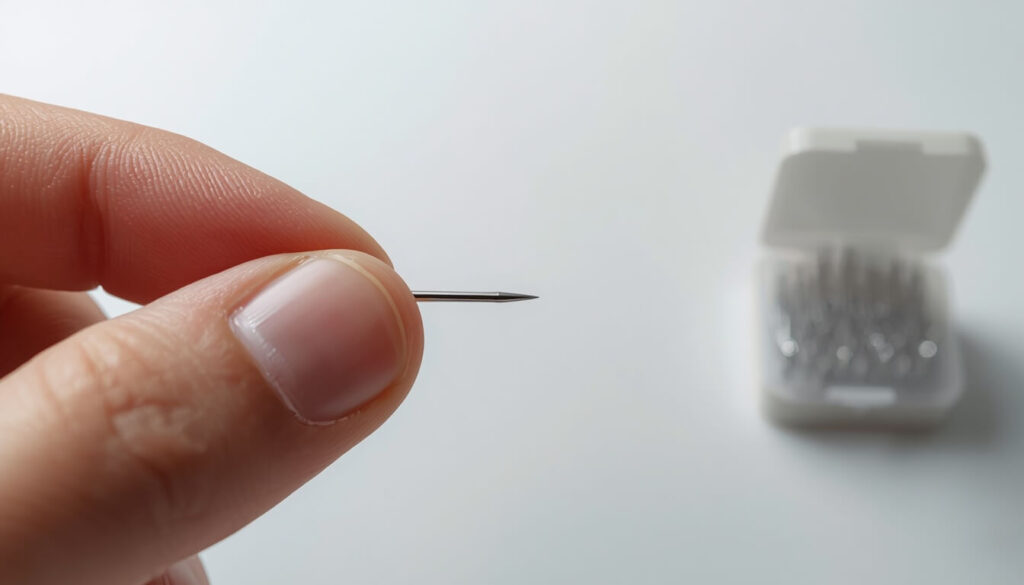
A bent or dull needle is worth ruling out first, since it’s quick to check and causes a surprising number of unrelated-looking symptoms. Remove it, look at it against a flat surface to check for a bend, and replace it if you’re at all unsure needles are cheap enough that it’s rarely worth troubleshooting further with a questionable one still in the machine.
Rethread Top and Bobbin
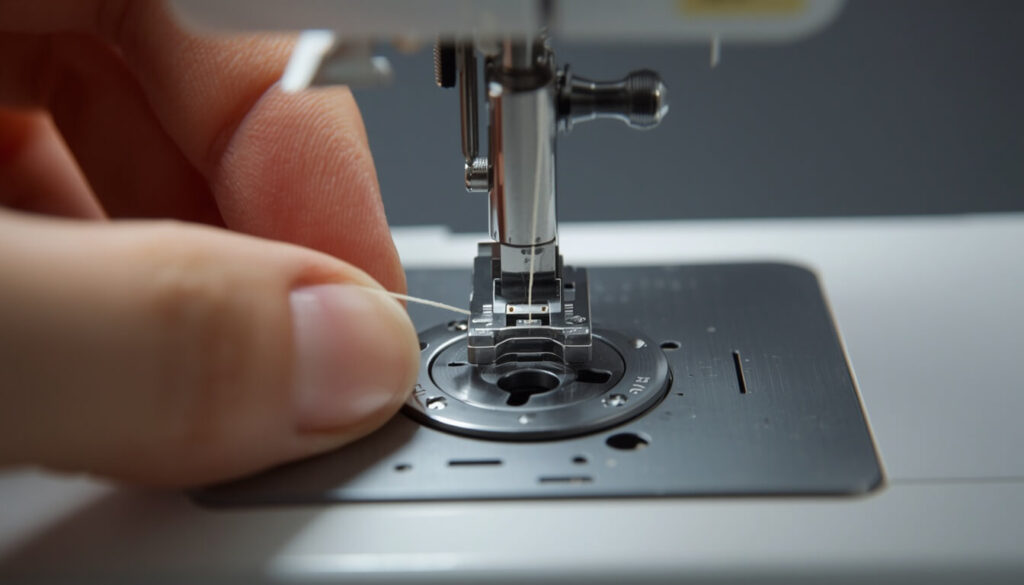
With the presser foot raised, rethread the top thread from the spool all the way through to the needle, making sure it seats fully in every guide and tension disc along the way. Remove the bobbin case, check that the bobbin is loaded correctly, and reinsert it.
A lockstitch the stitch every standard sewing machine makes forms when the top and bobbin threads interlock inside the fabric, so a problem with either one shows up as a skipped or malformed stitch. Getting both threads seated correctly is what lets that interlock happen properly.
Check Tension Settings
If loops are showing on the back of your fabric, the top thread likely isn’t seated in the tension disc. Rethread with a firm, deliberate pass through each guide, and confirm the tension dial hasn’t been accidentally turned to an extreme setting.
Problem 2 Thread Bunching Underneath the Fabric
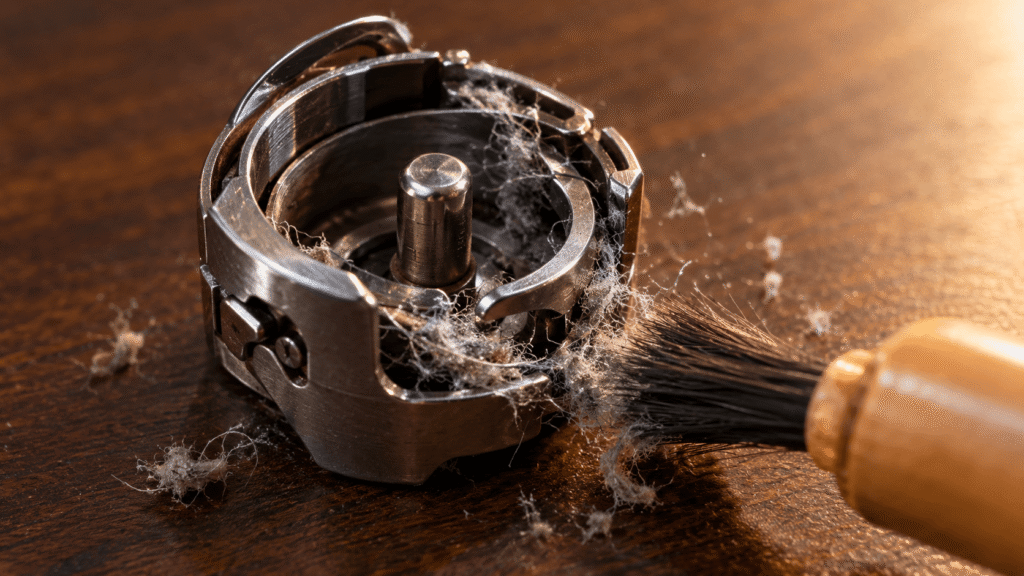
A tangled mess of thread on the underside, sometimes called a bird’s nest, usually points to the bobbin area. Remove the bobbin case, brush out any lint or thread scraps caught around the hook, and check the bobbin itself for uneven winding.
Reinsert the bobbin the correct way, following the diagram on your machine, since inserting it backward is a common and easy-to-miss cause of the same problem. If the bunching continues after a clean bobbin area and a fresh rethread, the tension may need adjusting start with small changes and test on a scrap piece each time.
Problem 3 Machine Won’t Turn On or Runs Sluggish
Check the Power Cord and Fuse
Confirm the cord is firmly seated at both the machine and the outlet, and try a different outlet if you’re unsure the first one is working. Some machines have a small fuse that’s easy to overlook check your manual for its location before assuming the motor itself has failed.
Drive Belt Issues
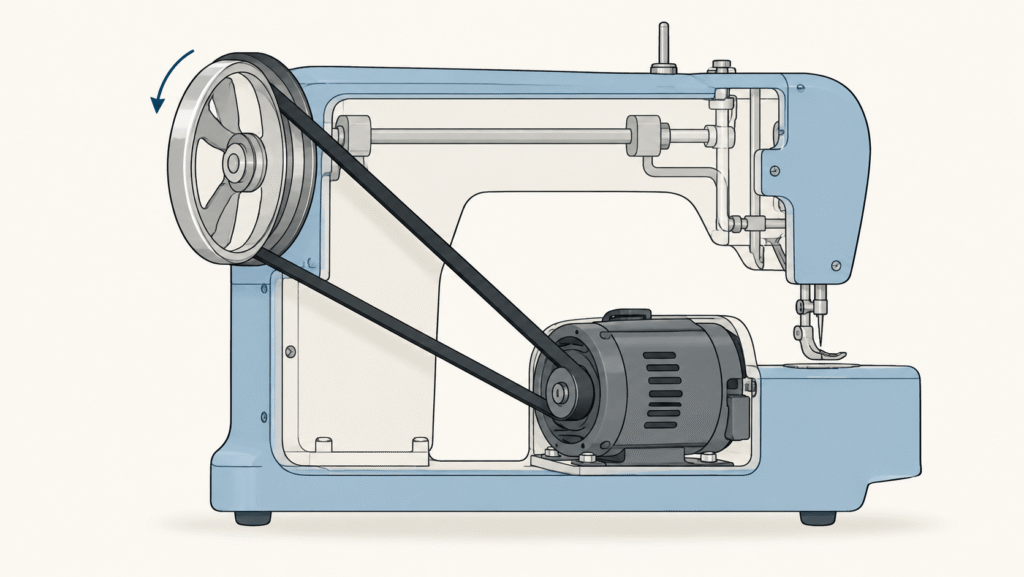
If the hand wheel turns freely by hand but the motor doesn’t seem to engage it, a worn or broken drive belt is a common cause. Replacing a drive belt is a moderate DIY repair on many machines, but if you’re not comfortable opening the housing, this is a reasonable point to hand things off to a technician instead.
Problem 4 Needle Keeps Breaking
Repeated needle breakage almost always comes down to one of three things: the wrong needle size for your fabric, a needle that isn’t fully seated and tightened, or pulling the fabric while the machine feeds it. Match your needle to your fabric weight, push it up as far as it will go before tightening the screw, and let the feed dogs move the fabric on their own instead of guiding it by hand.
When It’s Actually a Jamming Problem
If your machine is locking up completely rather than just skipping stitches or bunching thread, you may be dealing with a jam rather than one of the issues above. Jamming has its own set of causes and fixes, which our guide on why your sewing machine is jamming covers in full detail.
When It’s a Timing Problem, Not a Simple Fix
If you’ve worked through threading, tension, and the bobbin area and the needle still isn’t meeting the hook at the right moment, the machine’s timing may be off. This isn’t a basic repair it involves realigning internal parts precisely. Our guide on how to fix sewing machine timing explains what’s involved and when it’s realistic to attempt at home.
When to Take Your Machine to a Professional
Electrical issues, unusual smells, grinding noises, or any problem that persists after you’ve worked through the basics above are all signs it’s time for a professional opinion. Regular servicing also catches small issues before they turn into bigger ones — our guide on how to service a sewing machine covers what a typical service includes and how often to schedule one.
How to Repair a Sewing Machine: A Basic Checklist
Work through these in order before deciding a problem needs a professional:
- Replace the needle
- Rethread the top thread, with the presser foot raised
- Remove, check, and reinsert the bobbin
- Check the tension dial for an accidental bump
- Clean lint from the bobbin area with a small brush
- Check the power cord, outlet, and fuse
- Confirm the hand wheel isn’t stuck in bobbin-winding mode
Common Mistakes to Avoid
- Assuming the worst before checking the needle and threading, which solve most problems
- Rethreading with the presser foot down, which prevents the thread from seating in the tension disc correctly
- Skipping regular cleaning and oiling, which makes small problems more likely to develop in the first place — our guides on how to clean and how to oil a sewing machine cover both
- Forcing the fabric through instead of letting the feed dogs do the work
- Opening the internal housing without training, which can turn a simple fix into an expensive one
FAQs
Conclusion
Once you know how to repair a sewing machine using this short list of checks, most everyday problems stop feeling like emergencies. A bent needle, a threading slip, or a bumped tension dial cause the vast majority of complaints, and all three take just a few minutes to rule out. For anything beyond that jamming, timing, or unusual noises the dedicated guides linked throughout this article go into the depth those specific problems need.
Keeping up with regular cleaning and oiling is what keeps you out of repair mode in the first place see the SewSmartHub maintenance checklist for a simple routine to follow.
Ready to troubleshoot your machine? Work through the checklist above in order the needle and threading checks alone solve most problems in under five minutes. And to keep repairs rare in the first place, follow our how to oil a sewing machine guide for a simple maintenance routine.