
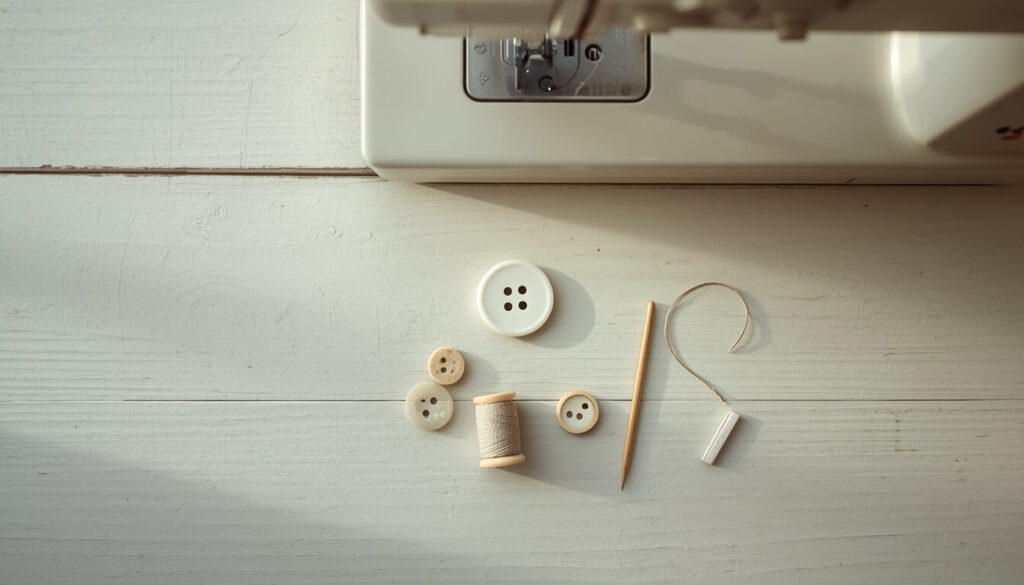
How to sew a button with a sewing machine comes down to one setting most people never touch: dropping the feed dogs. Once those little teeth under the needle are out of the way, your machine stops trying to feed the button forward and instead lets you zigzag straight through the holes, in place, in under a minute. This guide walks through the setup, both 2-hole and 4-hole buttons, and what to do when your machine doesn’t have a dedicated button setting.
- Quick Answer
- Tools & Supplies You'll Need
- Setting Up Your Machine
- How to Sew a Button with a Sewing Machine: 2-Hole Buttons
- Sewing a 4-Hole Button
- Adding a Thread Shank for Thick Fabric
- Using a Pre-Programmed Button Stitch
- Tying Off and Finishing
- Troubleshooting Common Problems
- Common Mistakes to Avoid
- FAQs
- Conclusion
Quick Answer
To sew a button with a sewing machine, drop the feed dogs, remove or swap to a button foot, and set your machine to a zigzag stitch with the stitch length at zero. Position the button under the foot with a hole on each side, turn the hand wheel slowly to check the needle clears both holes, then stitch back and forth 6 to 8 times before tying off.
Tools & Supplies You’ll Need
- Sewing machine with a zigzag stitch
- Button foot, if your machine has one (a piece of tape works as a stand-in)
- Buttons with matching thread
- Hand sewing needle, for tying off thread tails
- Tailor’s chalk or a fabric marker
- A toothpick or sewing machine needle, for building a thread shank
Buttons themselves are traditionally sized using a unit called a ligne rather than inches or millimeters a system that goes back to 9th-century button makers, according to Wikipedia. It’s worth knowing the term exists if you’re ever shopping for a replacement button and the packaging lists a size in “L” instead of a familiar measurement.
Setting Up Your Machine
Attach a Button Foot (or Remove Your Regular Foot)
A button foot holds the button flat and steady while you sew, which makes the whole process faster and more consistent. If your machine didn’t come with one, you can remove your regular presser foot and use a strip of tape to hold the button in place against the fabric instead.
Drop the Feed Dogs
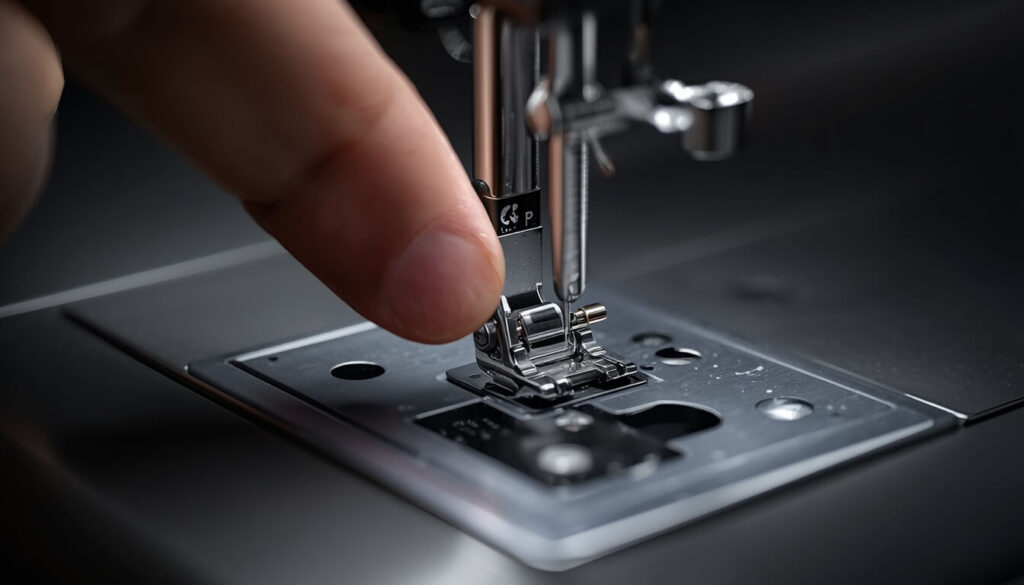
Feed dogs are the small teeth under the needle plate that normally move fabric forward as you sew. For button sewing, you want the button to stay exactly where you put it, so dropping the feed dogs — usually a small lever or switch near the needle plate — is what makes that possible.
Set Stitch Length to Zero and Choose Zigzag Width
Set your stitch length to zero so the needle stays in one spot instead of walking forward. Select a zigzag stitch, and before sewing on the real button, turn the hand wheel by hand to test the width — you want the needle to swing cleanly into both holes without hitting the button itself.
How to Sew a Button with a Sewing Machine: 2-Hole Buttons
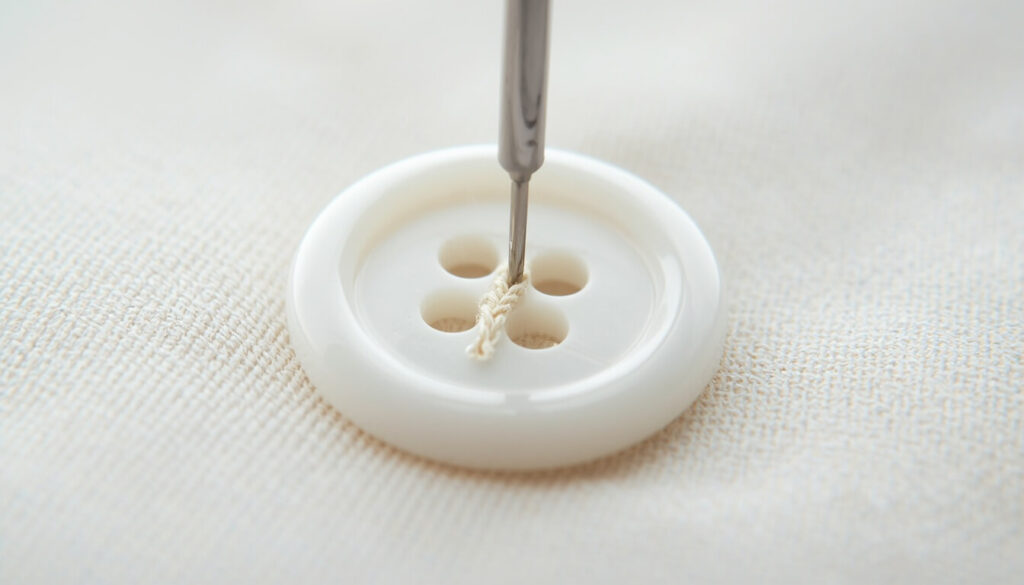
- Mark the button’s position on your fabric with chalk.
- Place the button over the mark and secure it with a small piece of tape, or hold it under your button foot.
- Lower the needle by hand into one hole to confirm the position, then check the second hole with the hand wheel before you start sewing.
- Stitch slowly back and forth across the two holes 6 to 8 times.
- Raise the needle, lift the presser foot, and pull the fabric free, leaving thread tails on top.
Sewing a 4-Hole Button
A 4-hole button is really two 2-hole buttons sewn one after the other. Stitch the front two holes first using the same zigzag method above, then raise the needle and presser foot, slide the button over so the needle lines up with the back two holes, and repeat.
Adding a Thread Shank for Thick Fabric
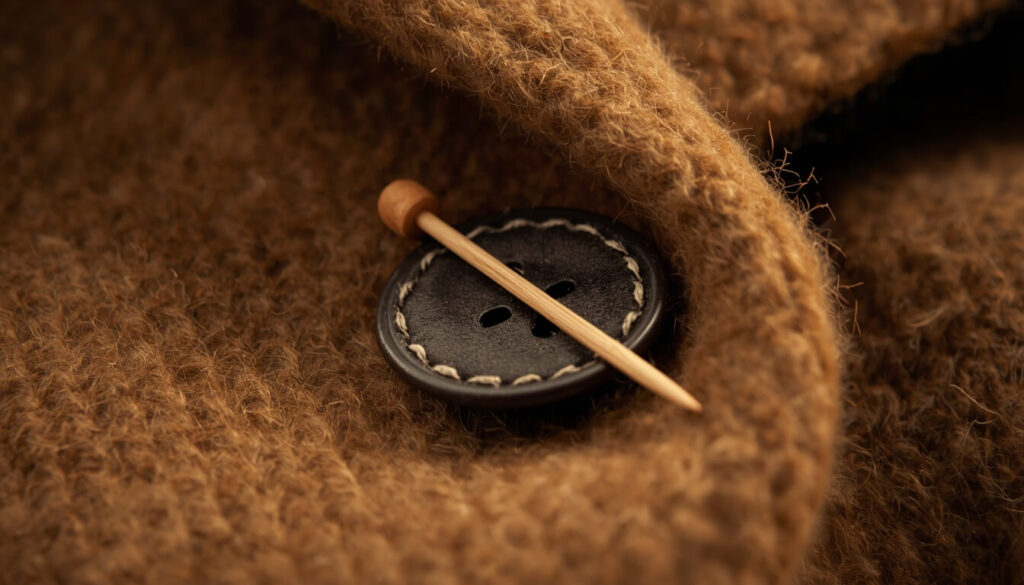
On heavier fabric like coats or jackets, a button sewn flat against the surface can crowd the buttonhole when it’s fastened. To prevent that, lay a toothpick or a spare needle across the top of the button before you start sewing, so your stitches form over it rather than directly against the button. Once you’re done sewing, remove the toothpick and gently pull the button up and away from the fabric — the stitches underneath will bunch into a small thread shank that gives the buttonhole room to sit comfortably.
Using a Pre-Programmed Button Stitch
Many newer machines include a built-in button-sewing stitch that handles the zigzag pattern and stitch count automatically, without you needing to drop the feed dogs manually. If your machine has this setting, check your manual for the correct foot and button placement, since the process varies slightly between brands. It’s the fastest option when it’s available, and it’s worth using over the manual method if your machine supports it.
Tying Off and Finishing
Once the button is sewn, thread the top thread tail onto a hand sewing needle, pull it through to the back of the fabric, and tie it off with the bobbin thread tail. Trim both ends close to the knot. Remember to raise the feed dogs and switch your stitch length back to a normal setting before you move on to your next project — it’s an easy step to forget, and your machine won’t feed fabric again until you do.
Troubleshooting Common Problems
Needle Hits the Button
This means your zigzag width is set wider than the space between the holes. Turn the hand wheel by hand and narrow the width until the needle clears both holes with a bit of room to spare.
Button Sits Too Tight Against Fabric
If the finished button doesn’t have enough give to fasten smoothly, you likely skipped the shank step. Add one next time using a toothpick or spare needle as a spacer while you sew.
Common Mistakes to Avoid
- Skipping the hand-wheel test and sewing at full speed on the first try
- Forgetting to drop the feed dogs, which causes the button to shift or the needle to strike it
- Leaving out a thread shank on thick fabric like coats or jackets
- Not raising the feed dogs again afterward, which stops your machine from feeding fabric on the next project
- Using thread that doesn’t match the button or fabric, which makes stitching more visible than intended
FAQs
Conclusion
Once you know how to sew a button with a sewing machine, a loose button stops being a five-minute hand-sewing chore and becomes a task you can knock out between other projects. The setup dropping the feed dogs, testing your zigzag width by hand, adding a shank when the fabric calls for it takes a little getting used to, but it becomes second nature after the first few buttons.
Ready to sew on that loose button? Drop the feed dogs, test your zigzag width by hand first, and you’ll have it stitched down in under a minute. And for your next project, run your measurements through the SewSmartHub fabric yardage calculator so you never guess how much fabric to buy.