
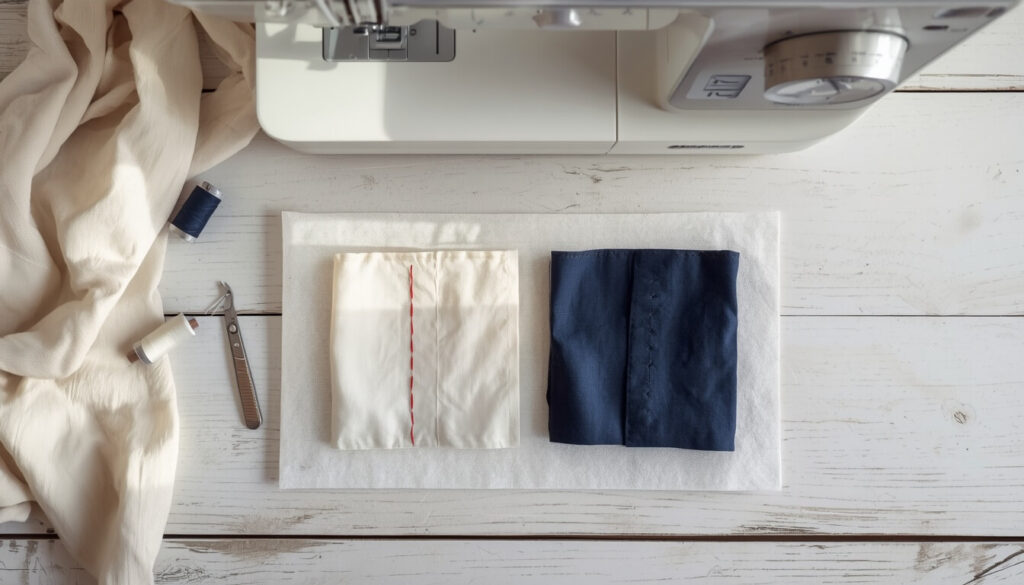
How to adjust sewing machine tension comes down to a simple routine: rethread, sew a test seam, change the top dial one number at a time, and only touch the bobbin as a last resort. Most people go straight to the dial and start turning it at random, which is why tension feels like a mystery.
This guide walks you through the exact order that works, how to read your stitches so you know which way to turn, and what to do on drop-in, front-loading, and computerized machines.
Table of Contents
Quick Answer
Here’s how to adjust sewing machine tension in short. First, rethread the machine with the presser foot raised. Set the top tension dial to your machine’s default, which is often 4, then sew a test seam on scrap fabric.
If the bobbin thread shows on top, lower the dial number. If the top thread loops on the underside, raise it. Change one number at a time, retest, and only adjust the bobbin tension if the top dial can’t balance the stitch.
What Sewing Machine Tension Actually Does

Every stitch on a standard machine is made from two threads: one from the top spool and one from the bobbin. The two threads loop around each other inside the fabric, and tension is the pull that decides where that loop sits.
The top thread passes between small metal tension discs, and the dial controls how hard those discs squeeze it. The bobbin thread passes through a small spring in the bobbin case, which holds it with a fixed amount of drag.
When both pulls are even, the loop sits in the middle of the fabric and both sides look identical. That’s called a balanced stitch. When one thread pulls harder, the loop slides toward the weaker thread and shows up on the wrong side.
Before You Adjust Anything: Check These First
Before you learn how to adjust sewing machine tension, here’s the good news: most tension problems aren’t tension problems. Three quick checks fix the majority of them before you touch a dial.
- Rethread the top thread with the presser foot up. Raising the foot opens the tension discs so the thread seats between them. Threaded with the foot down, the thread sits on top of the discs and gets no tension at all. Our guide on how to thread a sewing machine needle covers every step of the path.
- Check the bobbin. Make sure it’s the right type for your machine, seated correctly, and unwinding in the direction your manual shows.
- Put in a fresh needle. A bent or dull needle can mimic a tension problem. If you’re not sure how, see how to change a sewing machine needle.
If your thread snaps instead of just looking uneven, that’s a different diagnosis. Read why your sewing machine thread keeps breaking before adjusting anything.
How to Tell If Your Tension Is Off
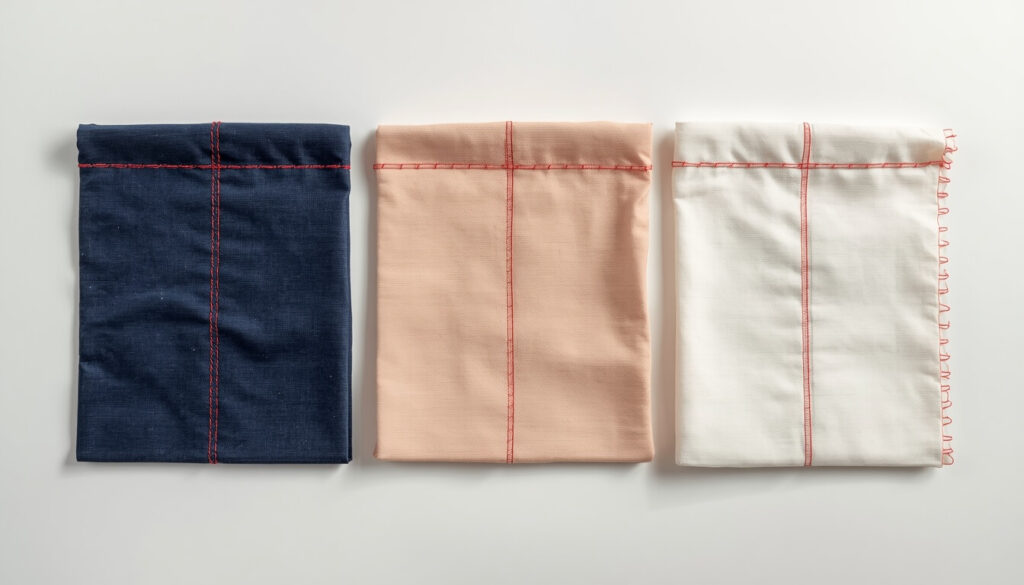
Knowing how to adjust sewing machine tension starts with reading the stitch. Look at both sides of a test seam. The stitch tells you which thread is winning, and that tells you which way to turn the dial.
| What You See | What It Means | What To Do |
|---|---|---|
| Bobbin thread shows on top, or the seam puckers | Top tension is too tight | Turn the dial to a lower number |
| Top thread loops or lies loose on the underside | Top tension is too loose | Turn the dial to a higher number |
| Both sides look the same, with the threads meeting in the middle | Balanced | Leave it alone |
A real example: you’re sewing a cotton pillow cover and notice small loops of top thread on the back of the seam. The top thread is too loose. Raising the dial from 4 to 5 usually pulls the loop back up into the fabric.
For a deeper symptom-by-symptom diagnosis, including problems that aren’t caused by the dial, see our guide on how to fix sewing machine tension.
How to Adjust Sewing Machine Tension: Top Thread, Step by Step
The top dial should be your first and usually only adjustment. Different machines place it on the front, top, or side of the head, and some show it on a screen. Your manual shows the exact spot.
Step 1: Set a Baseline
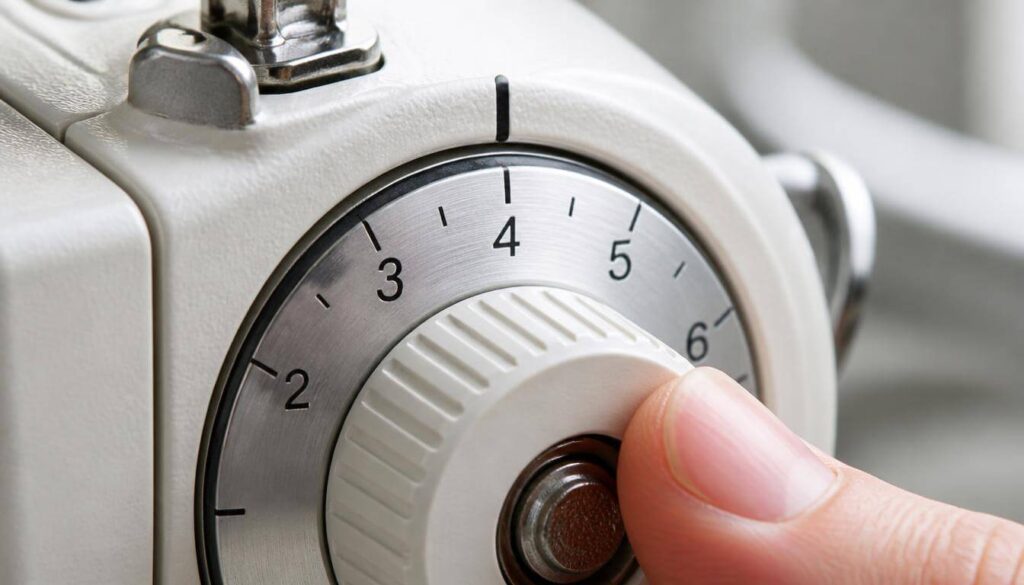
Turn the dial to your machine’s default setting. On many machines that’s 4, though some range from 0 to 9 and others use different scales, so check the manual.
A higher number means tighter tension, and a lower number means looser. Starting from the default gives you a reference point to return to.
Step 2: Sew a Test Seam With Two Colors
According to Threads magazine, a good test is to set the upper tension in the middle of its range and stitch a seam through two layers of lightweight fabric, then examine the stitches.
Use two different thread colors, one in the needle and one in the bobbin. That makes it easy to see which color is showing on the wrong side. Test on the same fabric and thread you plan to sew with, and keep the take-up lever at its highest position when you begin.
Step 3: Turn the Dial One Number at a Time
Read the stitch using the table above, then turn the dial by one number, or by half a number if your dial has half marks. Big jumps overshoot and leave you chasing the problem in the other direction.
Sew a few inches after each change. If the stitch is closer to balanced, keep going in that direction. If it’s worse, turn back.
Step 4: Retest and Note Your Setting
Once both sides look identical, write the number down. A sticky note on the machine or a line in a sewing notebook works well.
When you finish a project that needed a special setting, return the dial to the default. Otherwise you’ll start the next project with a tension that suits the last one.
How to Adjust Bobbin Tension (Last Resort)
Here’s how to adjust sewing machine tension on the bobbin side, and why it comes last. Adjust the bobbin only when the top dial can’t balance the stitch. This usually happens when you switch to a much heavier or much lighter thread than normal.
Many sewists overlook how small the bobbin adjustment is. The screw moves a tiny spring, and a full turn can throw the whole machine off.
Front-Loading Machines
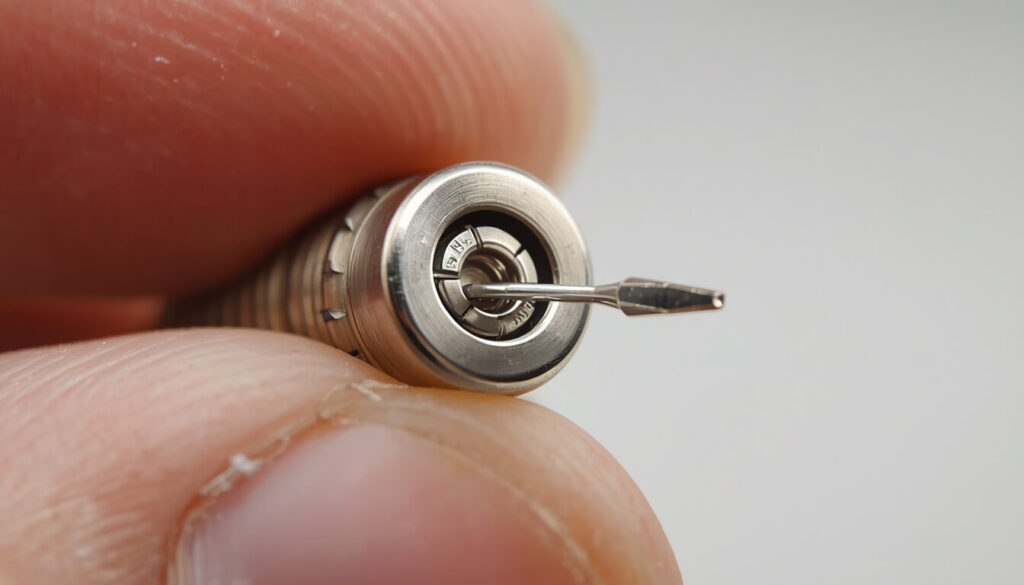
Front-loading machines have a removable bobbin case with a small tension screw on its side. Take the bobbin out of the case first.
Turn the screw clockwise to tighten and counterclockwise to loosen. Move it only about an eighth of a turn at a time, and retest on a scrap after each change.
Before you turn anything, take a photo of the screw or mark its position with a fine marker. That way you can always go back to where it started. Threads magazine also suggests recording the screw position so you can return to it later.
Drop-In Bobbin Machines
Most drop-in (top-loading) machines have the bobbin case built into the machine. On many of them, bobbin tension isn’t meant to be adjusted at home, and your manual will say so.
If you can’t balance the stitch with the top dial on a drop-in machine, check threading, the needle, and lint before assuming the bobbin is the issue. If the problem remains, a technician can set it safely.
The Bobbin Drop Test
On a removable bobbin case, you can check the tension without sewing. Load the bobbin, then hold the case by the end of the thread so it dangles.
Give the thread a gentle jerk. If the case slides down a little, the tension is about right. If it doesn’t move at all, the tension is too tight, and if it drops freely, it’s too loose.
Adjusting Tension on Computerized Machines
How to adjust sewing machine tension on a computerized machine is similar, with a screen in place of a dial. On many of them, tension appears on the screen and you change it with plus and minus buttons or a touch control. The same rules apply: higher number, tighter top thread.
Many of these machines set tension automatically for each stitch. If yours does, treat the on-screen number as a fine-tuning tool rather than the first fix, and still run through the three checks above. Your manual explains how to reset the machine to its automatic setting.
Quick Troubleshooting Checklist
Work down this list in order whenever the stitches look wrong. It’s the short version of how to adjust sewing machine tension.
- Rethread the top thread with the presser foot up
- Remove and reinsert the bobbin
- Replace the needle
- Clean lint from the bobbin area and between the tension discs
- Reset the dial to the default
- Sew a test seam and adjust one number at a time
- Adjust the bobbin only if the top dial can’t balance it
Helpful Tips for Keeping Tension Consistent
- Use the same quality thread in the needle and the bobbin when you can, since mixing very different threads is a common cause of drift.
- Match the needle to your thread. A thread that doesn’t pass smoothly through the eye creates drag that looks like a tension fault. Our guide on what size sewing machine needle to use helps you pick the right pair.
- Test every new thread and fabric combination on a scrap before starting the project.
- For settings by fabric, thread, and stitch type, see our guide on ideal sewing machine tension settings.
When to Call a Professional
Some problems aren’t fixed by turning a dial. Call a technician if the stitches stay uneven after you’ve rethreaded, changed the needle, cleaned the machine, and tested the dial.
Other signs include a bobbin tension that won’t hold its setting, a dial that spins freely or feels stuck, or a machine that has been dropped or hasn’t been serviced in years. A service visit costs far less than a repair caused by forcing a stuck tension part.
Common Mistakes to Avoid
- Threading the machine with the presser foot down
- Turning the dial in large jumps instead of one number at a time
- Adjusting the bobbin tension first, instead of the top dial
- Turning the bobbin screw more than a small fraction of a turn
- Forgetting to mark or photograph the bobbin screw before moving it
- Leaving the dial on a special setting after the project is done
- Testing on a different fabric than the one you’re sewing
FAQs
Which way do I turn the tension dial to tighten it?
On most machines, turning the dial to a higher number tightens the top thread, and a lower number loosens it. The direction can vary, so confirm with your manual. Change it one number at a time and test on a scrap after each change.
What number should my sewing machine tension be on?
Most machines work well near the default, often 4, for everyday sewing with standard thread and fabric. That’s only a starting point. Heavier thread, thick fabric, or decorative stitches may need small changes, so check our ideal tension settings guide.
Should I adjust top tension or bobbin tension first?
Always adjust the top tension first. The dial is easy to change and easy to reset. Bobbin tension is a small, delicate spring, so treat it as a last resort when the top dial can’t balance the stitch, and mark the screw before you turn it.
How do I know if my sewing machine tension is correct?
Sew a test seam with two thread colors and check both sides. If the threads meet in the middle of the fabric and the stitches look identical on top and underneath, the tension is balanced. Loops or one color showing through mean it needs adjusting.
How do I reset my sewing machine tension to default?
Turn the top dial back to the default number listed in your manual, often 4. On a computerized machine, use the reset or automatic option in the settings menu. If you moved the bobbin screw, return it to the position you marked.
Do I need to adjust bobbin tension for every project?
No. Most of the time, bobbin tension stays untouched, and the top dial handles the small changes between projects. You’d only change it for a big shift in thread weight, and many drop-in machines aren’t meant to be adjusted by the user.
Why does my tension change when I switch threads?
Different threads have different thickness, stretch, and smoothness, so they pass through the tension discs with different drag. Switching from a fine thread to a heavy one often calls for a small dial change. Test on a scrap each time you change thread.
What is the easiest way to learn how to adjust sewing machine tension?
Practice on scraps. Sew a two-color test seam, read which thread shows on the wrong side, and change the dial one number at a time. After three or four tests, the pattern becomes automatic, and you’ll know the right direction before you even turn the dial.
Conclusion
Once you know how to adjust sewing machine tension in the right order, the dial stops feeling like guesswork. Rethread first, test with two colors, change one number at a time, and keep the bobbin as your last resort.
A balanced stitch is just two threads pulling evenly, and you now know how to read the signs when they don’t. If the problem turns out not to be the dial at all, the guides below cover the next likely cause.
Related articles