

How much backing fabric do I need for a quilt is a question with a surprising twist: the same quilt can need very different amounts of fabric depending on which way you run the seam. A throw quilt can take 4.25 yards with one layout and just 3.25 yards with another.
This guide gives you the formula, the extra margin to add, and three worked examples that compare layouts side by side. For the top and binding, see our guide on how much fabric for a quilt.
- Quick Answer
- How Much Extra Backing Do You Need?
- How Much Backing Fabric Do I Need for a Quilt? The Formula
- Horizontal or Vertical Seam? Three Worked Examples
- Wide-Back Fabric: Is It Worth It?
- How to Piece a Quilt Backing
- Seam Placement and Backing Design
- Prewashing and Directional Prints
- Use the Fabric Yardage Calculator
- Helpful Tips for Buying Backing Fabric
- Common Mistakes to Avoid
- FAQs
- How much backing fabric do I need for a quilt?
- How much extra backing fabric should I add?
- Should the backing seam be horizontal or vertical?
- How much 108-inch wide backing do I need for a quilt?
- What seam allowance should I use for a quilt backing?
- Do I need to prewash quilt backing fabric?
- Is wide-back fabric worth it?
- Does a directional print need more backing fabric?
- Conclusion
Quick Answer
For the backing, add about 4 inches to each side of the quilt, which means 8 inches added to both the width and the length. Then work out how many panels of fabric you need to cover that size, allowing a half-inch seam between panels. Calculate the yardage with the seam running both ways, and buy the smaller number.
If your backing is narrower than the width of extra-wide backing fabric, a single piece of wide-back fabric needs no seam at all.
How Much Extra Backing Do You Need?
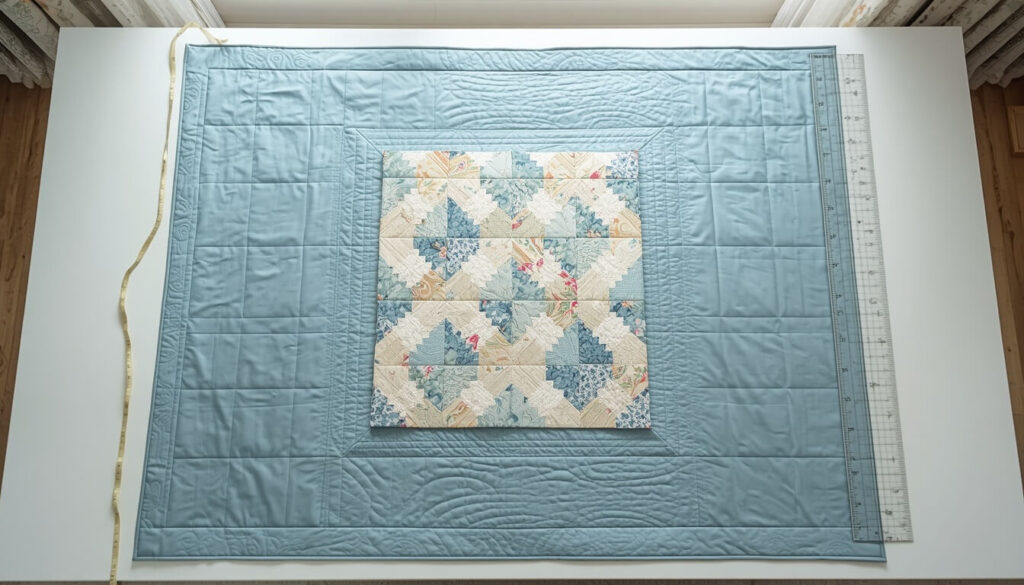
Before you answer how much backing fabric do I need for a quilt, decide on the margin. The backing has to be larger than the quilt top. As you quilt, the layers draw in slightly, and you also need room to hold the quilt without gripping the edge.
Four inches on each side is the common safe choice. That adds 8 inches to both the width and the length.
| Quilting Method | Extra Per Side | Added to Each Dimension |
|---|---|---|
| Home machine | About 4 inches | About 8 inches |
| Careful home quilter | 2 to 3 inches | 4 to 6 inches |
| Longarm quilter | Often 4 to 6 inches | 8 to 12 inches |
Longarm quilters often ask for more margin, so check with yours before you buy. If you’re quilting at home and basting well, 4 inches per side gives you comfortable room.
How Much Backing Fabric Do I Need for a Quilt? The Formula
Here’s how much backing fabric do I need for a quilt, in three steps. All three use the usable width of your fabric, not the width on the bolt.
Step 1: Find Your Backing Size
Add your margin to the quilt’s finished size.
Backing width = quilt width + 8 inches Backing length = quilt length + 8 inches
A 50 by 65 inch quilt needs a backing of 58 by 73 inches.
Step 2: Count the Panels
Quilting cotton is typically 42 to 44 inches on the bolt, but the selvedges come off, so plan on about 40 inches of usable width. Our fabric width guide explains why.
When you join panels, each seam uses up width. A half-inch seam allowance on each panel takes 1 inch from the combined width. With 40 inches of usable width, panels cover these widths:
| Panels | Width Covered |
|---|---|
| 1 panel | 40 inches |
| 2 panels | 79 inches |
| 3 panels | 118 inches |
| 4 panels | 157 inches |
Find the width you need to cover, and pick the smallest number of panels that reaches it.
Step 3: Calculate Yardage in Both Directions
Now the key move. You can run the panels along the length of the quilt, or turn them and run them along the width. Calculate both.
Yards = panels × panel length ÷ 36
Round up to the next quarter yard, and pick the smaller of the two results. Missouri Star Quilt Co. publishes a backing chart and formula if you’d like a second reference.
Horizontal or Vertical Seam? Three Worked Examples
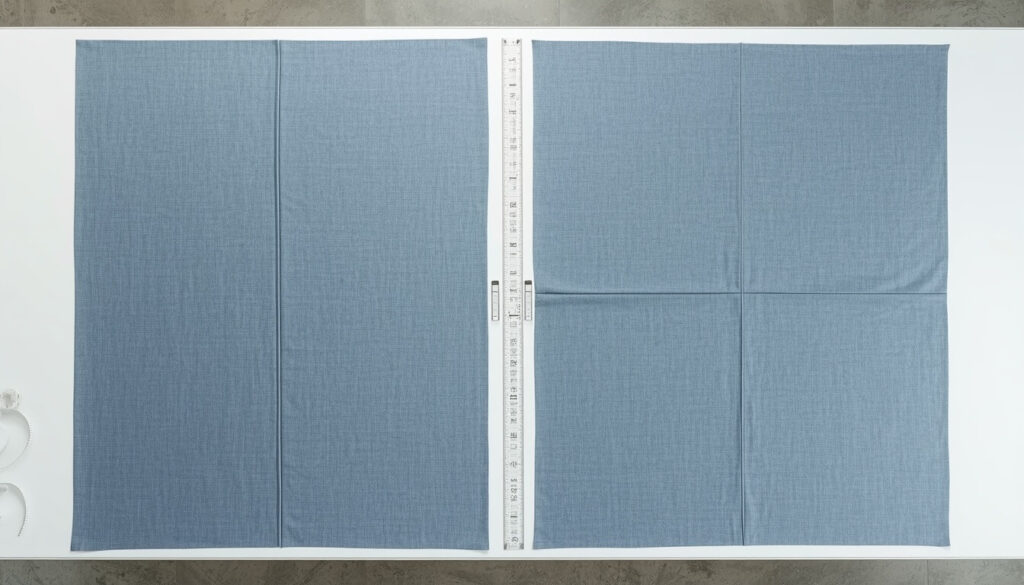
No single rule answers how much backing fabric do I need for a quilt at every size. Sources even disagree on whether a horizontal or vertical seam is better. The reliable method is to compare, so here are three quilts calculated both ways, using 40 inches of usable width and 104 inches for 108-inch wide-back fabric.
| Quilt | Backing Size | Vertical Seam | Horizontal Seam | Wide-Back |
|---|---|---|---|---|
| Throw, 50 x 65 | 58 x 73 | 4.25 yards | 3.25 yards | 1.75 yards |
| Twin, 60 x 80 | 68 x 88 | 5 yards | 5.75 yards | 2 yards |
| Queen, 90 x 108 | 98 x 116 | 9.75 yards | 8.25 yards | 3.25 yards |
Take the throw. A vertical layout needs 2 panels of 73 inches, which is 146 inches, or 4.06 yards. Turn the panels sideways, and 2 panels of 58 inches cover the 73 inch width with only 116 inches, or 3.22 yards. That’s a full yard saved just by changing direction.
Now the twin. A vertical layout needs 2 panels of 88 inches, or 4.89 yards. Turning the panels would need 3 panels of 68 inches, or 5.67 yards, so vertical wins here.
The queen goes the other way. Turning the panels needs 3 panels of 98 inches, or 8.17 yards, compared with 9.67 yards the other way. Notice the horizontal layout covers 116 inches with 3 panels that reach 118, which is a snug fit, so buy an extra quarter yard for safety.
These are quick starting figures. Our fabric yardage chart shows rough backing yardage by size, and the exact number depends on your fabric width.
Wide-Back Fabric: Is It Worth It?
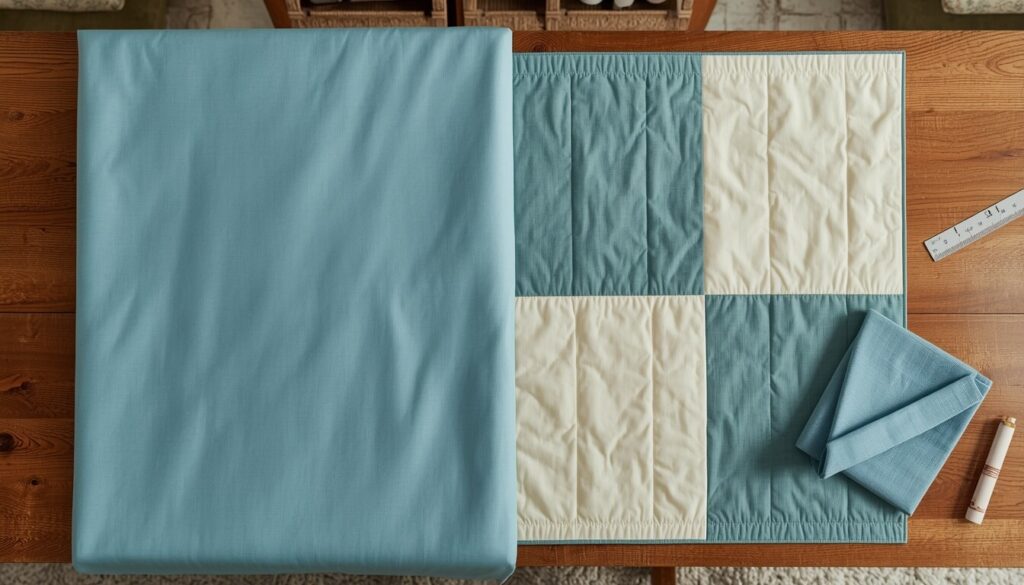
One shortcut when you’re working out how much backing fabric do I need for a quilt is wide-back fabric. It comes in widths around 108 inches. For many quilts, one piece covers the whole backing, so there’s no seam to sew, press, or line up.
| Factor | Pieced Backing | Wide-Back Fabric |
|---|---|---|
| Seams | One or more | None |
| Yardage | More | Often much less |
| Price per yard | Usually lower | Often higher |
| Print choice | Huge range | More limited |
| Layout | Compare two directions | Check width, then turn if needed |
Check that your backing width fits within the usable width, about 104 inches if the selvedges are trimmed. A queen quilt with a 98 inch backing width fits comfortably, and the example above shows it needs only 3.25 yards.
Wide-back can cost more per yard, so compare the total, not just the price per yard. Because it uses so much less fabric, the total is sometimes lower.
How to Piece a Quilt Backing
Piecing a backing is simple. Take your time, and the seam will vanish into the quilt.
- Prewash if you prewashed the top. Wash the backing the same way as the top fabrics.
- Trim the selvedges. Cut them off, because they’re tighter than the rest of the fabric and can pucker.
- Cut the panels to length. Cut each panel a few inches longer than you need, so you can square up later.
- Join with a half-inch seam. Place the panels right sides together and sew along the edge.
- Press the seam open. Pressing open spreads the bulk, so the quilting needle meets one layer at a time.
- Check the size. Lay the backing out and confirm it’s at least 8 inches larger than the quilt top in both directions.
Use a standard stitch length for the seam. Take care to keep the edge straight, since a wandering seam shows on the quilt back.
Seam Placement and Backing Design
Where the seam sits is a design choice as well as a practical one.
Center seam. The simplest option, with the seam running down the middle. It’s easy, but the quilt can end up with a ridge right at the center.
Off-center seam. Cutting one panel narrower and placing the seam off to the side avoids the center ridge. Sketch the layout first to confirm the fabric still reaches the full backing width.
Three-panel layout. Some quilters use a full panel in the middle with narrower strips on each side. It spreads the seams away from the center and can look intentional.
Scrappy or pieced backing. Leftover fabric from the top can become a creative backing. Treat it the same way, and calculate the finished backing size first.
A real example: a quilter sews a center seam, then machine-quilts straight lines. The quilting crosses the seam repeatedly, and a bulky pressed-to-one-side seam makes the needle work harder. Pressing it open keeps the layers thin.
If you’re ready to start the quilting, our pillar guide on how to quilt with a sewing machine walks through the full process, and the guide on how to machine quilt a quilt covers the stitching.
Prewashing and Directional Prints
Prewashing. If you prewash the top fabrics, prewash the backing too. If you don’t prewash anything, skip it. Mixing washed and unwashed fabric can make the quilt shrink unevenly. If you prewash, add about 10 percent more fabric to cover shrinkage.
Directional prints. A print with an obvious up and down, or a large repeat, has to face the same way on every panel. That can limit which direction you run the seam, so check the print before you pick a layout. Wide-back fabric can also be directional.
Grain. Turning panels sideways changes the grain direction on the quilt back. Fabric stretches slightly differently across its width than along its length, so baste carefully and check the layers for puckers.
For a general refresher on measuring before you cut, see our fabric measurement guide.
Use the Fabric Yardage Calculator
You can run these formulas by hand, or let the tool compare layouts for you. The Fabric Yardage Calculator takes your quilt size and fabric width, and gives you rounded-up yardage.
It’s a handy way to double-check how much backing fabric do I need for a quilt before you head to the shop.
Helpful Tips for Buying Backing Fabric
- Buy the backing at the same time as the top fabric, so everything comes from the same batch.
- Measure the usable width after trimming the selvedges, instead of trusting the bolt label.
- Add a quarter yard whenever the layout is a snug fit.
- Sketch the layout with measurements before you shop, so you can check it at the cutting table.
- Many quilters pick a busier print for the backing, since it hides small stitching wobbles and puckers.
Common Mistakes to Avoid
These mistakes are the usual reasons the answer to how much backing fabric do I need for a quilt comes out wrong.
- Forgetting the extra 4 inches on every side of the quilt
- Using the bolt width instead of the usable width
- Ignoring the 1 inch of width each seam uses up
- Calculating only one seam direction when the other would save fabric
- Running a directional print the wrong way on one panel
- Pressing the backing seam to one side, which adds bulk
- Buying exactly the calculated yardage on a snug fit
FAQs
How much backing fabric do I need for a quilt?
Add about 4 inches to each side of the quilt, so 8 inches added to the width and length. Count the panels you need at your usable fabric width, allowing a half-inch seam between them. Calculate the yardage with the seam both ways, and buy the smaller number.
How much extra backing fabric should I add?
Four inches on each side is the common safe choice, which adds 8 inches to both dimensions. Some home quilters use 2 to 3 inches per side when basting carefully, and longarm quilters often request 4 to 6 inches per side. Always check with your quilter.
Should the backing seam be horizontal or vertical?
It depends on your quilt size, so calculate both. A horizontal seam saves fabric on some quilts, such as a throw or queen, while a vertical seam wins on others, such as a twin. Pick whichever layout needs less fabric and suits your print.
How much 108-inch wide backing do I need for a quilt?
Wide-back often needs no seam. For a queen quilt with a backing of 98 by 116 inches, about 3.25 yards usually covers it, since the 98 inch width fits within the fabric. A throw quilt may need only around 1.75 yards.
What seam allowance should I use for a quilt backing?
A half-inch seam allowance is common for backing seams, and pressing the seam open keeps the bulk down. Each seam uses about 1 inch of width, so factor that in when counting panels, especially when your backing width is close to a panel limit.
Do I need to prewash quilt backing fabric?
Treat the backing like your top fabrics. If you prewash the top fabrics, prewash the backing the same way, and add about 10 percent more fabric for shrinkage. If you don’t prewash anything, leave the backing unwashed too, so everything shrinks together.
Is wide-back fabric worth it?
Often, yes. It removes the seam and can use far less fabric, which makes quilting smoother. It can cost more per yard and has fewer prints, so compare the total cost against pieced backing. Check that your backing width fits within the fabric’s usable width.
Does a directional print need more backing fabric?
It can. Every panel has to face the same way, which may limit which direction you run the seam and can increase the yardage. Check the print direction before you choose a layout, and consider adding a little extra for matching.
Conclusion
Once you know how much backing fabric do I need for a quilt comes down to a margin, a panel count, and a comparison of two seam directions, buying backing stops being guesswork. Add 4 inches per side, count your panels with the seam loss, and let the lower yardage decide your layout.
Then check your numbers with the Fabric Yardage Calculator before you shop. For binding the finished quilt, see our guide on how to bind a quilt with a sewing machine.
Related articles