
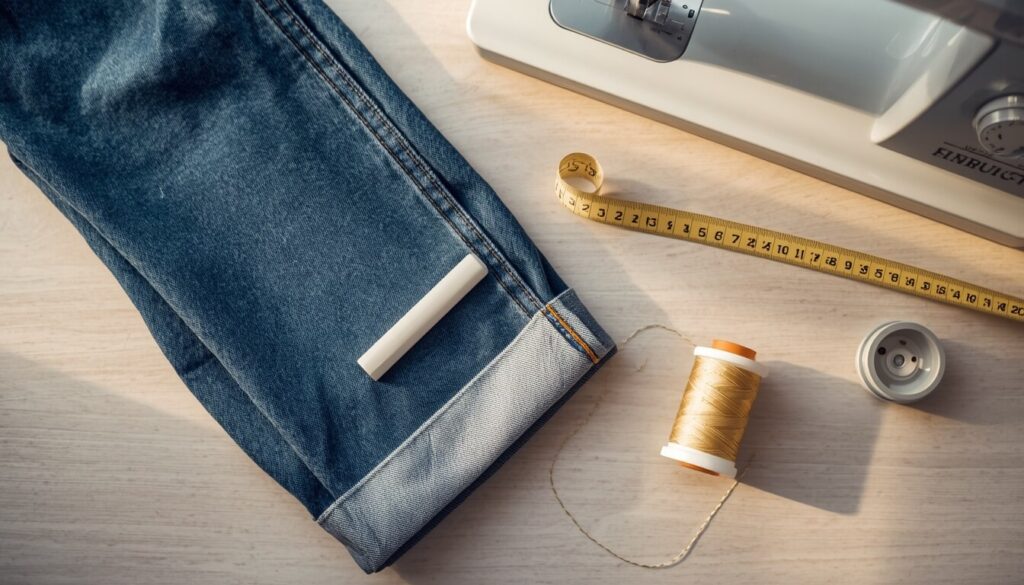
How to hem jeans with a sewing machine comes down to one choice most tutorials skip over: keep the factory hem or cut it off completely. Keeping the original hem preserves the fade, the wear pattern, and the exact stitching your jeans came with. This guide covers both methods, plus how to tell which one your jeans actually need before you cut a single thread.
- Quick Answer
- Before You Start — Check Your Jeans' Leg Shape
- Tools & Supplies You'll Need
- Method 1: How to Hem Jeans with a Sewing Machine While Keeping the Original Hem
- Method 2: Cut & Resew Hem (For Flared Jeans or Bigger Changes)
- Getting an Authentic Look (Matching the Original Topstitch Color)
- Troubleshooting Common Problems
- Common Mistakes to Avoid
- FAQs
- Conclusion
Quick Answer
To hem jeans with a sewing machine while keeping the original hem, measure your new length, add the height of the existing hem to that number, fold the extra fabric up so the original hem lands right at your new length, then stitch it in place close to the factory line. This only works on straight or tapered leg jeans. Flared jeans need the cut-and-resew method instead, which you’ll find under Method 2.
Before You Start — Check Your Jeans’ Leg Shape
This is the step most hemming tutorials skip, and it’s usually the reason a “keep the original hem” attempt ends up bunched or crooked at the side seams.
How to Measure Straight vs. Tapered vs. Flared Legs
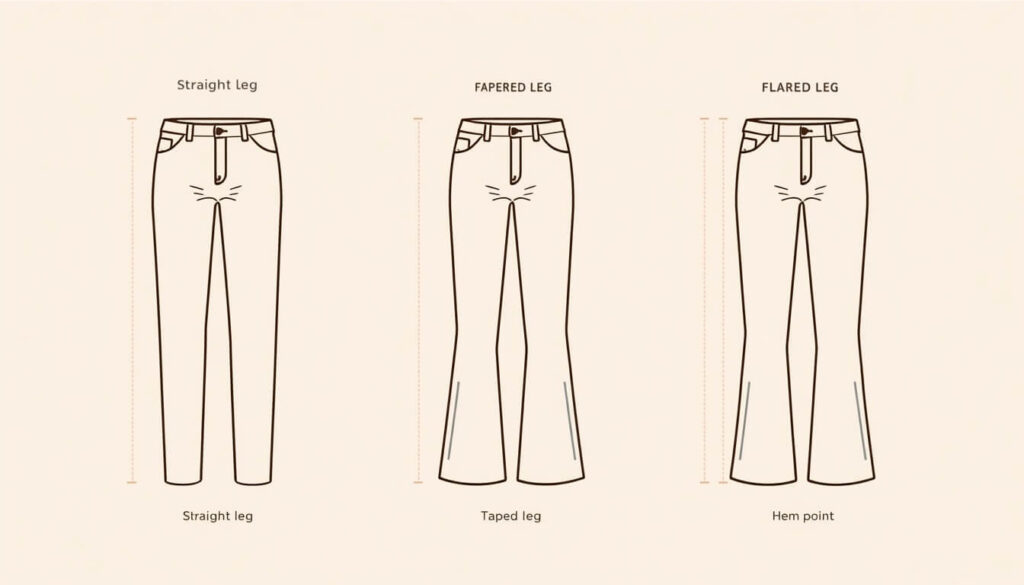
Lay the jeans flat and measure two spots: the width at the very bottom opening, and the width of the leg at the point where your new hem will fall.
- If the two numbers match, you have straight leg jeans.
- If the bottom opening is narrower than the new hem point, you have tapered leg jeans.
- If the bottom opening is wider, you have flared jeans.
A pair of skinny jeans measured 7 inches across the ankle opening and 8 inches across the leg 3 inches up, right where the new hem needed to sit. That’s a tapered leg — workable with the original-hem method, but it needs one extra step before folding, which is covered below.
Why Flared Jeans Can’t Keep the Original Hem
Denim’s diagonal twill weave is what gives it that sturdy, structured feel, but it’s also why the fabric doesn’t gather or compress easily. According to Wikipedia, denim is a warp-faced cotton textile woven so the weft thread passes under two or more warp threads, which is what creates its characteristic diagonal ribbing.
That tight structure is exactly why flared jeans are a problem for this method. The fabric at the hem is physically wider than the leg above it, and there’s no way to fold that extra width flat without visible puckers. If your jeans are flared, skip ahead to Method 2.
Tools & Supplies You’ll Need
- Sewing machine with a straight stitch
- Denim needle (size guide below)
- Heavy-duty polyester thread, in a color that matches your jeans
- Measuring tape and fabric marking chalk
- Pins or clips
- Fabric scissors
- Iron and ironing board
- Seam ripper (only needed for tapered legs or wide original hems)
- Optional but genuinely useful: a bulky seam jumper (sometimes called a hump jumper) to level your presser foot over thick seams
Best Needle Size for Denim
Matching your needle to the fabric weight makes the biggest difference in whether your machine sails through the hem or stalls halfway. For general pants fabric like cotton or chino, our needle size chart covers the full range — here’s the denim-specific breakdown.
| Needle Size | Best For |
|---|---|
| 90/14 | Lightweight or stretch denim, skinny jeans |
| 100/16 | Standard to heavyweight denim, most jeans |
| 110/18 | Extra-thick raw or selvedge denim |
Keep a spare needle nearby. Hemming jeans is one of the few home sewing jobs where a broken needle is genuinely common, not a sign you’re doing something wrong.
Matching Thread — Including Gold or Contrast Topstitch
Plenty of jeans use gold, orange, or tan topstitching instead of blue or black thread. If you cut the original hem off completely, that contrast color disappears and is hard to match exactly. This is actually the single biggest reason sewists choose to keep the original hem in the first place — it keeps that signature stitching intact without any thread-matching guesswork.
Tools for Thick Seams
The side seams on jeans, where the inseam and outseam overlap, can be four or more layers of denim stacked together. A standard presser foot tends to tilt and skip stitches right at that spot. A bulky seam jumper slides under the back of the foot to keep it level while you sew over the hump — cheap, small, and worth owning if you hem jeans more than once.
Method 1: How to Hem Jeans with a Sewing Machine While Keeping the Original Hem
This is the method for straight and tapered leg jeans, and it’s worth the extra care because it preserves details you can’t recreate with a plain new hem.
Straight Leg Jeans — Step by Step
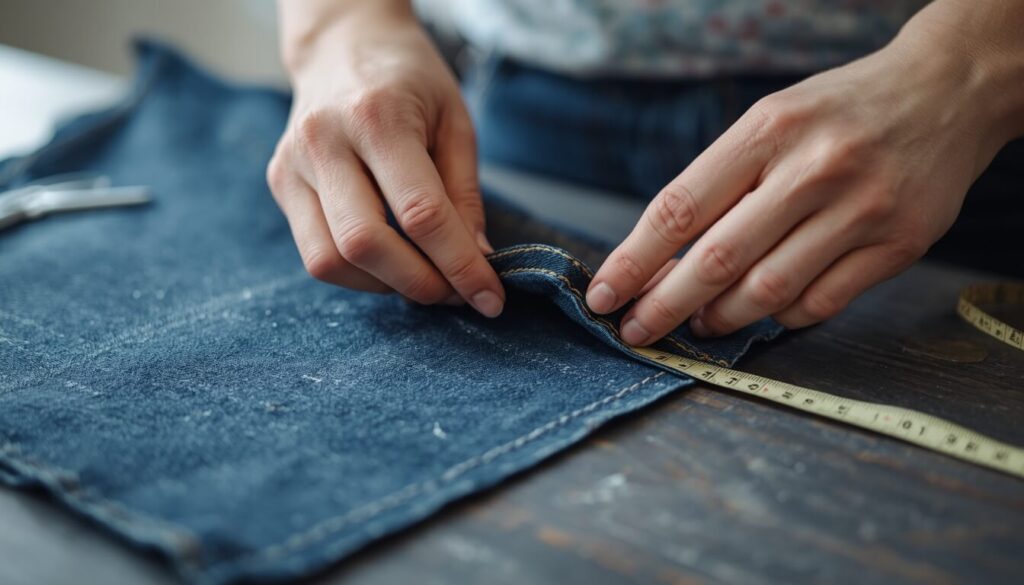
- Put the jeans on with the shoes you’ll actually wear, and pin or mark your desired new length.
- Lay the jeans flat and measure the height of the original hem — the distance from the bottom edge to the stitch line. Most factory hems run between ½ inch and 1 inch.
- Mark a second line above your desired length, equal to that hem height. This is where you’ll stitch.
- Fold the extra fabric up so the original hem sits right at that second marked line, and pin it in place all the way around.
- Switch to a zipper foot if you have one — it lets you stitch closer to the fold, which keeps the new seam nearly invisible from the outside.
- Sew around the leg, staying as close to the original hem’s factory stitching as you can without catching it.
- Trim the excess folded fabric to about ⅜ inch from your new stitch line, then finish the raw edge with a zigzag stitch or pinking shears so it doesn’t fray inside the leg.
- Press hard, using steam, to set both the new seam and the original hem flat.
Tapered Leg Jeans — Extra Step to Prevent Puckering
If your jeans taper, folding the original hem straight up will bunch the fabric, because you’re trying to fit a wider piece of denim into a narrower space. Before you fold anything, turn the jeans inside out and sew a new, gradually narrowing seam along the inner leg, starting several inches above your hem mark and tapering down to match the width difference you measured earlier. Then rip out the old inner leg stitching in that section to remove the bulk. Once the leg width matches at your hem line, follow the straight-leg steps above.
Sewing Over Thick Side Seams Without Breaking Your Needle
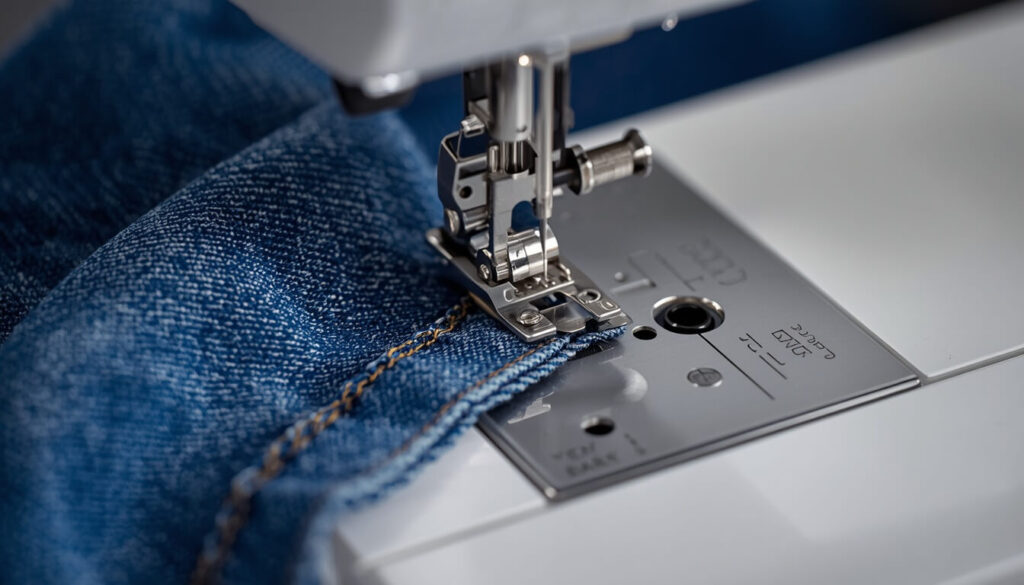
Slow down before you hit the seam, not after you’ve already broken a needle on it. Use your hand wheel to walk the needle through the thickest part one stitch at a time if your machine struggles, and slide a bulky seam jumper under the foot to keep it level. Rushing this one spot is the single most common reason jeans-hemming needles snap.
Cutting the Excess and Finishing the Raw Edge
Try the jeans on one more time before you cut anything — up to this point, you can still unpick the new stitching and adjust. Once you’re confident in the length, trim the excess to leave a small, even seam allowance, and finish the edge so it won’t fray with washing.
Method 2: Cut & Resew Hem (For Flared Jeans or Bigger Changes)
For flared jeans, or if you’re shortening by more than 3 to 4 inches, the original hem method starts to look disproportionate anyway. In that case, remove the old hem, trim the excess denim, and sew a standard double-fold hem instead.
The fold-press-stitch process itself is the same one used for any pair of pants if you haven’t sewn a double-fold hem before, our guide on how to hem pants with a sewing machine walks through that basic technique in detail. The parts that are different for denim are the needle size, the heavier thread, and sewing through that thick side seam, all covered above.
Getting an Authentic Look (Matching the Original Topstitch Color)
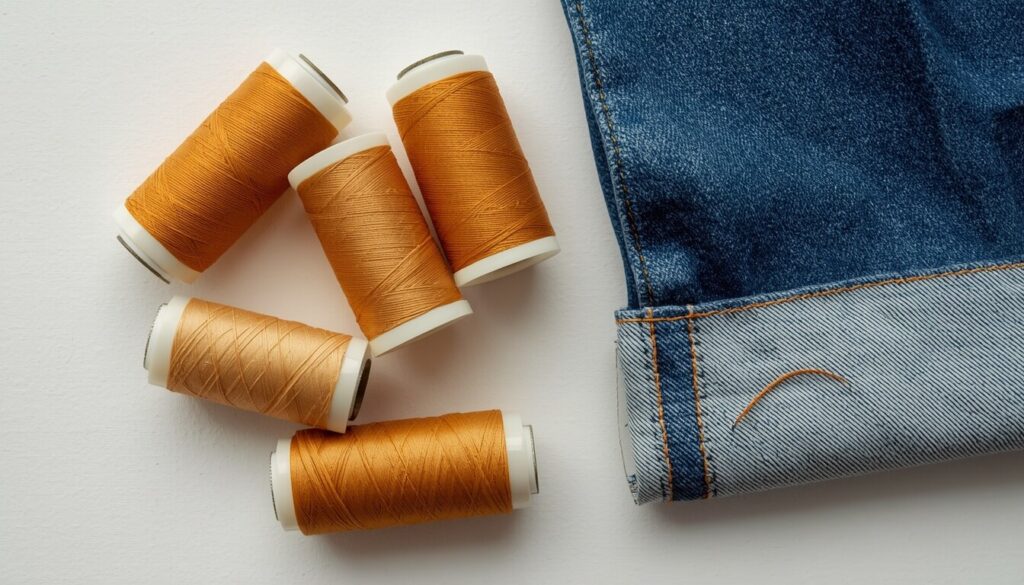
If you do cut and resew, try to match your topstitching to the original as closely as possible rather than defaulting to plain blue or black thread. Hold a few spools up against the existing stitching in daylight before committing — screen and store lighting can both throw the color off. For a close-but-not-exact match, lean slightly darker rather than lighter; a shade too dark blends in better than a shade too light.
Troubleshooting Common Problems
Hem Doesn’t Lie Flat
This usually means not enough fabric was trimmed from inside the fold, or the cutting wasn’t even all the way around. Check that your trim line matches on both legs, and press again with plenty of steam before deciding it needs to be redone.
Puckering on Tapered Legs
Puckering almost always means the leg-width-reduction step was skipped. Go back, measure the difference between the ankle opening and the hem point, and taper the inner leg seam before folding.
Needle Breaking on Thick Seams
Switch to a size 100/16 or 110/18 needle if you’re still using a lightweight one, slow your machine speed at the seam, and use the hand wheel to ease through the thickest layers instead of letting the machine push through at full speed.
Common Mistakes to Avoid
- Skipping the leg-shape check and trying the original-hem method on flared jeans anyway
- Measuring for length without the shoes you’ll actually wear
- Using a regular needle instead of a denim needle, which increases the odds of skipped stitches or breakage
- Rushing the side seam instead of slowing down or hand-cranking through it
- Cutting the excess fabric before trying the jeans on one final time
FAQs
Conclusion
Once you know how to hem jeans with a sewing machine and specifically how to keep that original factory hem a pair of too-long jeans stops being a trip to the tailor and becomes a weekend fix at home. The leg-shape check at the start takes an extra two minutes, but it’s what separates a hem that looks intentional from one that puckers at the first wash. If you’re also working through a pile of pants that need shortening, our guide on how to hem pants with a sewing machine covers the general technique for non-denim fabrics.
Ready to hem your jeans? Grab your needle size chart, gather your thread, and start with the leg-shape check above it’s the two-minute step that makes everything after it go smoothly. And before your next sewing project, run your measurements through the SewSmartHub fabric yardage calculator so you never guess how much fabric to buy.