
If you’ve ever unboxed a brand-new sewing machine and just stared at it, unsure where to even begin, you’re not alone. Between the spool holder, the bobbin winder, the tension dial, and a dozen small levers, it can feel like a lot before you’ve sewn a single stitch.
Here’s the good news — setting up a sewing machine is one of those things that looks far more complicated than it actually is. The core mechanism behind how a sewing machine works hasn’t changed much in over a century, and once you understand the order of setup steps and what each part does, it takes about fifteen to twenty minutes, even the very first time.
Quick Answer
Knowing how to set up a sewing machine comes down to one simple order: place it on a stable surface, plug it in and position the foot pedal, insert the needle with the flat side facing back, attach the presser foot, wind and insert the bobbin, thread the machine, and run a test stitch on scrap fabric before starting your project. Machines vary slightly by brand, but this order applies to almost every home sewing machine.
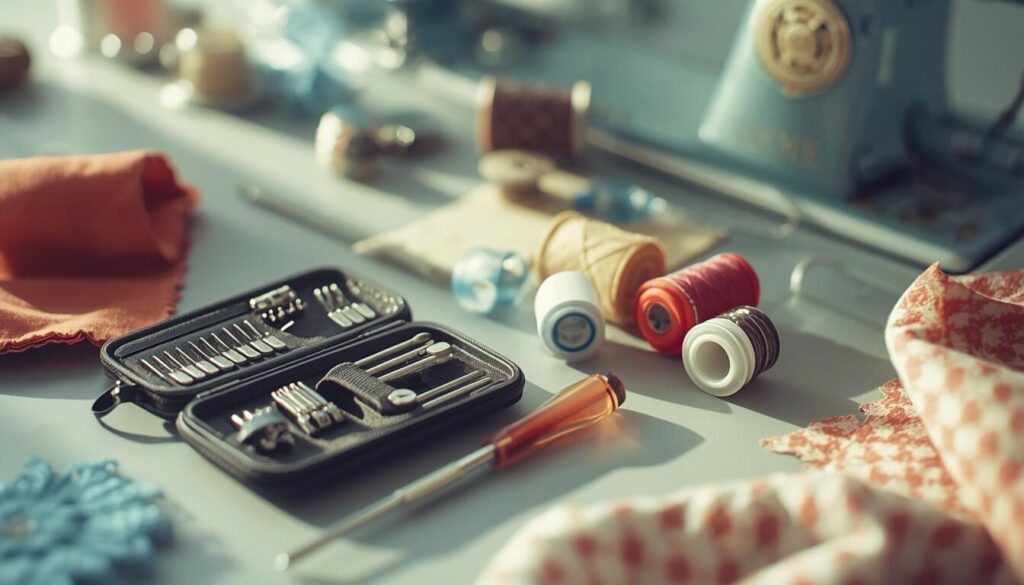
Before You Start: What You’ll Need
| Item | Why You Need It |
|---|---|
| A stable table with good lighting | Vibration on a wobbly surface affects stitch quality |
| Your sewing machine’s manual | Oil points, threading paths, and tension settings vary by brand |
| A needle (usually included) | Some new machines ship with the needle already in place |
| Thread and a bobbin | For the test stitch and threading steps |
| A small screwdriver | Needed for some presser feet and needle plates |
| Scrap fabric | To test tension and stitch quality before your real project |
Setting Up a Brand-New Machine vs. an Old One
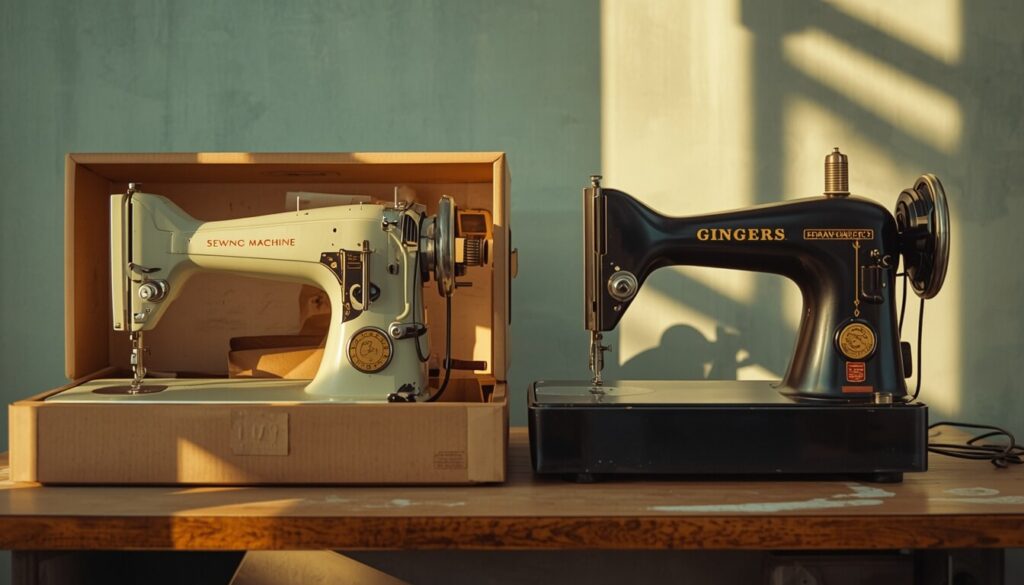
A simple way to think about it is this: a brand-new machine mostly needs assembly, while an older or second-hand machine mostly needs attention. New machines usually just need the needle, presser foot, and spool holder attached. Machines that have been sitting unused for a while often need a light clean and a drop of oil before they’ll run smoothly again.
If your machine has been in storage for more than six months, it’s worth checking our guide on how to oil a sewing machine before you start the setup steps below.
Step-by-Step: How to Set Up a Sewing Machine
Imagine setting your machine on the table for the very first time — by the end of these seven steps, it’ll be ready to sew, not just sitting there looking intimidating.
Step 1: Choose the Right Spot and Plug It In
Place your machine on a sturdy, flat table, ideally somewhere with natural light or a good lamp nearby. Plug the power cable into the machine and the wall outlet, and connect the foot pedal if it’s on a separate cord.
Position the pedal on the floor where your foot can rest comfortably without stretching. One mistake many sewists make is leaving the machine switched on while setting it up — keep it off until you’re actually ready to sew, so you don’t accidentally run the needle while your hands are near it.
Step 2: Insert the Needle
Raise the needle holder to its highest point by turning the handwheel toward you. Loosen the needle clamp screw, and check your needle — one side is flat, and that flat side always faces the back.
Slide the needle up into the holder as far as it will go, then tighten the clamp screw firmly. A loose needle is one of the most common reasons a machine skips stitches right out of the box.
Step 3: Attach the Presser Foot
The presser foot holds your fabric flat and guides it as you sew. On most modern machines, it simply snaps into place — align the bar on top of the foot with the groove in the foot holder, then lower the holder using the lever until it clicks.
Some machines use a small screw instead of a snap-on design. Either way, make sure the foot sits flush against the needle plate before moving on.
Step 4: Attach the Spool Holder
If your machine’s spool holder isn’t already in place, this is the step to add it. It’s usually a small plate with two prongs that fits into a slot on the top or back of the machine. Many newer, computerized machines come with this pre-installed, so you may be able to skip this step entirely.
Step 5: Wind and Insert the Bobbin
Place your thread spool on the holder, guide it through the bobbin winding path, and wrap it around the bobbin winder tension disc. Set an empty bobbin onto the winder spindle, engage the winding mechanism, and let the machine fill it.
Once it’s full, snip the thread and insert the bobbin into its case, following the direction shown in your manual — this matters, since an upside-down bobbin is a common reason stitches loop underneath the fabric. If this step feels fiddly the first time, our full guide on how to wind a bobbin breaks it down further.
Step 6: Thread the Top of the Machine
Following your machine’s numbered guides, thread from the spool down through the tension discs, up through the take-up lever, and finally through the eye of the needle from front to back.
Keep the presser foot raised while threading — threading with it down skips the tension discs entirely, which causes loose, uneven stitches later. For a full walkthrough with more detail, see our guide on how to thread a sewing machine.
Step 7: Bring Up the Bobbin Thread and Set Your Tension
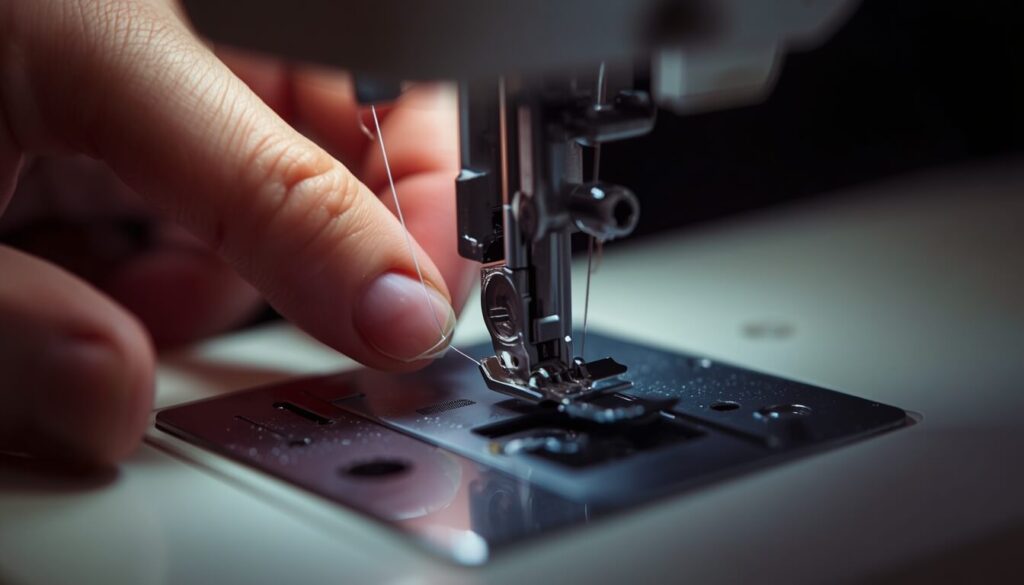
Hold the top thread gently and turn the handwheel toward you one full rotation. The needle will dip down, catch the bobbin thread, and pull up a small loop — draw this loop out with your fingers or a seam ripper, and pull both threads back under the presser foot.
Set your tension dial to the middle setting (usually 3–4 on most machines) as a starting point. If your machine has a pressure regulator, set it about three-quarters of the way down for standard fabric — lighter for delicate fabrics, heavier for thick ones.
Finally, run a line of stitches on scrap fabric. Check that the stitches look even on both the top and bottom before you touch your actual project. If you notice looping or knotting, our guide on how to adjust sewing machine tension can help you fine-tune it.
Quick Setup Checklist
Before assuming something’s wrong, run through this list — it covers the setup mistakes that come up most often:
- Is the needle’s flat side facing the back?
- Is the presser foot fully lowered before sewing?
- Was the machine threaded with the presser foot raised?
- Is the bobbin inserted in the correct direction?
- Did you run a test stitch on scrap fabric?
- Is the foot pedal positioned somewhere comfortable and safe?
Helpful Tips
- Keep your manual nearby for your first few setups — oil points and threading diagrams differ by brand, and there’s no shame in checking.
- Use a contrasting thread color for your first test stitch. It makes tension problems much easier to spot.
- If your machine has been stored for a while, run it without thread on scrap fabric first to work any old oil out before sewing on real fabric.
- Set a reminder to check your setup again after your first big project — tension and thread guides can shift slightly with heavy use.
Common Mistakes to Avoid
- Threading with the presser foot down. This skips the tension discs and causes loose stitches almost immediately.
- Inserting the needle backward. Even a millimeter off can cause skipped stitches or thread breaks.
- Skipping the test stitch. It only takes thirty seconds and saves you from ruining actual fabric.
- Forgetting to secure the needle clamp screw. A loose needle can shift or fall out mid-project.
- Overlooking the bobbin winder position. If it’s still engaged from winding, the machine won’t sew properly until it’s switched back.
FAQs
Conclusion
Setting up a sewing machine only feels overwhelming the first time. Once you’ve gone through the needle, presser foot, bobbin, and threading steps once, it becomes second nature — and you’ll have it ready to sew in minutes from then on.
Once your machine is set up and stitching evenly, you’re ready for the next step — learning how to actually sew with it.
Before you dive into your first project, it also helps to know exactly how much fabric you’ll need. Our Fabric Yardage Calculator takes the guesswork out of shopping for material, so you’re not left short mid-project.
Related Articles
- How to Use a Sewing Machine
- How to Thread a Sewing Machine
- How to Wind a Bobbin
- How to Change a Sewing Machine Needle
- How to Adjust Sewing Machine Tension
- Why Is My Sewing Machine Not Sewing