
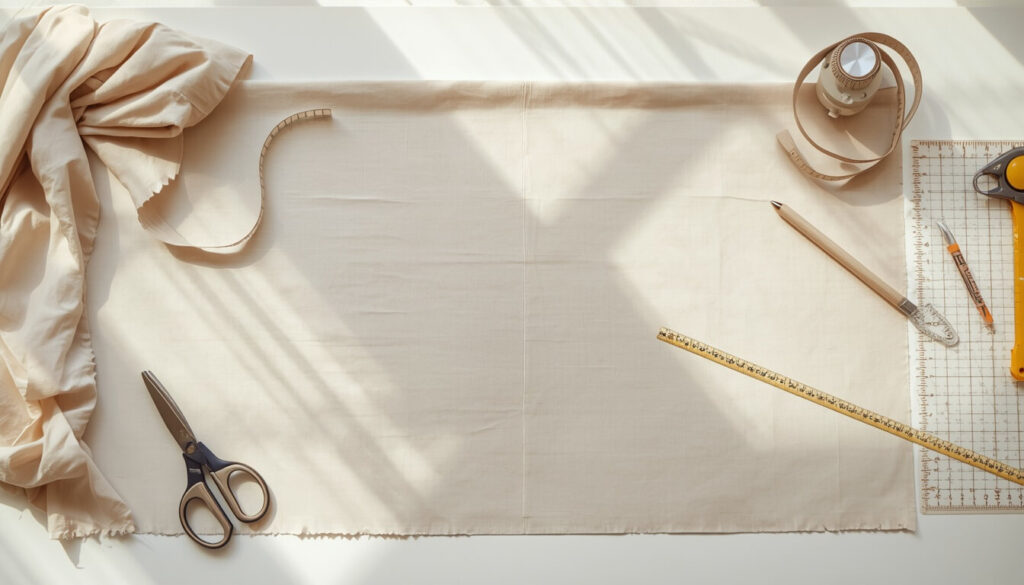
A fabric measurement guide is really about one habit: measuring twice against a stable reference before you ever pick up the scissors. Fabric shifts, stretches, and settles in ways paper never does, so the same tape measure skills that work on a wall don’t automatically transfer to a length of cotton draped across a table. This guide covers the tools, the prep work, and the technique that keeps your measurements accurate from the moment you unfold the fabric to the moment you make your first cut.
Table of Contents
Quick Answer
To measure fabric accurately, pre-wash and press it first, lay it flat on a hard surface, square up the edges using a ruler, and measure along the grainline rather than diagonally across the bias. For stretch fabric, let it rest flat without pulling before you measure, since tension at the tape measure stage is the most common cause of a piece that comes out the wrong size once it’s off the table.
Tools You’ll Need to Measure Fabric Accurately
- Flexible tape measure, for curves and draping fabric
- Clear acrylic quilting ruler, for straight lines you can see through
- Wooden or metal yardstick, for measuring long lengths
- Seam gauge, for small measurements like hems and seam allowances
- Rotary cutter and self-healing mat, for clean, accurate cuts once you’ve measured
- Fabric marker or tailor’s chalk, for marking your lines before cutting
Step 1 — Prep the Fabric Before You Measure
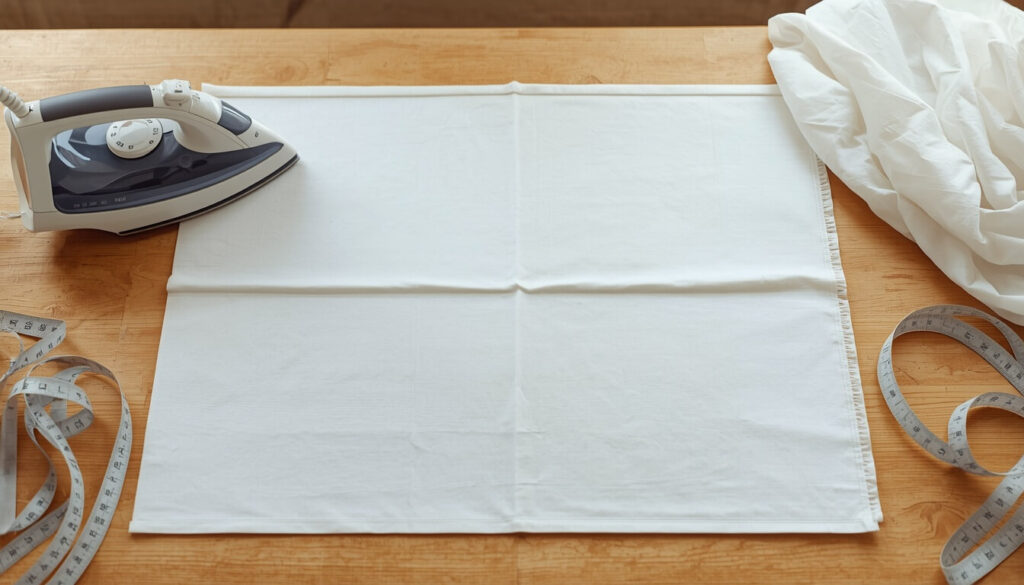
Pre-Wash and Press Out Wrinkles
Fabric that hasn’t been washed can still shrink after you’ve cut and sewn it, throwing off measurements you thought were accurate. Press out any wrinkles or fold lines with an iron before you measure anything a crease across your fabric can add or subtract a surprising amount from a measurement taken over the top of it.
Lay It on a Flat, Hard Surface
Measuring fabric on a bed or carpeted floor lets it shift and dip as you work, which throws off straight lines. A table or a cutting mat on a hard floor gives you a stable, even surface where the fabric lies exactly as flat as it actually is.
Step 2 — Square Your Fabric (Fabric Measurement Guide Basics)
Fabric straight off the bolt is rarely cut perfectly square, even when the shop tries to keep it that way. Fold the fabric in half with the selvedges lined up, and check whether the folded edge lies flat or puckers to one side a pucker means the grain has shifted and the edges aren’t truly square yet.
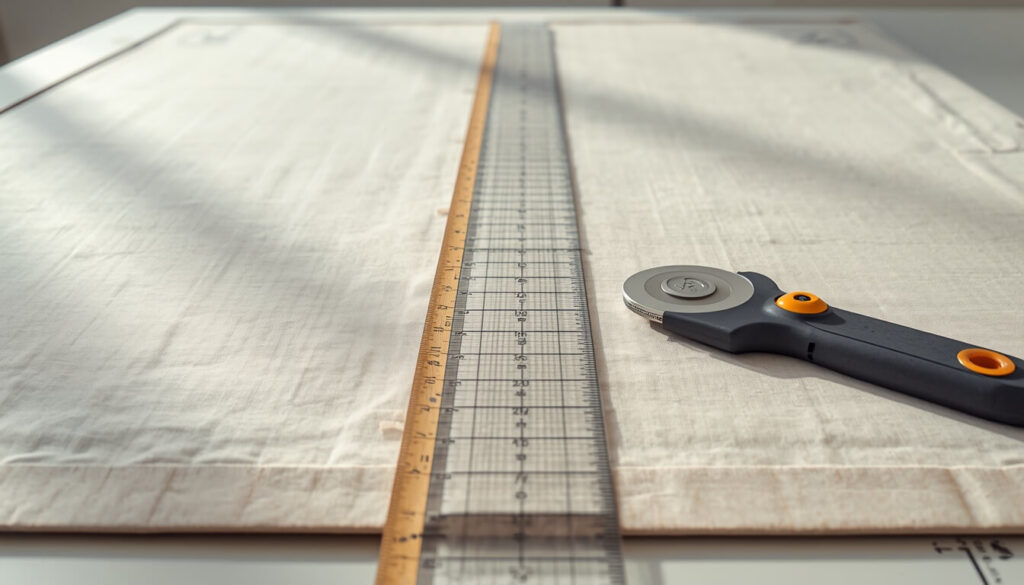
Use a clear ruler and rotary cutter to trim a clean, straight edge at a true right angle to the selvedge. This squared edge becomes your reference line for every measurement after it, so it’s worth taking the extra few minutes to get it right before you measure anything else.
Step 3 — Measure Along the Grain, Not on the Bias
According to Wikipedia, a woven fabric’s grain refers to the direction of its threads, with the straight grain running parallel to the selvedge and generally holding its shape better than fabric cut on other angles. Measuring and cutting along this straight grain, rather than diagonally across the bias, keeps your fabric from stretching out of shape while you work with it.
If you’re not sure which direction the grain runs, look for the selvedge the finished edge along the length of the fabric and measure parallel to it rather than across it.
Measuring Stretch and Knit Fabric Without Distorting It
Knit and stretch fabric will give you a false reading if you pull it taut while measuring, so let it rest flat and relaxed on your table before you take any numbers. Measuring under even slight tension is one of the most common reasons a stretch garment ends up tighter than intended once it’s sewn and off the table.
Fat Quarter, Quarter Yard, Half Yard — What These Cuts Actually Mean
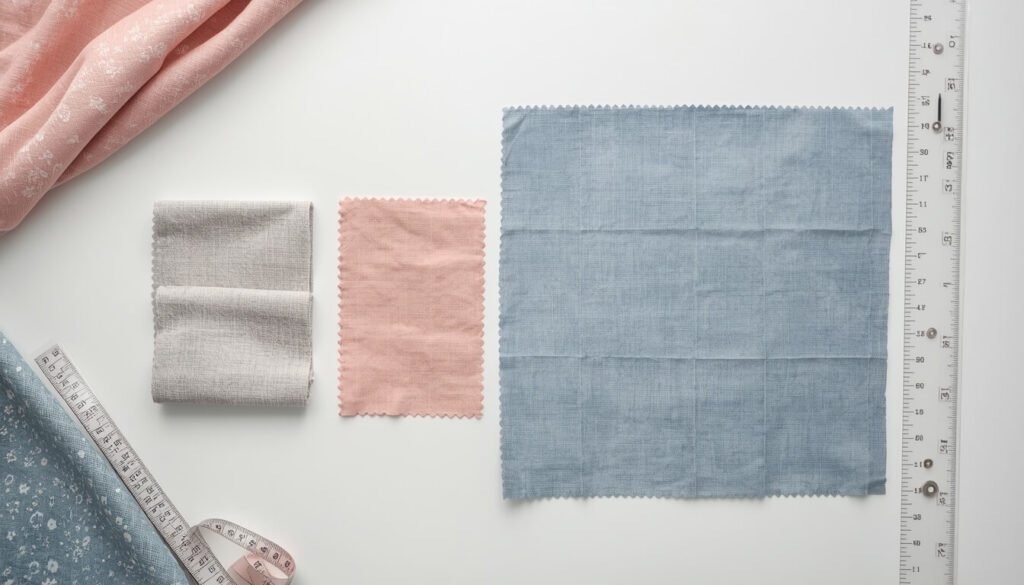
Fabric shops don’t always cut a quarter yard the same way, and the terminology trips up a lot of newer sewists. A standard quarter yard is a long, narrow strip the full fabric width by 9 inches long. A fat quarter is the same amount of fabric, roughly 18 by 22 inches, cut as a rectangle instead of a strip, which gives quilters more usable width for cutting squares and shapes.
| Cut | Approximate Size |
|---|---|
| Fat Quarter | 18 x 22 inches (roughly 50 x 55 cm) |
| Quarter Yard | Fabric width x 9 inches |
| Half Yard | Fabric width x 18 inches |
| Yard | Fabric width x 36 inches |
If your project needs a specific shape rather than a long strip, ask for a fat quarter, fat eighth, or a custom cut by the piece rather than a standard yardage cut most fabric shops are happy to accommodate this if you ask before they cut.
Measuring What You’re Making, Not Just the Fabric
Accurate fabric measuring only gets you halfway there you also need accurate measurements of whatever you’re making the project for. A garment depends on body measurements, a set of curtains depends on your window dimensions, and a tablecloth depends on your table’s size plus how far you want the drop to hang.
Our guides on how much fabric for a dress and how much fabric for curtains walk through those project-specific measurements in detail, once your fabric-measuring technique here is solid.
Common Mistakes to Avoid
- Measuring fabric on a soft or uneven surface instead of a flat, hard one
- Skipping the squaring step and assuming the fabric is already straight off the bolt
- Measuring stretch fabric while pulling it taut, which distorts the reading
- Confusing a fat quarter with a standard quarter yard when placing an order
- Not pressing out wrinkles before measuring, which can throw off the total by an inch or more
FAQs
What’s the difference between a fat quarter and a quarter yard?
A standard quarter yard is a long, narrow strip cut across the full fabric width by 9 inches long. A fat quarter is the same amount of fabric cut as a roughly 18 by 22 inch rectangle instead, giving quilters more usable width for cutting shapes.
Why does my fabric measurement come out different after I cut it?
This usually means the fabric wasn’t squared before measuring, or it was measured under slight tension, especially with stretch or knit fabric. Let the fabric rest flat and unstretched, and square the edges before taking any measurements.
What tools do I need to measure fabric accurately?
A flexible tape measure, a clear acrylic ruler, a yardstick for longer lengths, and a seam gauge for small measurements cover most projects. A rotary cutter and self-healing mat help you cut cleanly once your measurements and lines are marked.
Should I wash fabric before measuring it?
Yes, if the fabric can shrink. Pre-washing and pressing before you measure means any shrinkage happens before you commit to a cut, so the measurements you take are the ones you’ll actually end up with.
How do I find the grain of my fabric?
Look for the selvedge, the finished edge running along the length of the fabric. The straight grain runs parallel to it, and measuring or cutting along that direction keeps your fabric from stretching out of shape.
Conclusion
Once you’ve got a reliable fabric measurement guide routine prep, square, measure along the grain the rest of a project tends to go more smoothly, since accurate pieces are what make seams line up and finished garments fit the way they were designed to. Knowing your cut terminology, like the difference between a fat quarter and a quarter yard, also saves a trip back to the fabric shop for the wrong amount.
For the full formula on turning these measurements into a yardage total, see our pillar guide on how much fabric do I need, or skip the math with the SewSmartHub fabric yardage calculator.