
Learning how to replace a bobbin comes down to a short process: remove the old bobbin, prepare a new one either freshly wound or pre-wound insert it the same way the old one came out, pull up the bobbin thread, and pick up right where you left off. The part most sewists get wrong isn’t the mechanics; it’s knowing when to replace it and how to resume a seam without a visible gap or a tangle at the restart point.
A bobbin is the small spool that holds the lower thread, and every stitch depends on it working smoothly with the top thread. When it runs low, wears out, or just doesn’t match your next thread color, replacing it correctly keeps your stitching clean instead of forcing a new tangle into an otherwise finished project.
Quick Answer
Before you touch the bobbin case, raise the needle to its highest position and lift the presser foot most machines need both before the bobbin area will open safely. From there, swapping a bobbin takes under a minute once you know which side the thread should come off.
Before You Start
Keep a small pair of scissors and a couple of pre-wound or empty bobbins nearby so you’re not searching mid-project. When you’re replacing a bobbin because it ran out while sewing, note exactly where your needle stopped on the fabric that’s your restart point once the new bobbin is in.
Signs You Need to Replace Your Bobbin
Bobbin Thread Has Run Out
This is the most common reason, and it’s usually obvious: stitches suddenly look loose or the top thread starts sitting flat on the fabric surface with nothing locking it from underneath. Once the bobbin is empty, the machine can’t form a proper stitch no matter how well everything else is set up.
Bobbin Thread Looks Frayed or Old
Thread that’s been sitting wound on a bobbin for months, especially in a humid space, can weaken even before it runs out. Fuzz, thinning, or a slightly different texture on the remaining thread is a sign it’s worth replacing before it breaks mid-seam.
Switching Thread Color or Weight
Changing your top thread color for a new project usually means the bobbin needs to match, especially on reversible seams or lightweight fabric where the bobbin thread can show through slightly. Keeping a bobbin wound in your most-used neutral colors (white, black, cream) saves time here.
Bobbin Itself Is Damaged or Warped
Plastic bobbins can crack or warp slightly if dropped or left near heat, and a warped bobbin spins unevenly even with plenty of thread left on it. A bobbin that doesn’t sit flush or spins with visible wobble needs replacing itself, not just the thread on it.
How to Replace a Bobbin Step by Step
Remove the Old Bobbin
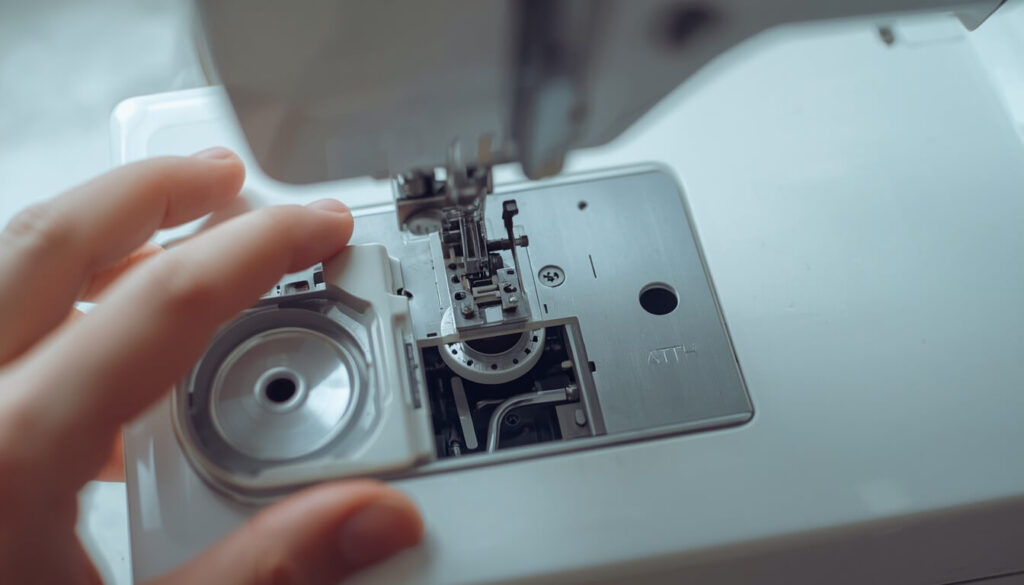
Raise the needle to its highest point, lift the presser foot, and open the bobbin cover. Lift out the old bobbin, and if any thread scraps are still in the case, clear them out before moving on leftover fragments are a common cause of tangling with the new bobbin.
Prepare Your New Bobbin
You have two options here: wind a new bobbin from your top thread spool, or use a pre-wound bobbin if your machine supports the type and size. Winding your own is simple enough once you know the steps our full guide on how to wind a bobbin covers the process and the mistakes that cause loose or uneven winding, worth a look if this is new to you.
Insert the New Bobbin
Every machine has a specific direction the thread needs to unwind in clockwise or counterclockwise which is usually marked with a small diagram near the bobbin case. This step follows the exact same mechanics as first-time setup; our full guide on how to insert a bobbin in a sewing machine covers both top-loading and front-loading systems in detail, including which direction the thread should face, if you want a closer look.
Pick Up the Bobbin Thread
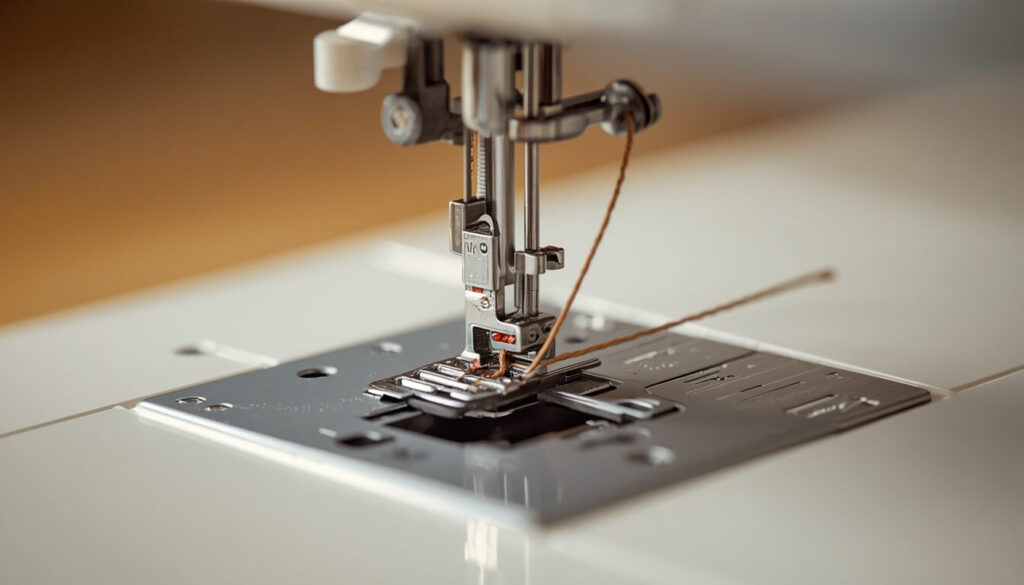
Hold the top thread loosely with one hand, then turn the handwheel toward you one full rotation. This lowers the needle into the bobbin area and brings the bobbin thread up through the needle plate as a small loop. Pull both threads gently toward the back of the machine before lowering the presser foot.
Resume Sewing Where You Left Off
Position your fabric back under the needle at the exact spot you stopped, lower the presser foot, and take one or two stitches by hand-turning the wheel before switching back to the pedal. This avoids a visible jump or loose stitch right at the restart point.
Pre-Wound vs. Self-Wound Bobbins
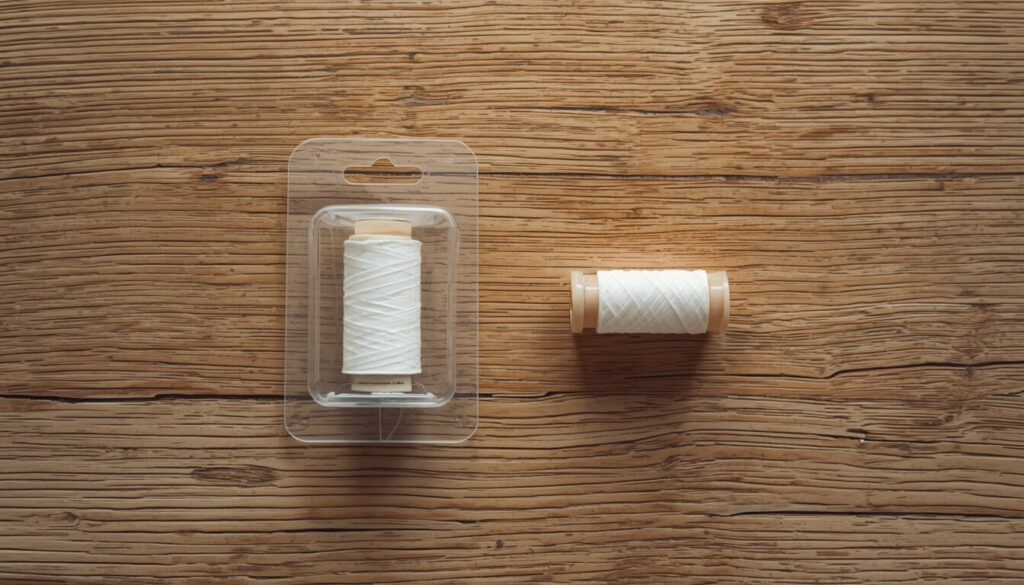
| Pre-Wound Bobbins | Self-Wound Bobbins | |
|---|---|---|
| Convenience | Ready to use immediately | Takes a few minutes to wind |
| Color range | Limited to what’s sold pre-wound | Matches any thread you already own |
| Consistency | Very even, machine-wound | Depends on winding technique |
| Cost | Slightly higher per bobbin | Cheaper reuses your own thread |
| Machine compatibility | Must match your machine’s exact bobbin type | Always compatible with your own bobbins |
Quick Troubleshooting Checklist
- Needle raised to its highest position before opening bobbin area
- Old bobbin and any thread scraps fully removed
- New bobbin wound evenly, without loose loops
- Thread unwinds in the correct direction for your machine
- Bobbin thread picked up and pulled to the back before sewing
- Restart point matched exactly to where you stopped
Helpful Tips for Smooth Bobbin Replacement
Winding two or three spare bobbins in your most common thread colors before you start a project means you’re never caught mid-seam with an empty one. A simple way to think about it is treating bobbin thread like fuel — checking how much is left before starting a long seam saves you from an awkward mid-seam swap.
Common Mistakes When Replacing a Bobbin
Forcing the bobbin cover shut when the bobbin isn’t seated flat is one of the most common mistakes it can bend the cover latch or leave the bobbin sitting at a slight angle that causes tension problems later. Skipping the step of picking up the bobbin thread before sewing is another; starting without it often creates a small tangle right at the beginning of your next seam.
FAQs
conclusion
Replacing a bobbin is a quick, simple task once you know the signs to watch for and the right order of steps remove the old one, prepare the new one evenly, insert it the correct direction, and pick up the thread before resuming exactly where you left off. Keep a few spares wound in your go-to colors, and you’ll rarely be caught mid-seam without one.
Starting a new project and need to know how much fabric to buy? Try the Fabric Yardage Calculator before you cut.