

How to quilt with a sewing machine comes down to five stages: plan, piece the top, make the quilt sandwich, quilt the layers, and bind the edges. A regular home machine can do all five, and you don’t need a longarm or a studio to finish a real quilt.
This guide is the roadmap for the whole process. You’ll see what each stage involves, the rules that matter most, and where to go for the full walkthrough of any step.
Table of Contents
Quick Answer
To quilt with a sewing machine, cut and piece your quilt top with a consistent quarter-inch seam, then layer it with batting and backing to make a quilt sandwich. Baste the layers together, attach a walking foot, and quilt with a longer stitch, starting from the center and working outward. Finish by trimming the edges and sewing on binding.
Use a quilting needle and a walking foot for the quilting stage. Those two choices prevent most beginner problems.
Can You Quilt on a Regular Sewing Machine?
Yes. Machine quilting means stitching through the quilt top, batting, and backing on a domestic sewing machine. According to Wikipedia, the layers are temporarily basted with safety pins or basting spray, and straight-line quilting is normally done with an even-feed walking foot in place of the regular presser foot.
The real limit isn’t your machine’s brand. It’s the space between the needle and the machine’s body, called the throat. A big quilt has to fit through that gap, and the more bulk you have, the more you have to manage it.
A quick way to handle that is to roll the quilt tightly and feed it from the center out. Support the weight of the quilt on the table so it doesn’t pull on your stitches. Many beginners start with a baby quilt or a table runner for this reason, since it fits through the machine comfortably.
What You Need Before You Start
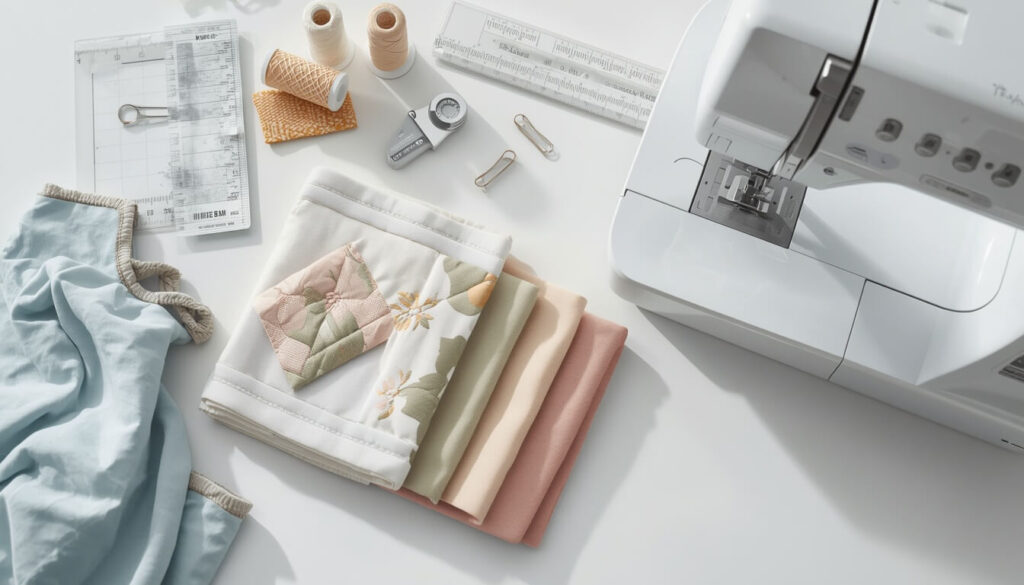
Quilting uses a different setup for piecing than it does for quilting. This table shows both, so you can change settings between stages.
| Setting | Piecing the Top | Quilting the Layers |
|---|---|---|
| Needle | 80/12 universal or 75/11 quilting | 90/14 quilting |
| Thread | 50 wt cotton or polyester | 40 wt or 50 wt cotton |
| Foot | Quarter-inch foot | Walking foot |
| Stitch length | 2.0 to 2.5 mm | 3.0 to 3.5 mm |
| Tension | Default, tested on a scrap | Default, tested on a practice sandwich |
For the reasoning behind those needle sizes, see our guide on what size sewing machine needle to use. If you’re not sure how to put one in, here’s how to change a sewing machine needle.
You’ll also need a rotary cutter, a self-healing mat, a clear acrylic ruler, pins or basting spray, and a seam ripper. If your machine isn’t threaded and wound yet, start with how to thread a sewing machine and how to wind a bobbin.
If you’re new to your machine, our beginner guide on how to use a sewing machine covers the basics first.
Quilting Machine Setup Checklist
Before you start learning how to quilt with a sewing machine on a real project, run through this quick list. It takes five minutes and prevents most mid-project headaches.
- Clean the bobbin area and brush out lint
- Put in a fresh needle for the stage you’re on
- Wind a full bobbin so you don’t run out mid-line
- Thread the machine with the presser foot up
- Attach the right foot: a quarter-inch foot for piecing, a walking foot for quilting
- Set your stitch length for the stage
- Sew a test seam or a practice sandwich and check both sides
How to Quilt with a Sewing Machine: The 5 Stages
Here’s how to quilt with a sewing machine, one stage at a time. Each stage below gives you the rules that matter most, then points you to the full guide.
Stage 1: Plan Your Quilt Size and Fabric
Decide on the finished size before you buy anything. A smaller project, like a baby quilt, is far easier to finish and teaches every skill you’ll use on a larger one.
Fabric choice comes next. Quilting cotton is the standard because it’s stable, presses well, and doesn’t stretch. If you’re not sure how much to buy, our pillar guide on how much fabric do I need explains the formula, and the fabric width guide tells you what usable width to expect from quilting cotton.
For exact numbers, plug your quilt into the Fabric Yardage Calculator so you buy enough for the top, backing, and binding.
Our quilt size chart covers standard sizes from baby to king, and our guide on how much fabric for a quilt covers yardage in detail.
Stage 2: Cut and Piece the Quilt Top
Two skills carry the whole piecing stage: accurate cutting with a rotary cutter, and a consistent quarter-inch seam. If either one drifts, your blocks stop lining up.
Start by squaring your fabric. Our fabric measurement guide shows how to press, square, and measure before you cut.
Then test your seam. Sew two scrap strips together with your quarter-inch foot, press, and measure. If the seam is off, adjust the needle position until it’s right.
Here’s a real example. A beginner cuts forty squares, sews them with a seam that’s slightly too wide, and finds every row comes out a quarter inch short. Testing the seam on scraps first would have caught it.
Chain piecing speeds things up. Feed pairs of pieces under the needle one after another without cutting the thread between them, then snip them apart afterward.
Press as you go. Pressing the seams after each step keeps your blocks flat and your corners crisp.
Stage 3: Make the Quilt Sandwich

A quilt sandwich is three layers: the backing face down, the batting in the middle, and the pieced top face up. Smooth every layer flat with no wrinkles.
Both the backing and the batting should be a few inches larger than the top on every side. That extra margin gives you room for the fabric to draw in as you quilt.
Then baste. You’ve got two main choices:
| Method | Good For | Watch Out For |
|---|---|---|
| Safety pins | No chemicals, easy to adjust | Slower, and you’ll stop to remove pins |
| Basting spray | Fast, flat result | Test on a scrap first, and use in a ventilated space |
Picture a throw quilt basted with pins only around the edges. The center shifts as you quilt, and the backing puckers in a long fold. A pin every hand-width across the middle would have kept the layers flat.
Our guides on backing fabric and batting sizes list the exact dimensions to use for each quilt size.
Stage 4: Quilt the Layers

This is the stage that makes it a quilt, and the heart of how to quilt with a sewing machine. Install your walking foot, set your stitch length to 3.0 to 3.5 mm, and put in a 90/14 quilting needle.
According to Sewing Machines Plus, a walking foot feeds the top layer in sync with the feed dogs so multiple layers move together, which helps prevent shifting layers and puckered backs.
You have three main methods to choose from.
| Method | Foot | Best For |
|---|---|---|
| Straight-line quilting | Walking foot | Beginners, simple geometric patterns |
| Stitch in the ditch | Walking foot | Following seam lines, subtle texture |
| Free-motion quilting | Free-motion foot, feed dogs lowered | Curves and freehand designs, with practice |
Beginners usually start with straight lines. Begin sewing in the center of the quilt and work outward toward one edge, then rotate the quilt and do the other half. Working from the center pushes any extra fabric toward the edges instead of trapping it in the middle.
Sew at a steady, moderate speed. When you need to change direction, stop with the needle down in the fabric, lift the foot, pivot the quilt, and lower the foot again.
Here’s a common beginner scenario. You start at the top edge, sew down to the bottom edge, and find a ripple of extra fabric trapped across the middle. Starting in the center would have pushed that fullness out toward the edges instead.
This guide gives you the basics. For the full walkthrough of every method, see our guide on how to machine quilt a quilt. And for the foot itself, see what a walking foot is and how to use a walking foot.
Stage 5: Square Up and Bind
Once the quilting is done, trim the edges so the quilt is square and the layers are even. Press it flat first, and use a ruler and rotary cutter for a clean line.
Binding is the finished edge. Most binding is cut into strips about 2.5 inches wide, folded in half lengthwise, and sewn to the quilt with a quarter-inch seam. Then you fold it over the edge and stitch it down.
You can sew the binding down by hand or by machine. Our guide on how to bind a quilt with a sewing machine walks through the full process, including mitered corners.
Choose a Good First Project
The best first quilt is one you’ll actually finish. Smaller projects let you practice every stage without wrestling a heavy quilt through the machine.
| Project | Why It Works | Watch Out For |
|---|---|---|
| Table runner | Small, and it fits easily under the machine arm | Binding corners take patience |
| Baby quilt | Teaches every stage at a manageable size | Still needs a few extra inches of backing and batting |
| Lap or throw quilt | A good step up once you’ve finished a small project | More bulk to roll through the throat |
| Bed-size quilt | Rewarding, but best saved for later | Heavy, and hard to manage on a small machine |
Our quilt size chart lists the finished sizes for each of these.
Common Quilting Problems and Quick Fixes
When you’re learning how to quilt with a sewing machine, most trouble comes from the same few causes. Check this table first before you adjust anything.
| Problem | Likely Cause | Quick Fix |
|---|---|---|
| Puckers on the back | Shifting layers, no walking foot, or a short stitch | Use a walking foot, lengthen the stitch, and re-baste |
| Skipped stitches | Dull or wrong needle, or thick seam intersections | Fresh 90/14 quilting needle. See why your machine is skipping stitches |
| Thread keeps snapping | Needle too small for the thread, or tension off | See why your thread keeps breaking |
| Needle breaks at seams | Thick intersections hit at full speed | Slow down. See why needles keep breaking |
| Loops on the back | Top tension or threading issue | See how to fix sewing machine tension |
For the dial itself, our guide on how to adjust sewing machine tension covers the exact steps.
Helpful Tips for Your First Quilt
These habits make learning how to quilt with a sewing machine much less stressful.
- Make a practice sandwich from scraps and test your stitch length, tension, and thread before you quilt the real thing.
- Start small. A baby quilt or table runner teaches the same skills with far less bulk to wrestle.
- Change your needle before you start quilting, since layered batting dulls a needle faster than plain cotton.
- Keep your machine clean. Batting sheds lint, and a quick clean after each quilt keeps stitches even. Here’s how to clean a sewing machine.
- Take breaks. Rushing the quilting stage is the fastest way to a puckered back.
Common Mistakes to Avoid
- Quilting without a walking foot on a thick sandwich
- Using a piecing stitch length for quilting, which is too short for three layers
- Skipping the test seam and ending up with blocks that don’t line up
- Starting to quilt at one edge instead of the center
- Not basting enough, which lets the layers shift
- Forgetting to change the needle before quilting
- Buying fabric without calculating yardage first
FAQs
Can I quilt on a regular sewing machine?
Yes. A standard home machine can piece, quilt, and bind a quilt. The main limit is throat space, which is why many beginners start with a baby quilt or table runner. Roll the quilt tightly and support its weight on the table so it doesn’t drag your stitches.
Do I need a walking foot to quilt?
It’s strongly recommended for straight-line quilting. A walking foot feeds the top layer in sync with the feed dogs, so the three layers move together instead of shifting. Without one, you’ll often get puckered backs, especially on larger quilts, and you’ll fight the fabric the whole way.
What stitch length should I use for machine quilting?
Use a longer stitch than you do for piecing. Piecing is usually 2.0 to 2.5 mm, while quilting through three layers works best around 3.0 to 3.5 mm. Thicker batting or heavier thread may need slightly longer, so test on a practice sandwich first.
What needle should I use for machine quilting?
A 90/14 quilting needle is a reliable choice for quilting through the top, batting, and backing. For piecing the top, an 80/12 universal or a 75/11 quilting needle works well. Replace the needle before you start quilting, since layered batting dulls it faster.
Where do I start quilting a quilt?
Start in the center and work outward toward the edges. Quilt one half, then rotate the quilt and do the other. This pushes extra fabric toward the edges instead of trapping it in the middle, which helps prevent puckers and ripples on the back.
Should I use pins or basting spray?
Both work. Safety pins are clean and easy to adjust but slower. Basting spray is fast and gives a flat result, but you should test it on a scrap and use it in a ventilated space. Many quilters mix both on larger quilts to be safe.
How do I fit a big quilt through a small sewing machine?
Roll the quilt tightly and feed it from the center. Support the weight on the table so it doesn’t drag your stitches. For very large quilts, work in sections, and consider starting with a smaller project until you’re comfortable handling the bulk.
What’s the easiest way to learn how to quilt with a sewing machine?
Start with a small project, like a baby quilt or table runner, and use a walking foot. Make a practice sandwich first to test your settings. Straight-line quilting from the center outward teaches the core skills without much risk of ruining the quilt.
Conclusion
Once you understand how to quilt with a sewing machine as five stages instead of one big task, the process feels far more manageable. Plan your size, piece with a steady quarter-inch seam, baste well, quilt with a walking foot, and bind the edges.
Start small, test your settings on a scrap sandwich, and work from the center outward. When you’re ready to plan your fabric, use the Fabric Yardage Calculator to work out exactly how much you need.
Related articles